How to Perform IICRC Air Mover Calculations Correctly

5 min read
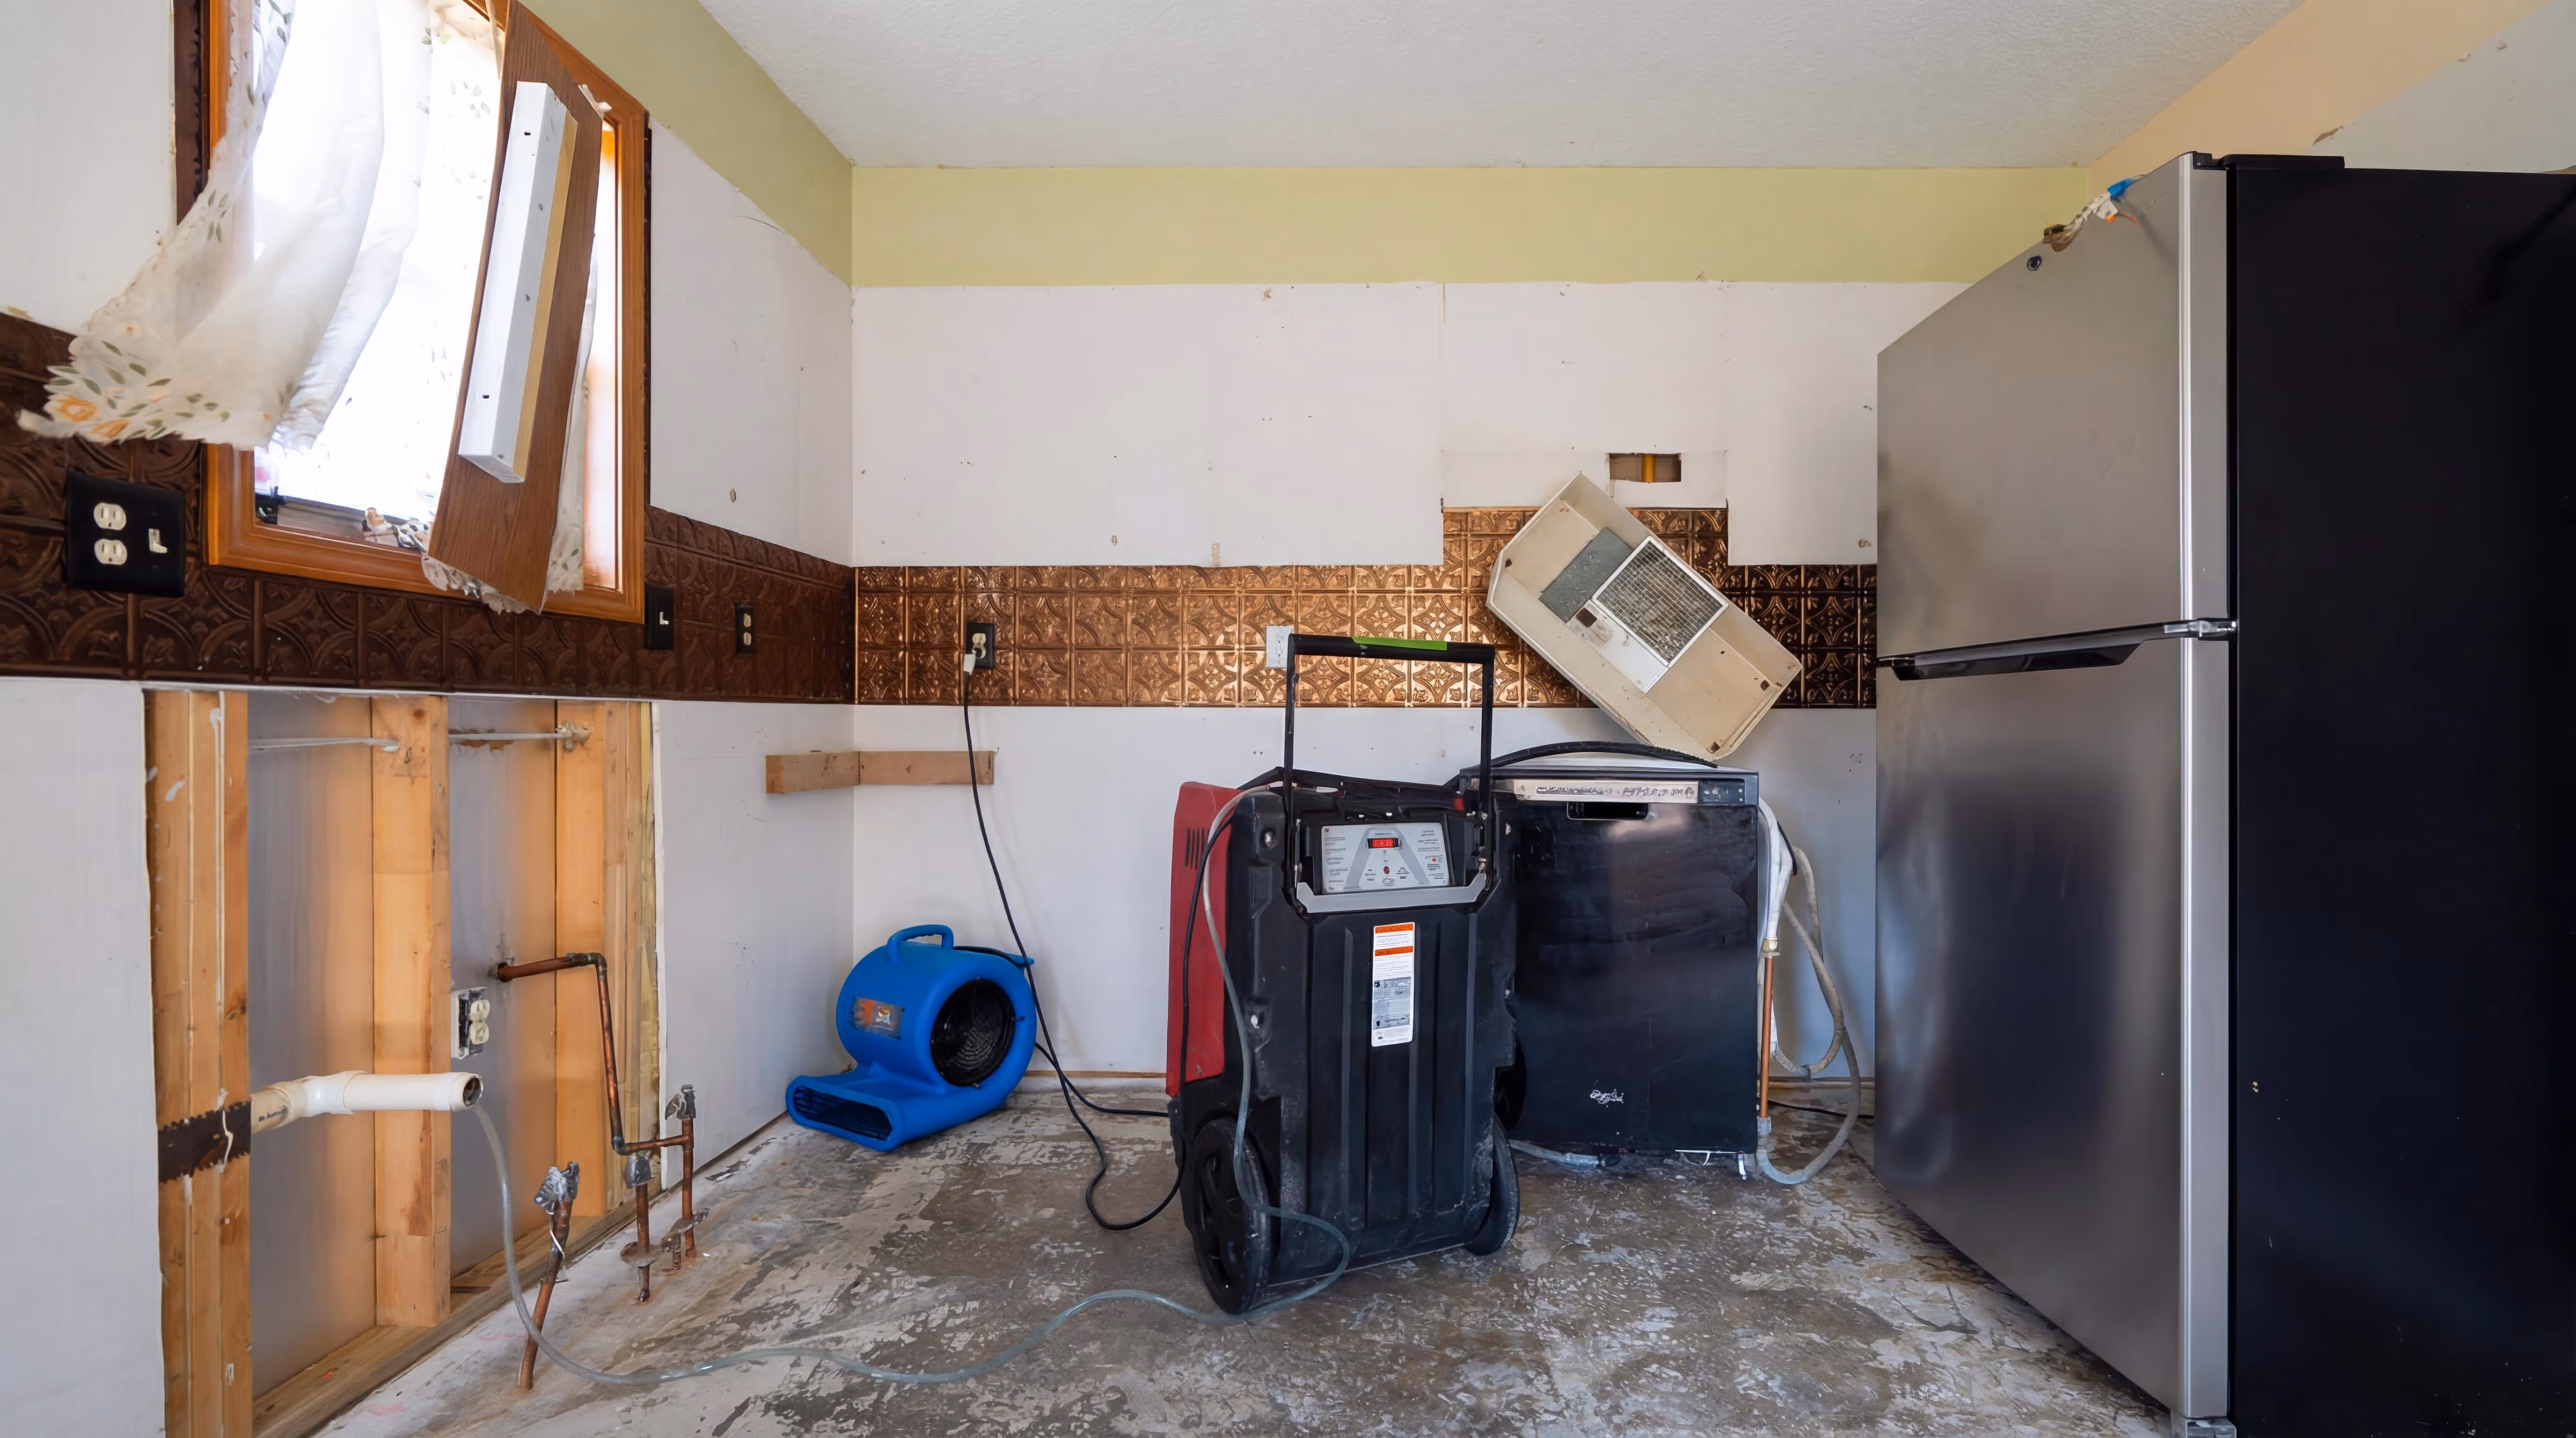
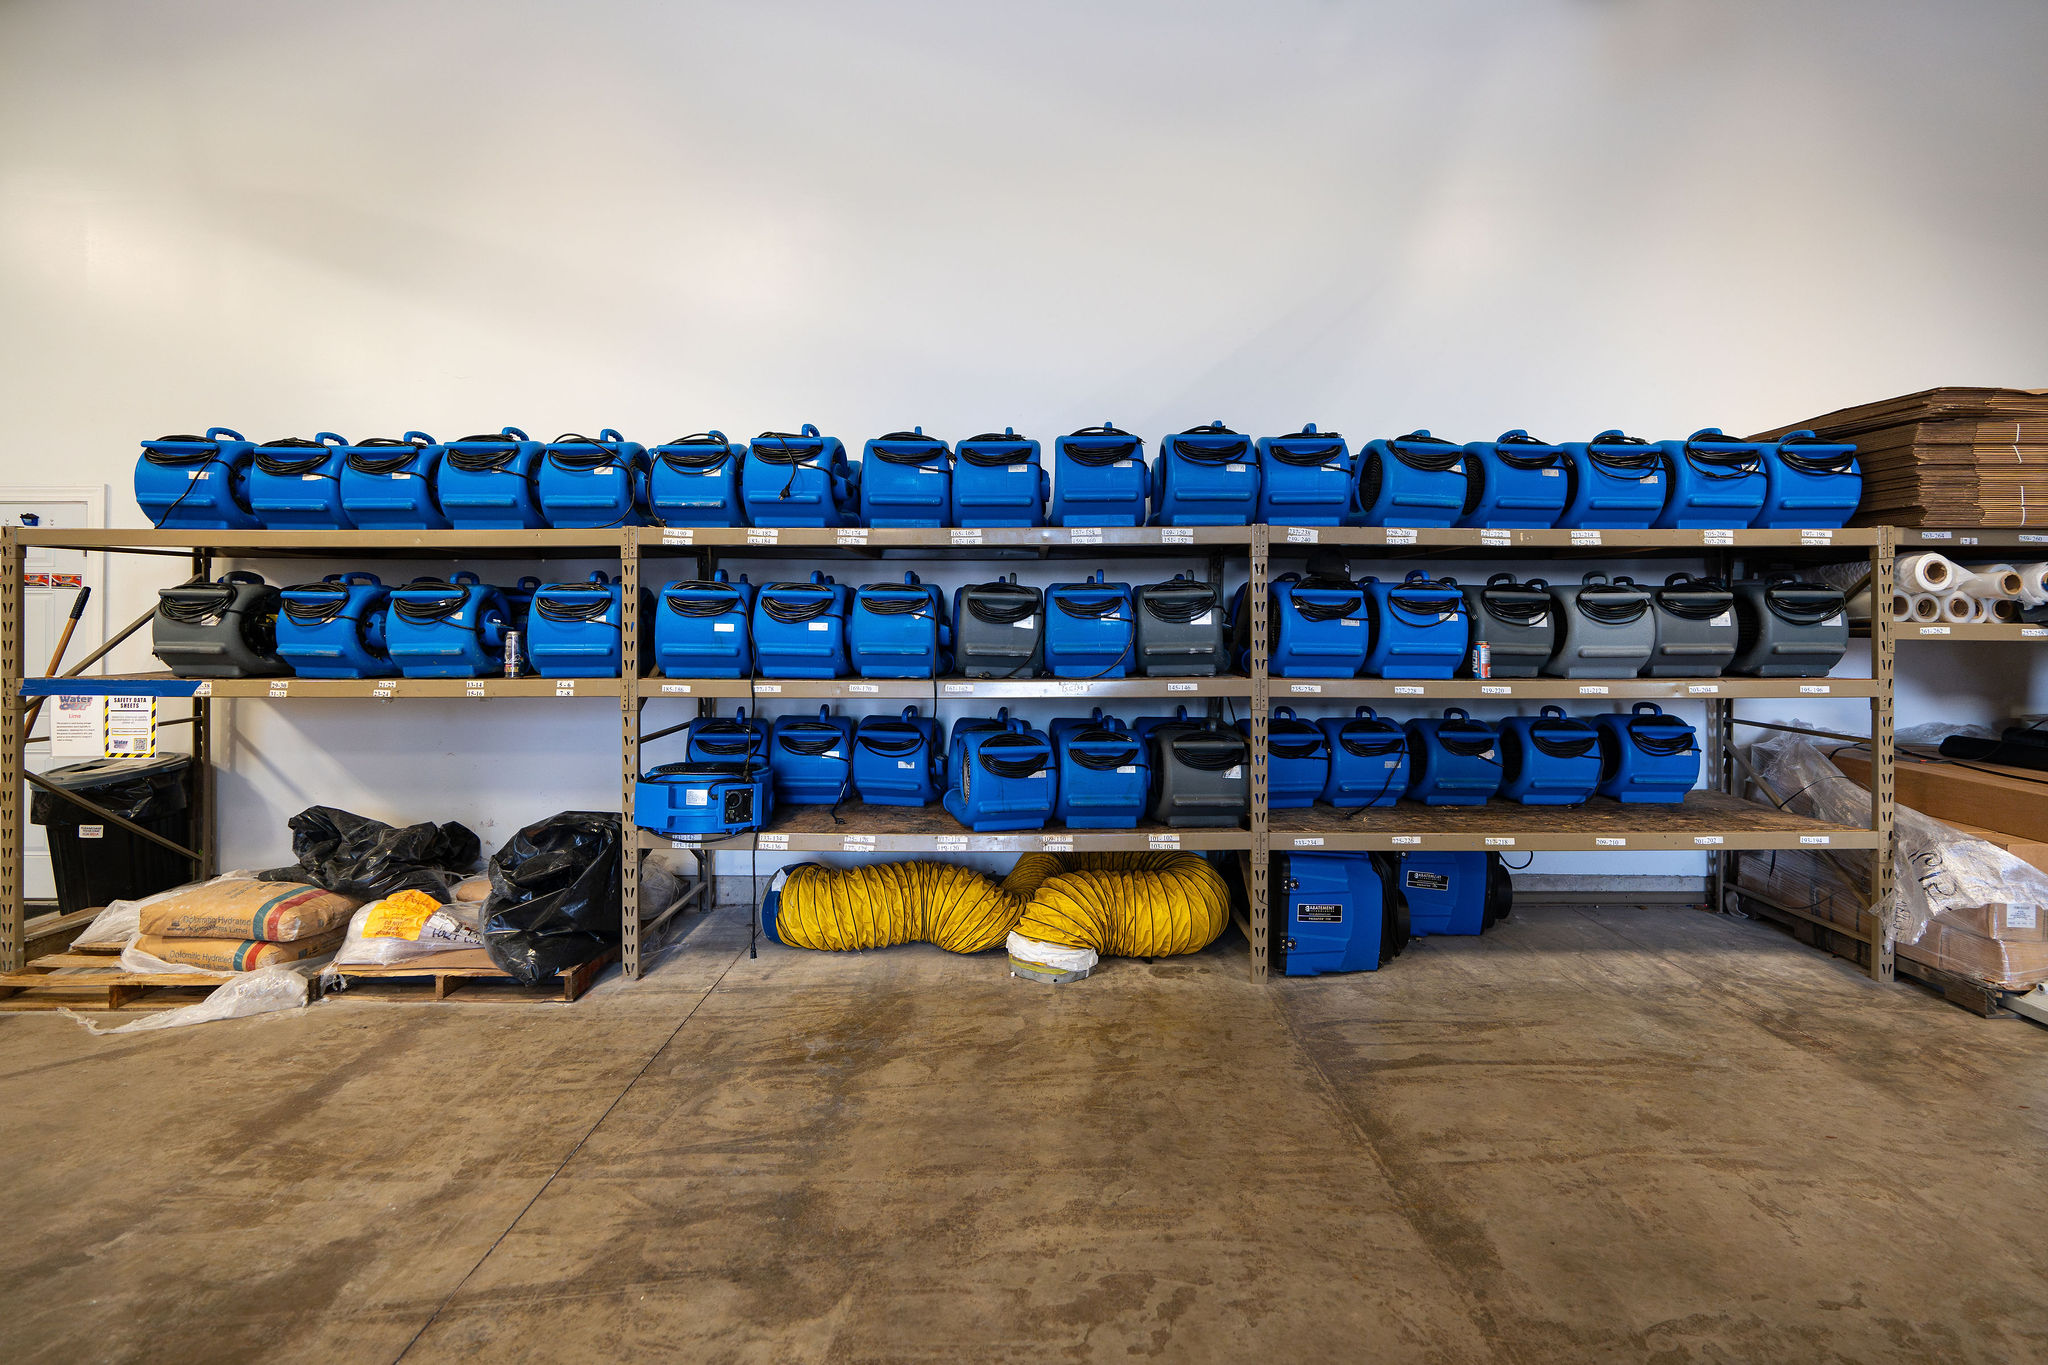
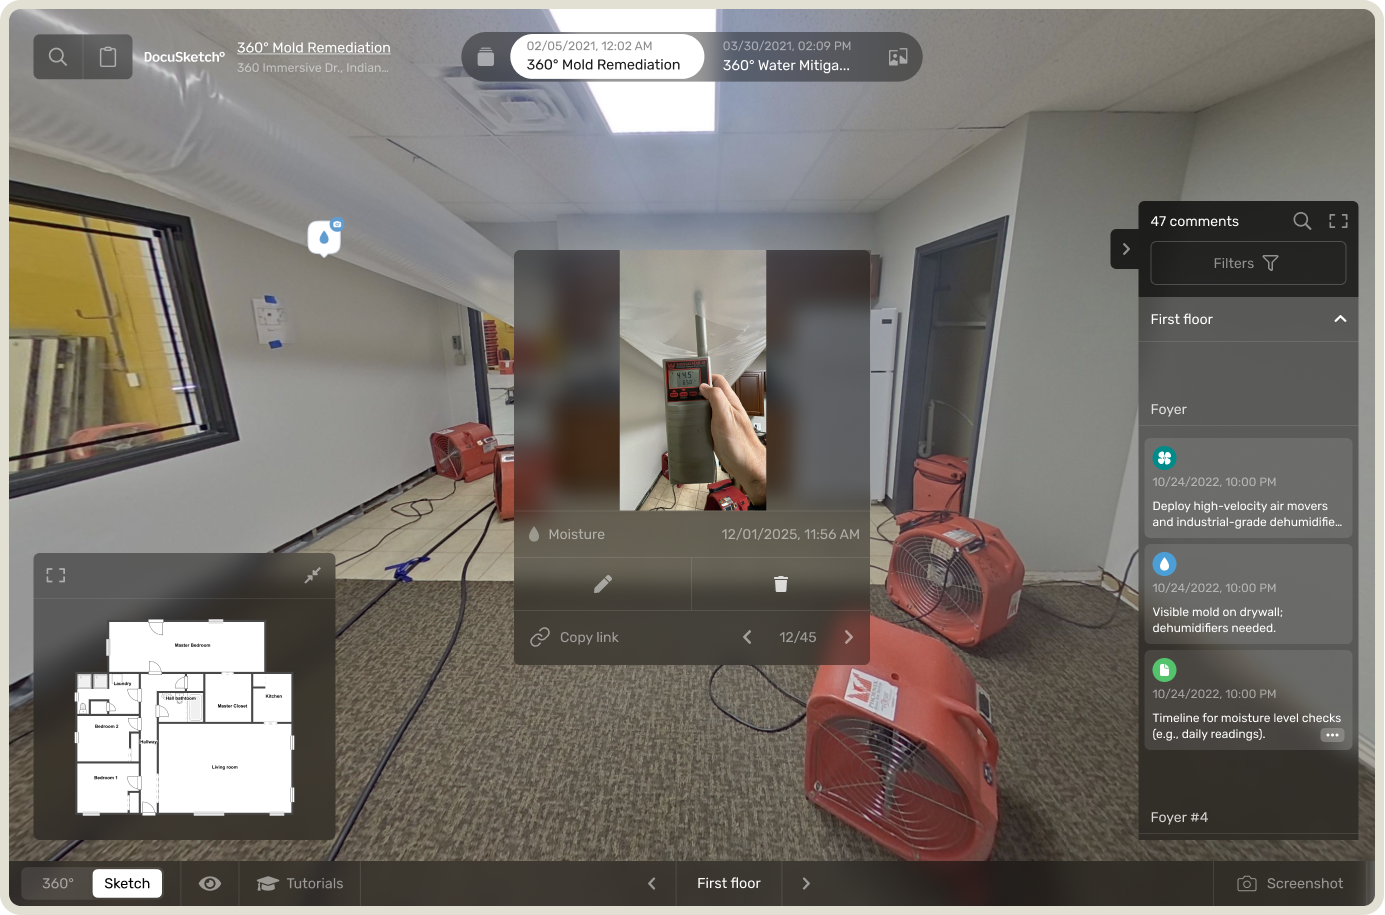
When you’re dealing with water damage—whether it’s just affecting one area of one room or the entire basement has been flooded—you’ll need several pieces of equipment to begin to dry things out. After you’ve taken your moisture readings, you can start adding air movers to the space alongside your dehumidifiers.
“Air movers release the surface tension so water molecules can evaporate. If you have a puddle of water, it can sit there for a long time. Moving air across the top speeds up the process so you can get started on the restoration project more quickly,” says Jason Van Cleve, Large Loss Account Manager at DocuSketch.
How do you know how many air movers to use in a space? For that, you’ll need to perform a few basic calculations to conform to IICRC S500 standards.
READ MORE: How to build a water damage drying log
Getting Started with Air Mover Calculation
“Remember, it’s just a math problem,” says Van Cleve. “But you do need accurate measurements to do it correctly, so you know exactly how many you need.” The more precise you can be with your calculations, the faster you can complete your restoration project. Here’s how to do it correctly:
Before You Begin: Water Damage Guidelines to Know
With water damage, restorers should defer to the IICRC S500 standards, which are widely accepted as the gold standard in water damage restoration. This includes both ANSI and BSR standards within the IICRC purview, including mold remediation (ANSI) and commercial structures (BSR). Depending on the job site, you may also need to refer to additional guidelines, such as those for schools or healthcare facilities.
Following the IICRC S500 means you must ensure adequate circulation of air throughout the entire affected area (like a basement, apartment, or entire home) which includes interstitial spaces, and direct airflow across any open areas with standing water. Ideally, you should point air movers in the same direction, and deliver air at an angle (anywhere from 5-45 degrees) along the entire length of any affected floor or wall.
The key is continuous airflow across wet surfaces at all times. That means taking into account potential obstructions to airflow, like furniture, large equipment, or other structural aspects of the room, like insets, closets, or doorways.
Essential Factors in Air Mover Calculations: What You Must Know Before You Calculate
Whether you’re calculating by hand or using software, you’ll need to take into account several factors for the room, like:
- Room size and number
- Affected wet surface area
- Wall and ceiling height considerations
- Material types and obstructions to airflow
- Linear feet of affected lower wall
“One important area to consider is the water damage classification,” says Van Cleve. “There are four classifications, depending on how much water intrusion you have in a space. The lowest, class one, affects only a certain portion of the room. That goes all the way up to class four, which is major water damage or severe flooding, that can even include water damage on the ceiling and walls.”
A Step-by-Step Guide to Calculating Air Movers
Once you have all of the information on the space ready to go, you can calculate the number of air movers you need. You should install one air mover in each affected room. Then, add one air mover:
- Every 50-70 square feet of affected wet floor in each room
- Every 100-150 square feet of affected wet ceiling and wall areas above 2 feet
- With wall inset and offset greater than 18 inches
Let’s start with an easy example. Let’s say you were handling the average basement with some moderate water damage across the entire floor—in the U.S., that’s around 1000 square feet. With no offsets or other special considerations, you’d need:
- 25 L x 40 W = 1000 square feet basement / 50 square feet standard = 20 air movers (high range)
- 25 L x 45 W = 1000 square feet basement / 70 square feet standard = 14 air movers (low range)
That kind of scenario isn’t super common, though. More often than not, you’ll have to deal with tricky dimensions or random offsets in a room that can hinder the drying process. Let’s say you have the average basement, but instead of one room, it’s got a long hallway that’s 5 x 4, which connects two rooms, each that are 484 square feet (22 x 22). The water damage is isolated to one of the rooms. You'll need:
- 22 L x 22 W = 484 square feet in basement/ 50 square feet standard = 9.68, so 10 air movers (high range)
- 22 L x 22 W = 484 square feet in basement/ 50 square feet standard = 6.9, so 7 air movers (low range)
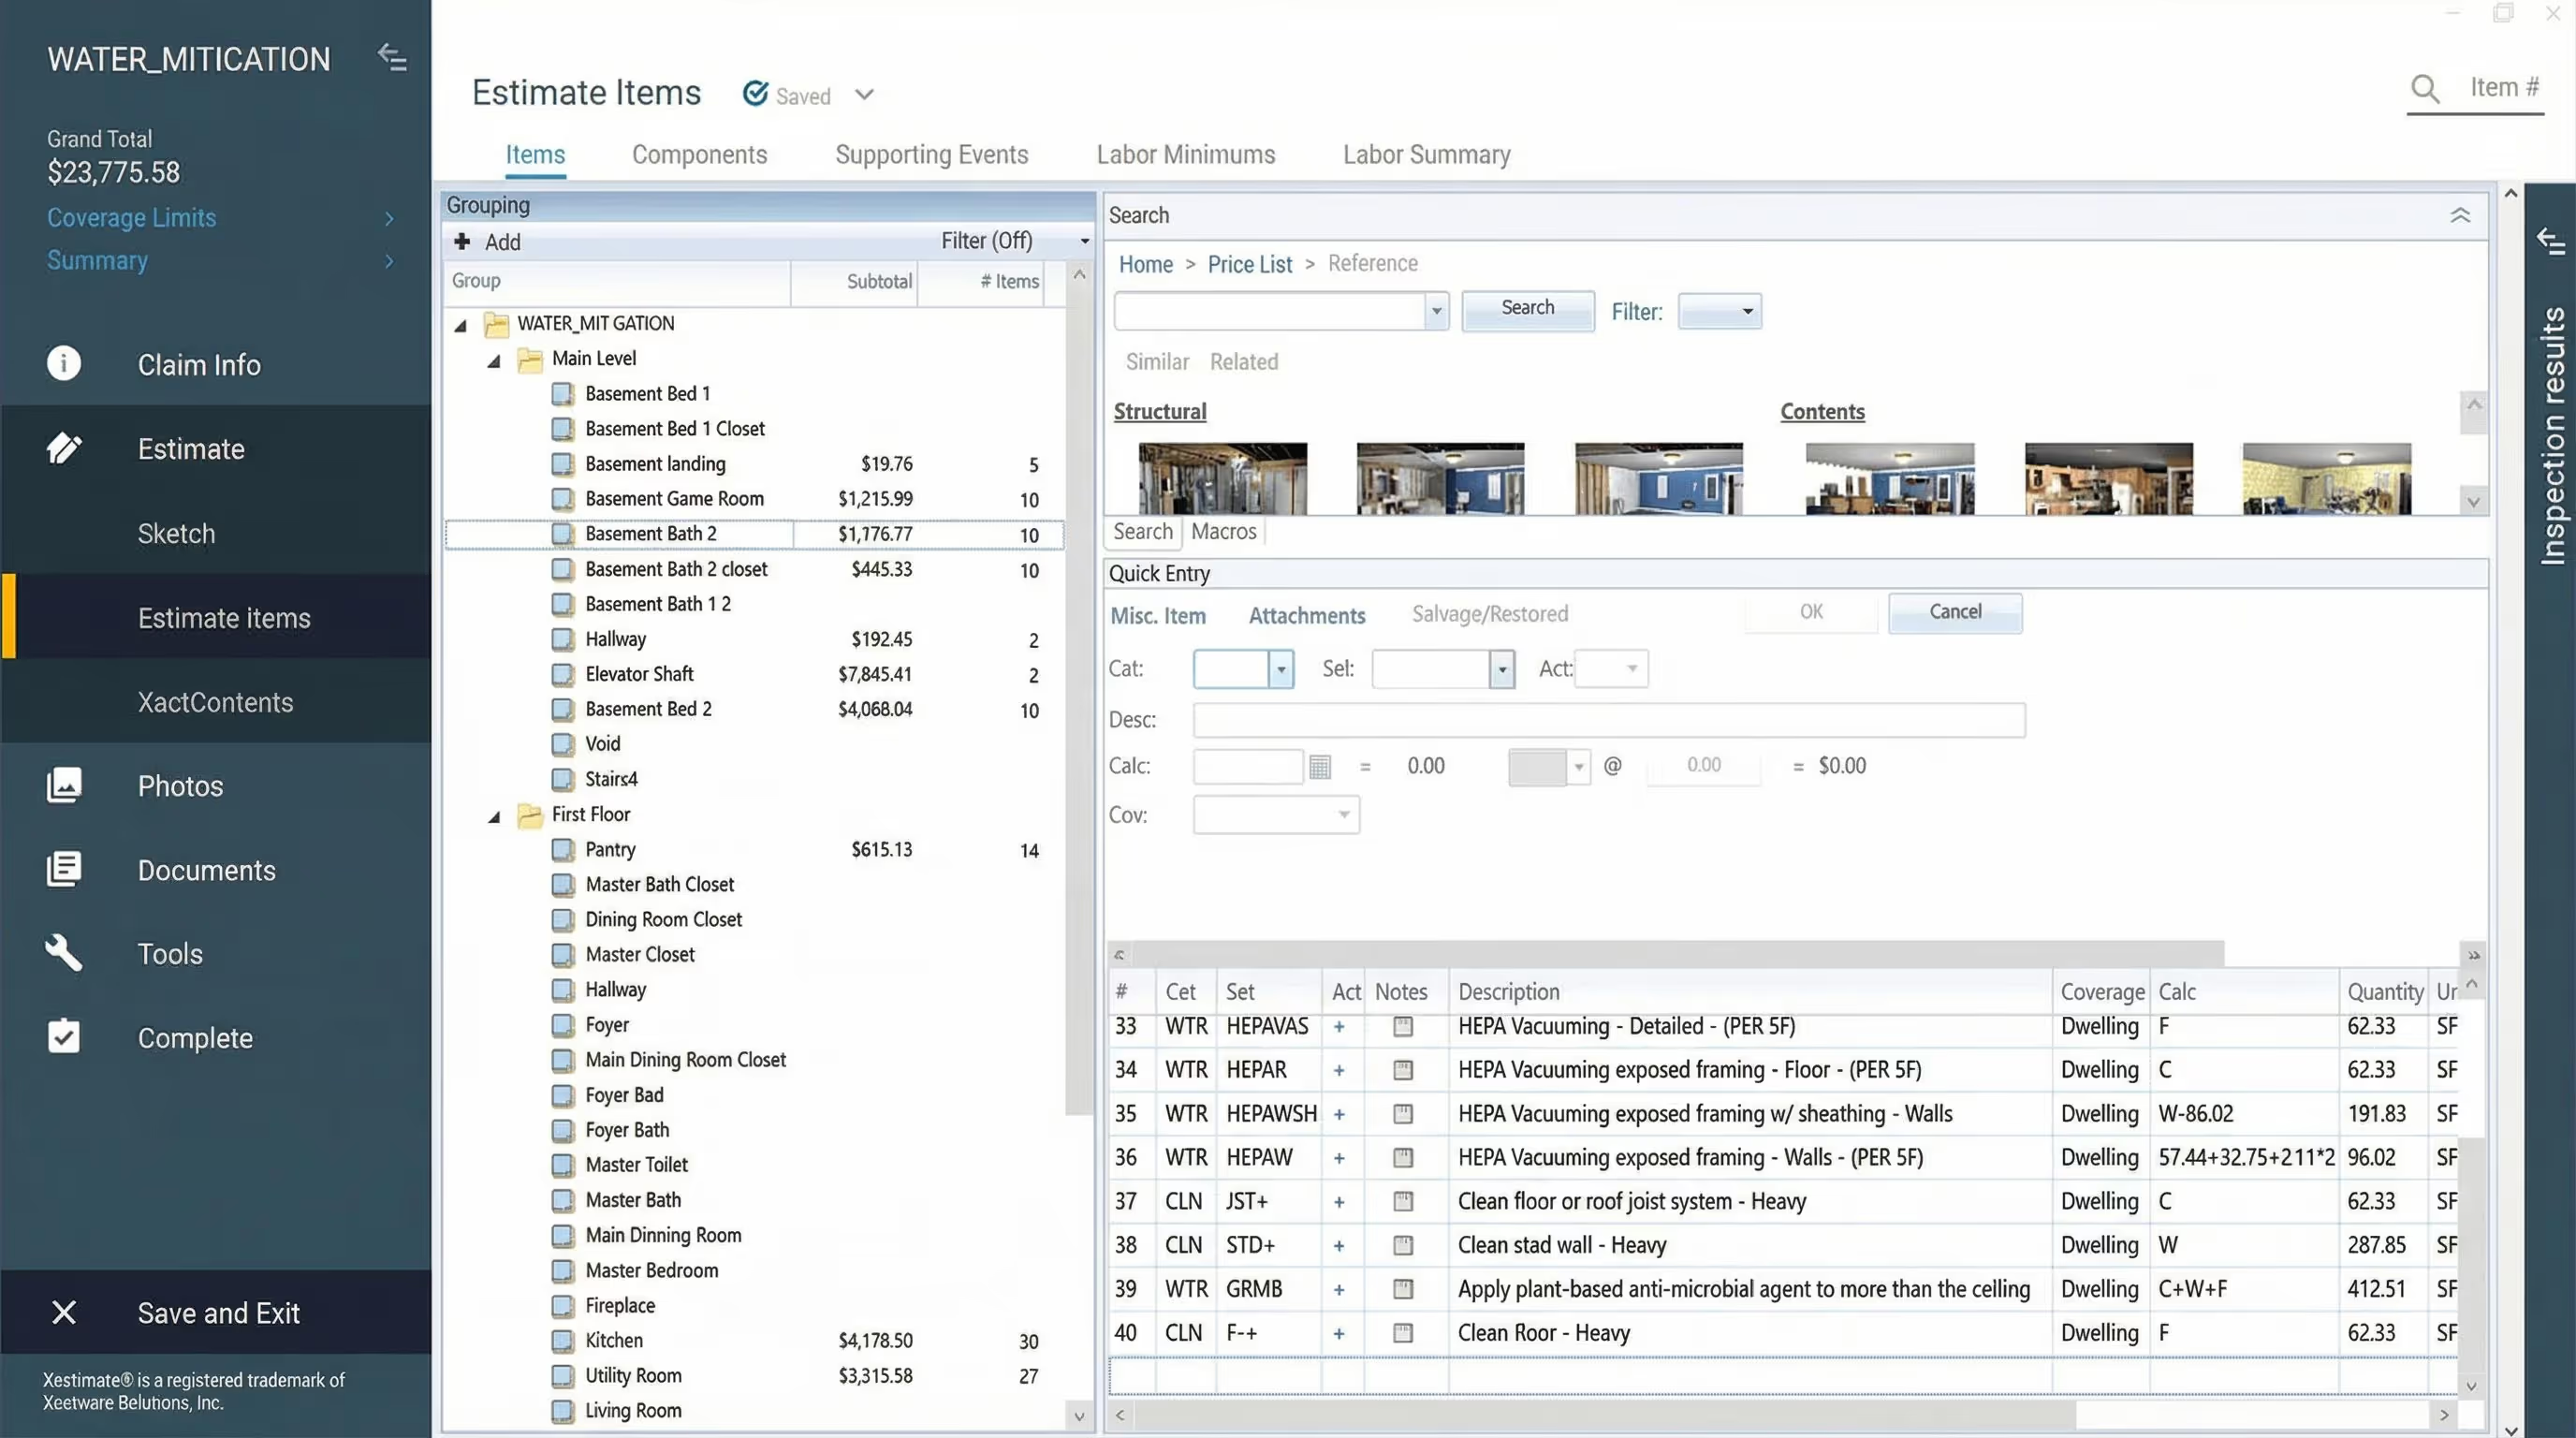
Many restoration professionals use software with IICRC standards built in, but if you’d like to do your calculations by hand, you can use this worksheet.
Calculate the optimal number of air movers needed for water damage restoration based on IICRC S500 standards
Enter your project details below to calculate a recommended range of air movers based on IICRC S500 standards. Use this as a reference point for planning and validating your drying setup.
Important Notes
- All fractional results are rounded up to the next whole number
- For small rooms under 25 sq ft, one air mover may be adequate
- Lower wall drying (up to 2 feet) is included in floor square footage
- Use professional judgment to adjust based on specific conditions
Why Proper Air Mover Calculation Is Critical
Using the correct number of air movers in a space is important not just because the sooner a space can dry out, the sooner you can start the real work. It’s because if a space takes too long to dry out, you’ll end up dealing with a lot of other headaches.
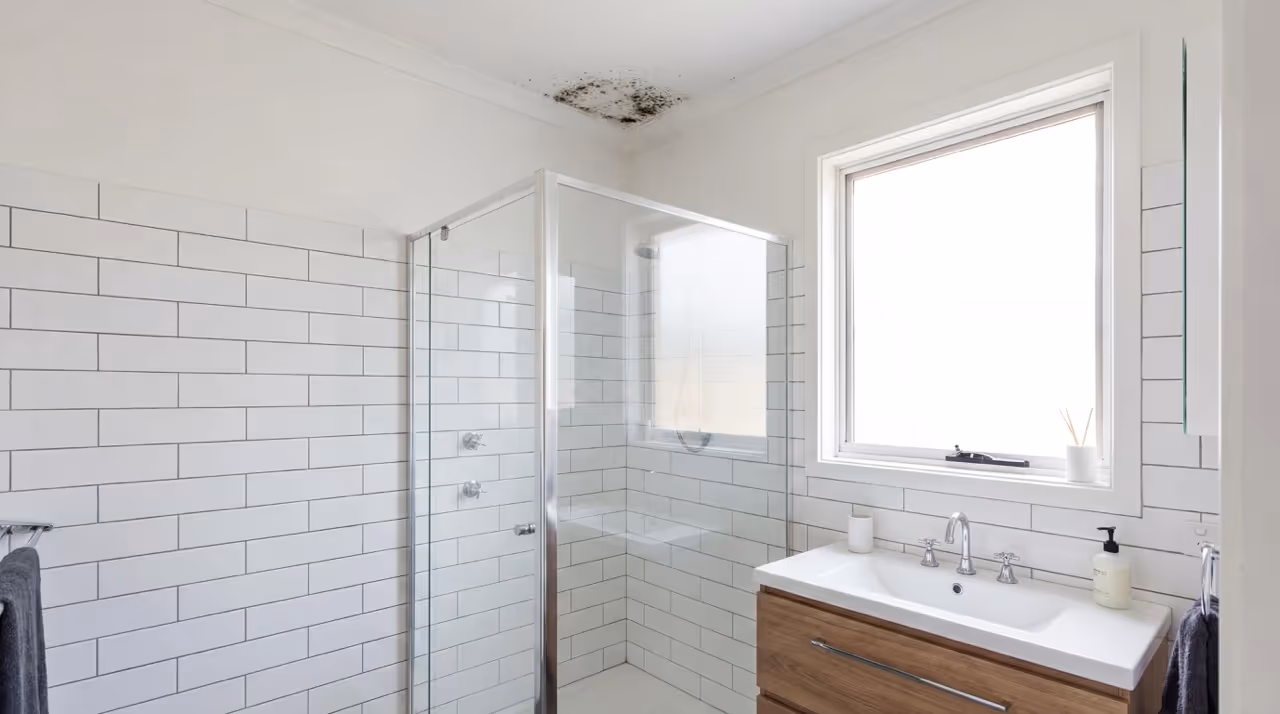
Van Cleve warns restorers to watch out for microbial growth in particular. “I’ve run into properties that clearly had a lot of microbial growth going on, and you can’t put air movers in until that’s sorted out, since you don’t want to blow spores into the air people are breathing, since most water damage projects are in occupied spaces,” he says. “This only adds to more delays as you’ll need a specialist to come take a look at it to create a protocol, and on it goes.”
With faster drying times, you can improve the quality of work for everyone involved. This in turn leads to fewer callbacks and project delays as the space takes time to dry out. The sooner you can get on the job, the sooner you can get paid.
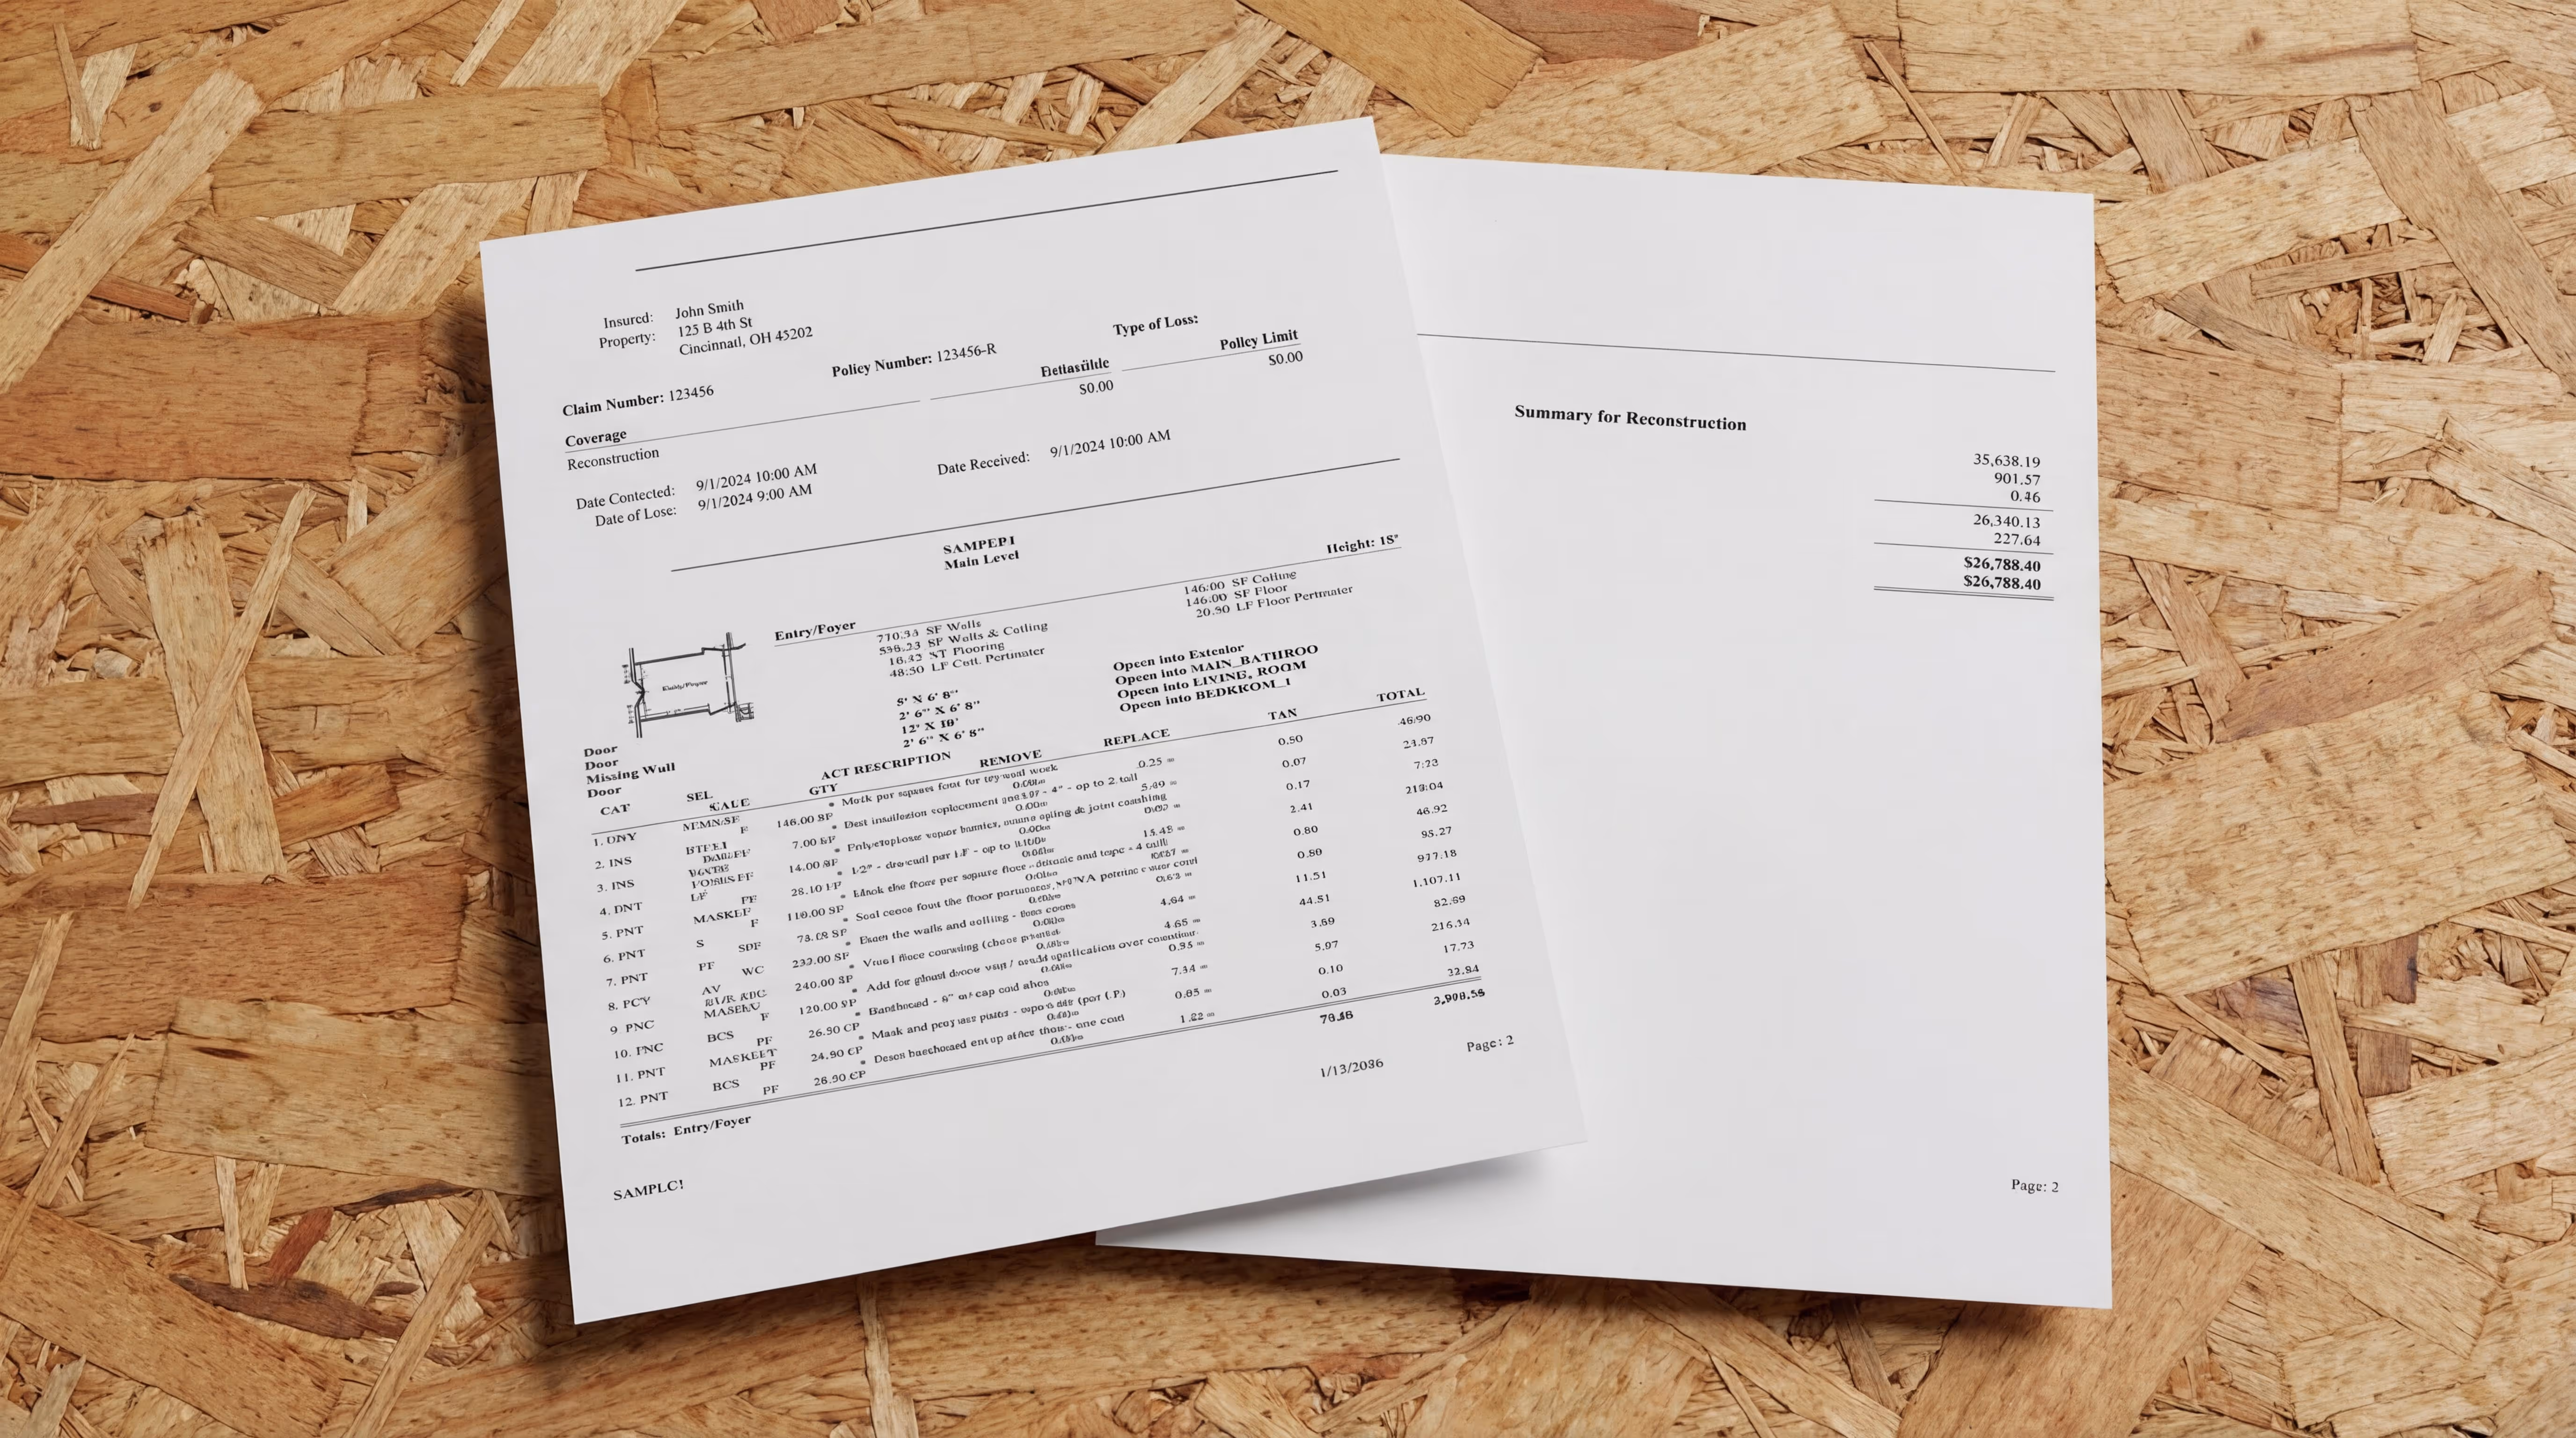
Besides doing the job right, including the correct number of air movers is essential for meeting insurance and industry documentation requirements. Failure to do so puts your business at risk.
Common Mistakes to Avoid in Air Mover Calculation
While the calculations are fairly straightforward, restorers can run into several kinds of issues throughout the drying stage of the project. Watch out for:
Mistake #1: Inaccurate Measurements
Where Van Cleve sees restorers trip up is not in the calculations, but in the measurements.
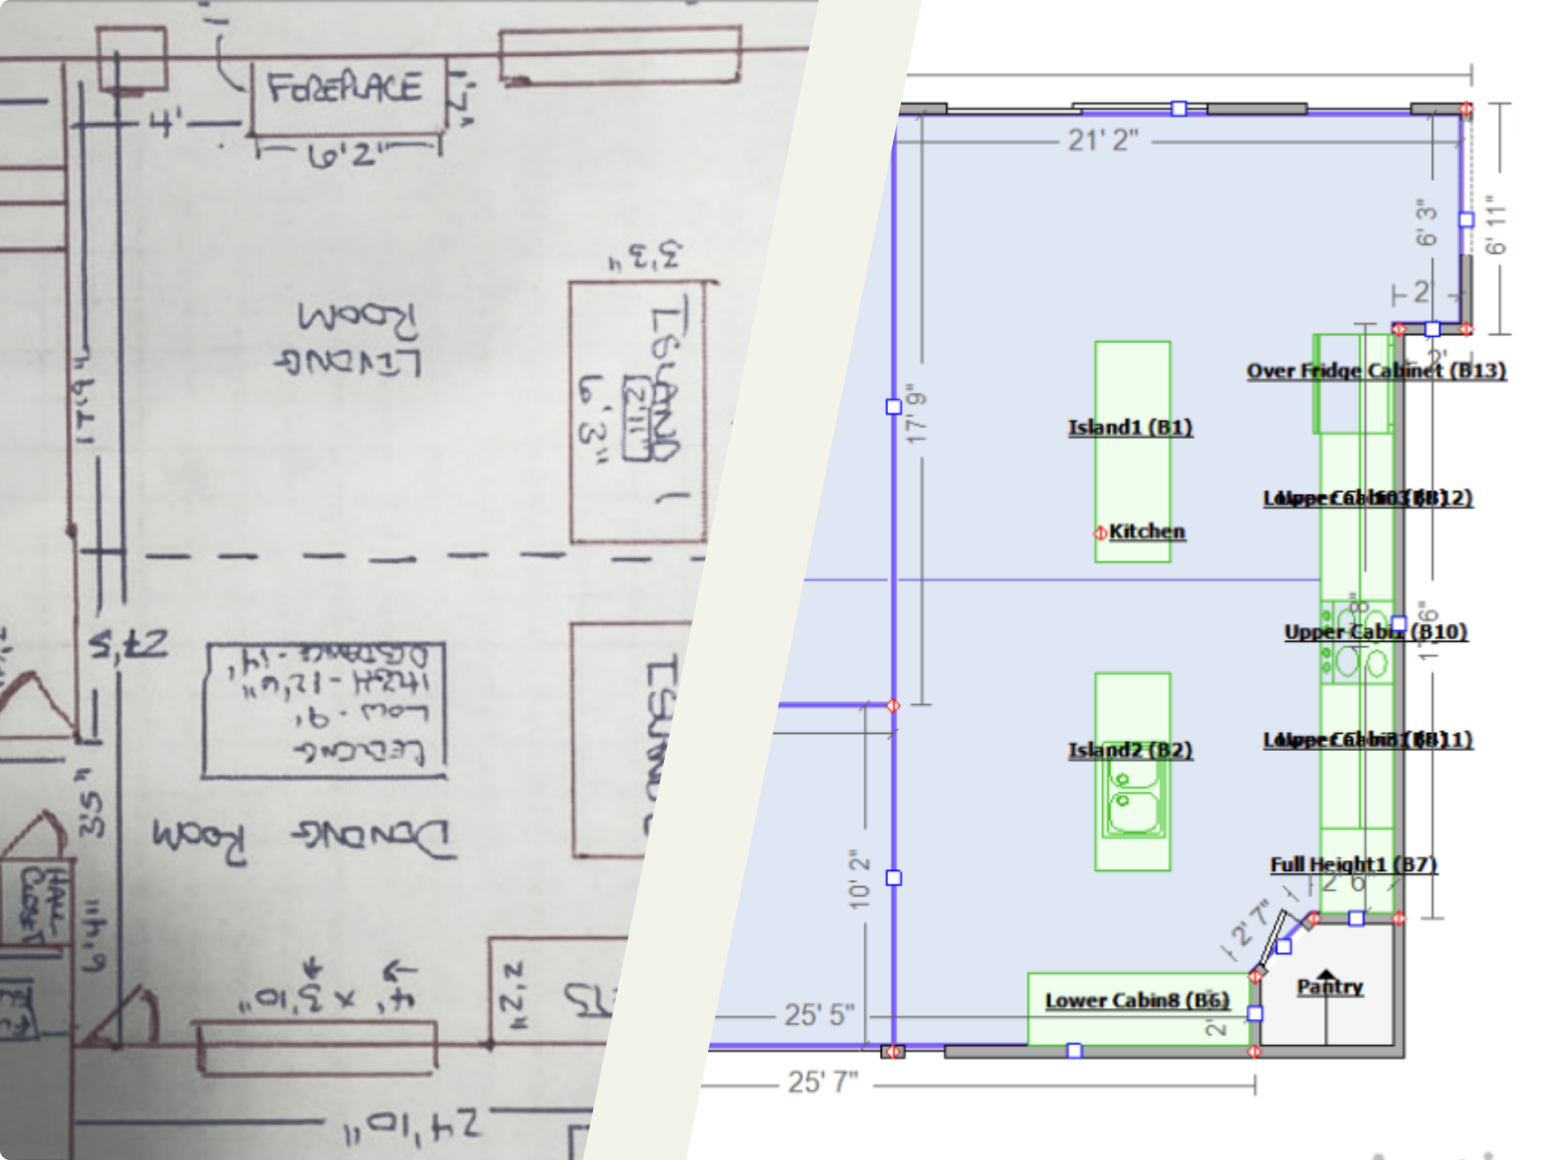
“The most common mistake I see is treating every room like a box,” he says. “When someone’s measuring out a room, they’ll just take the length and width measurement and draw it as a square, but more commonly, you’ll have insets or offsets throughout the room. Think of a fireplace, for example, which is going to block air from traveling across that wall because it’s at a 90 degree angle. You have to account for these in your drying calculations.”
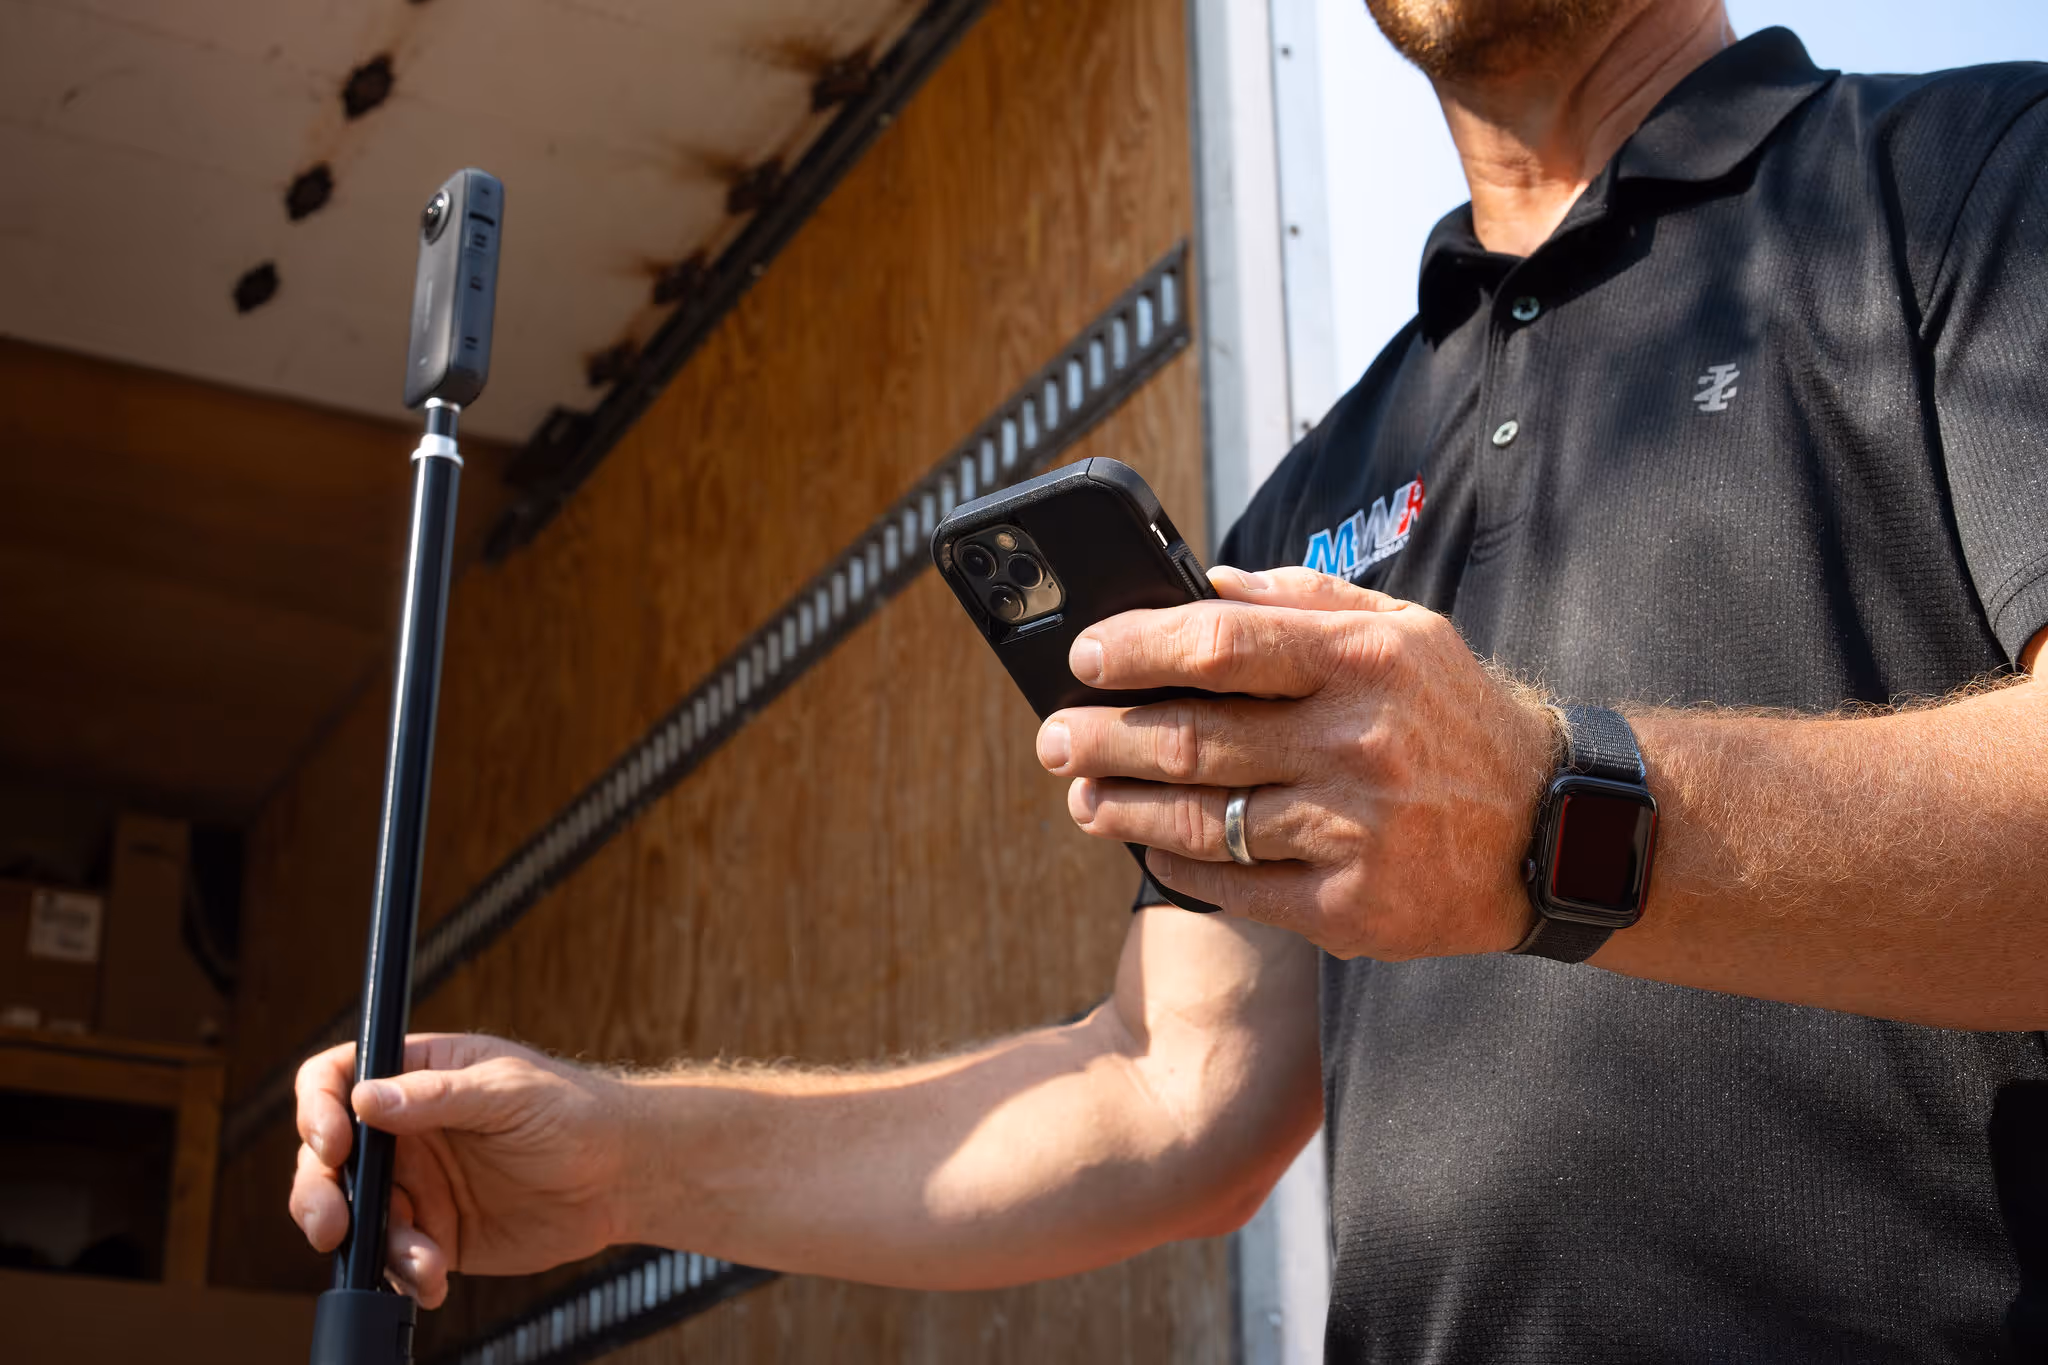
That’s the equivalent of eyeballing measurements and hoping for the best. Van Cleve recommends spending more time making sure your measurements are accurate before you do your calculations to prevent issues with offsets or unusual room shapes. DocuSketch makes it easy to do this, especially in rooms where water damage makes it hard to measure. Just place our camera in the middle of the affected area and DocuSketch will deliver accurate measurements and 360° documentation
Mistake #2: Forgetting Power Constraints
Certain types of buildings can only handle so much power. An older home may not be able to use 20 air movers at a time. Says Van Cleve, “One of the biggest problems you’ll run into is power constraints. If you don’t have enough power, you’ll need to find a way to get more onto the property.”
You can (and should) move air movers around as the space dries out, but without enough power, you’ll have to pay more attention. “If you can’t get enough power, then you’ll need to move them around the room more often, because you’ll be limited to how many you can put into the room based on the amount of power to run them,” he says. “You may also simply not have enough air movers to go around, if you’re in a catastrophe situation. You’ll need to make the best of it.”
Mistake #3: Failing to Consider All the Options
When that happens, Van Cleve recommends thinking outside the (boxed) air mover to get the space dry more quickly. “A lot of times we’re stuck in the mindset of, ‘We have to use the air movers,’” he says. “But there are other pieces of equipment you can use alongside them to speed things up, like floor drying mats.”
Van Cleve remembers a commercial restoration project at a restaurant where the owners wouldn’t close the business while they were working. “It had flooded from above the kitchen, and they had a prefabricated ceiling, which is not an easy thing to dry. In that case, we used a floor mat drying system that sucks air out rather than pushing air over the water for the ceiling, which sped up the process,” he says. “If you have other equipment, you can factor that into your calculations.”
GO FURTHER: A complete guide to tracking your restoration equipment
How to Use Air Movers on the Job
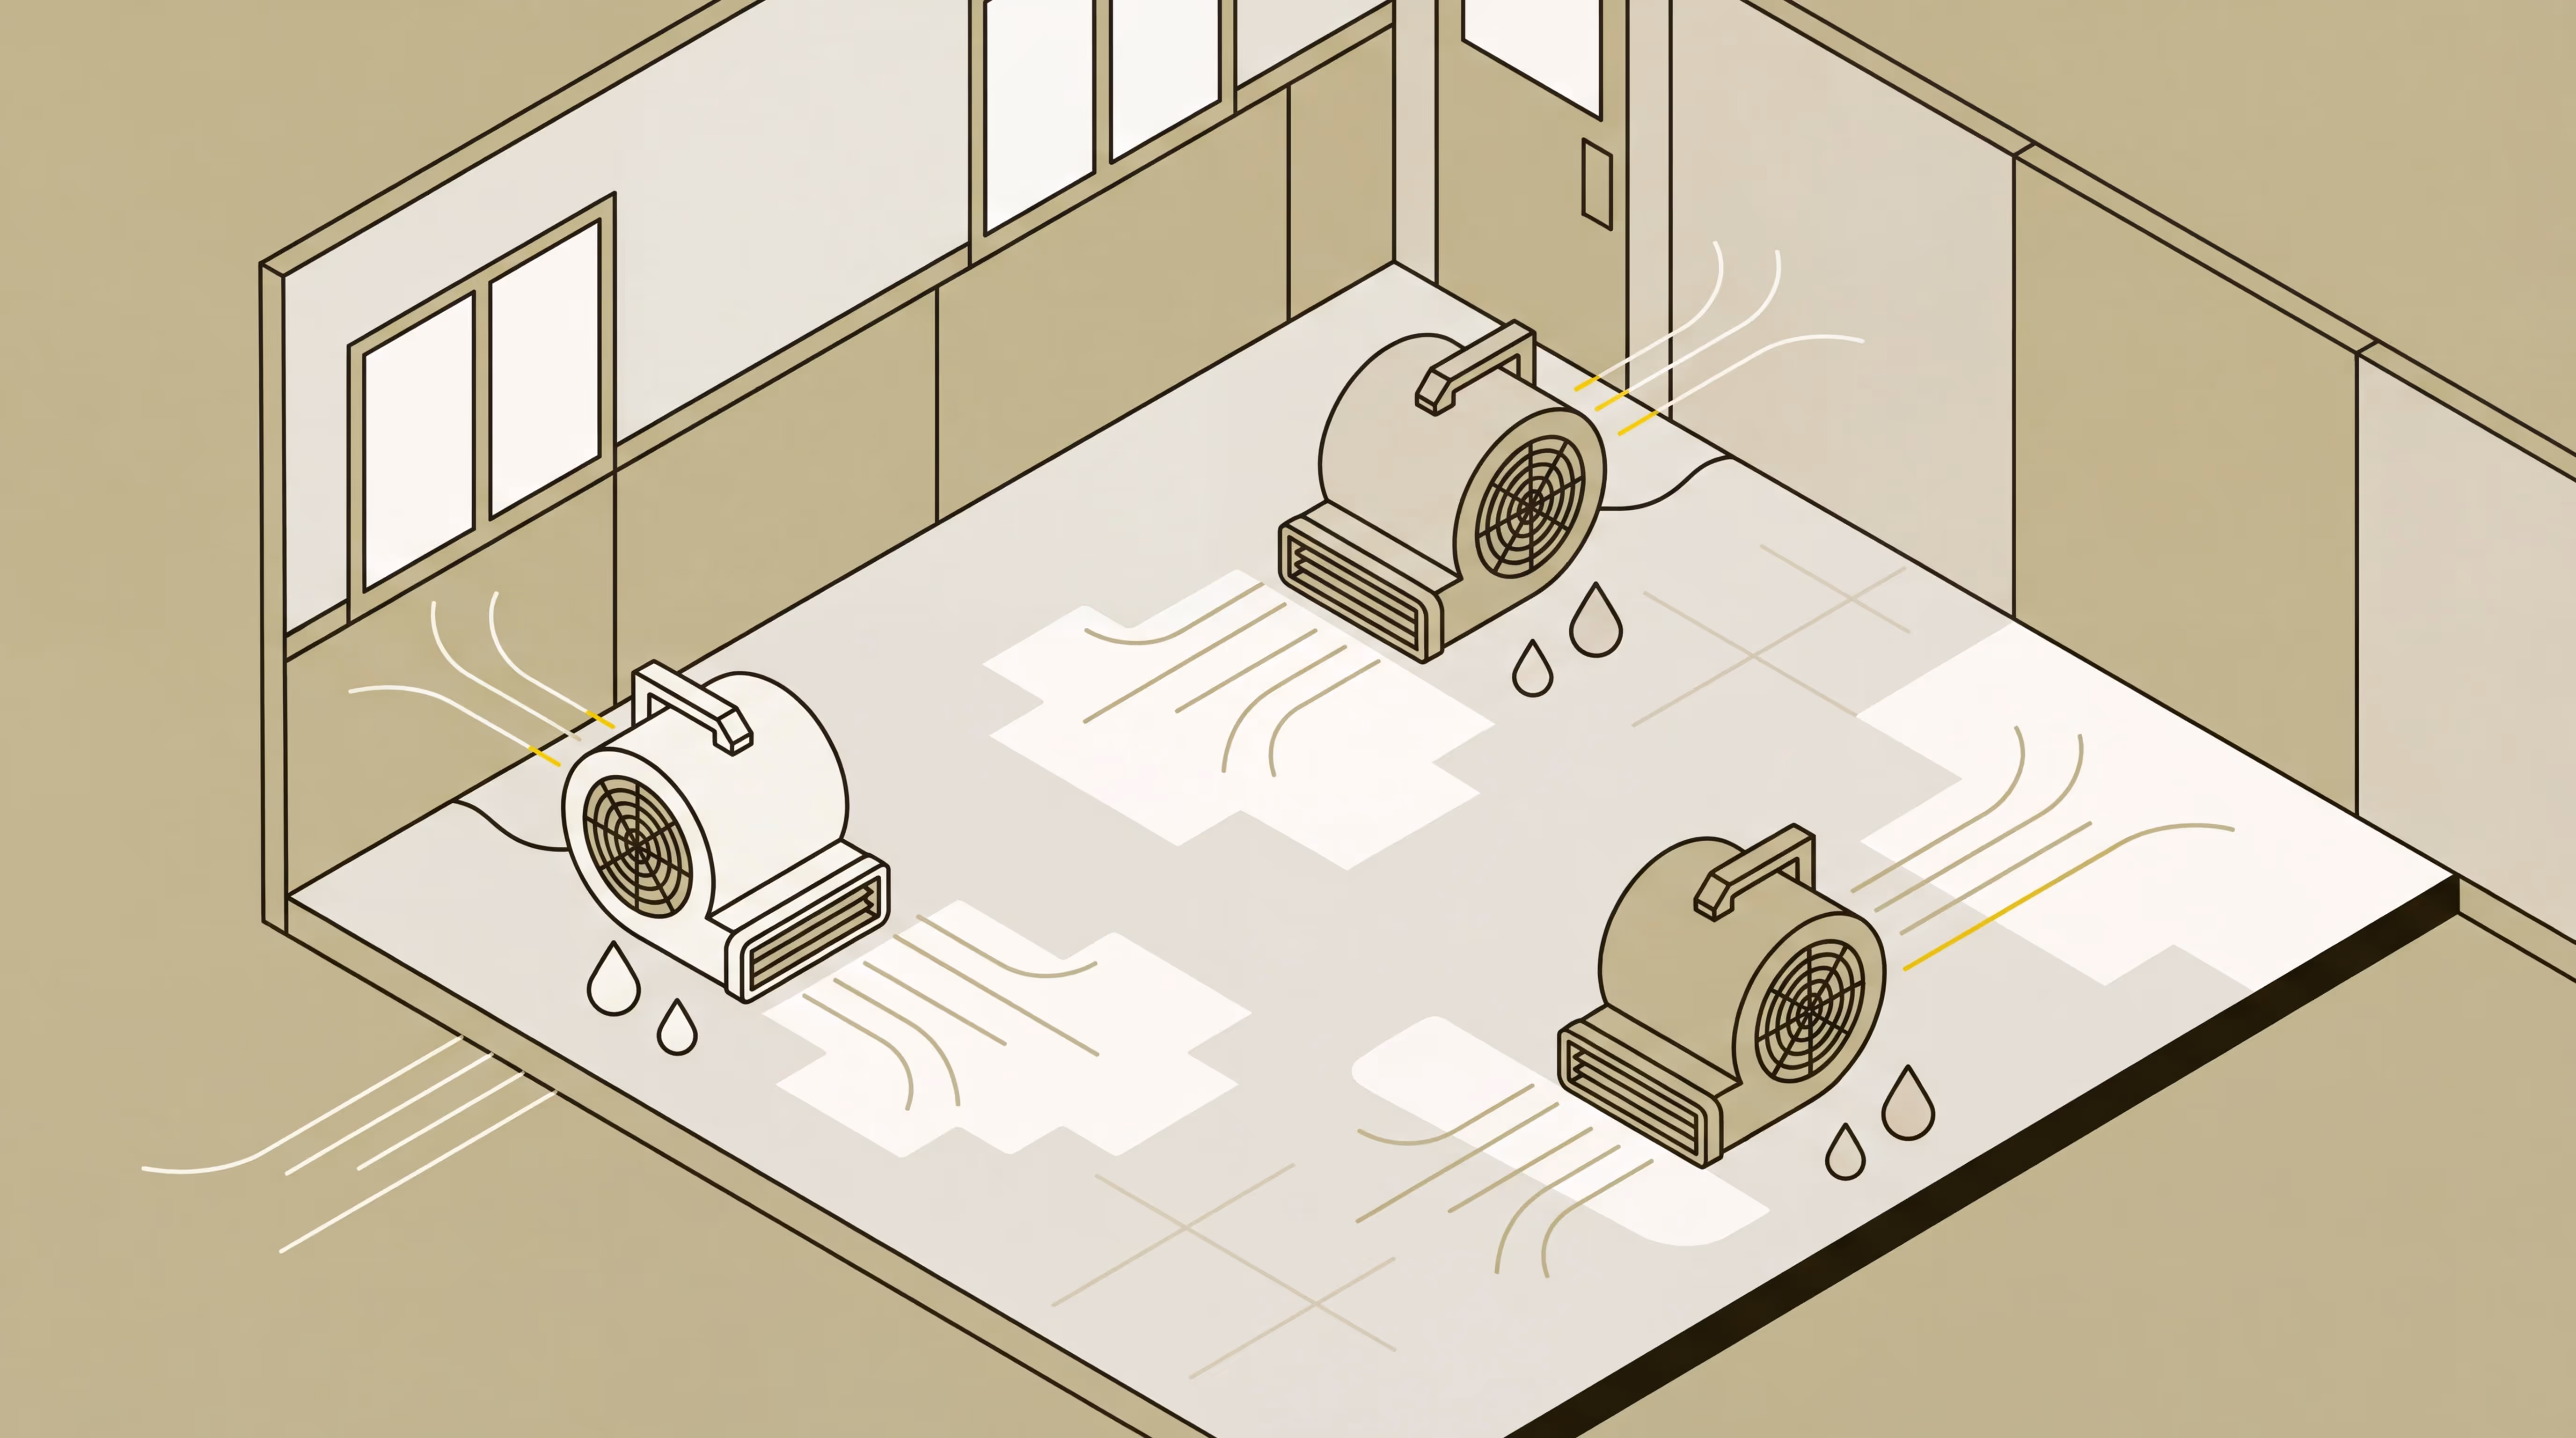
When you’re using air movers on the job, start with one air mover at a time, continuing the flow of air movers in the same direction. “I usually recommend starting on the entry of the room, where we’ll set up our first air mover blowing against the wall at about a 45 degree angle,” says Van Cleve. “Then, go every 10-15 feet, or every offset, to set up another air mover around that room.”
What this does is create a small vortex in the room where each air mover works together to move air across standing water, helping it evaporate faster. As parts of the space dry out, you can move the equipment to speed the process along.
As you add air movers to the space, think through special situations, like obstructions from furniture or cabinets. “Sometimes you have to get creative,” adds Van Cleve. “With cabinets, for example, you would put a hole in the toe kick and have the air mover blow into those holes, as opposed to straight across like drywall. You have to have air movement underneath that cabinet space or it won’t dry properly."
Calculate Air Movers Effortlessly with DocuSketch
With DocuSketch, you receive a true layout of any room—including offsets, insets, and obstructions—so you receive an accurate set of measurements before you jump in to hauling a bunch of air movers into a flooded space. Set your project up for success by using DocuSketch’s 360-degree camera takes less time and effort to measure a space, helping you get the job done faster. See how DocuSketch can help your water restoration project
When you’re dealing with water damage—whether it’s just affecting one area of one room or the entire basement has been flooded—you’ll need several pieces of equipment to begin to dry things out. After you’ve taken your moisture readings, you can start adding air movers to the space alongside your dehumidifiers.
“Air movers release the surface tension so water molecules can evaporate. If you have a puddle of water, it can sit there for a long time. Moving air across the top speeds up the process so you can get started on the restoration project more quickly,” says Jason Van Cleve, Large Loss Account Manager at DocuSketch.
How do you know how many air movers to use in a space? For that, you’ll need to perform a few basic calculations to conform to IICRC S500 standards.
READ MORE: How to build a water damage drying log
Getting Started with Air Mover Calculation
“Remember, it’s just a math problem,” says Van Cleve. “But you do need accurate measurements to do it correctly, so you know exactly how many you need.” The more precise you can be with your calculations, the faster you can complete your restoration project. Here’s how to do it correctly:
Before You Begin: Water Damage Guidelines to Know
With water damage, restorers should defer to the IICRC S500 standards, which are widely accepted as the gold standard in water damage restoration. This includes both ANSI and BSR standards within the IICRC purview, including mold remediation (ANSI) and commercial structures (BSR). Depending on the job site, you may also need to refer to additional guidelines, such as those for schools or healthcare facilities.
Following the IICRC S500 means you must ensure adequate circulation of air throughout the entire affected area (like a basement, apartment, or entire home) which includes interstitial spaces, and direct airflow across any open areas with standing water. Ideally, you should point air movers in the same direction, and deliver air at an angle (anywhere from 5-45 degrees) along the entire length of any affected floor or wall.
The key is continuous airflow across wet surfaces at all times. That means taking into account potential obstructions to airflow, like furniture, large equipment, or other structural aspects of the room, like insets, closets, or doorways.
Essential Factors in Air Mover Calculations: What You Must Know Before You Calculate
Whether you’re calculating by hand or using software, you’ll need to take into account several factors for the room, like:
- Room size and number
- Affected wet surface area
- Wall and ceiling height considerations
- Material types and obstructions to airflow
- Linear feet of affected lower wall
“One important area to consider is the water damage classification,” says Van Cleve. “There are four classifications, depending on how much water intrusion you have in a space. The lowest, class one, affects only a certain portion of the room. That goes all the way up to class four, which is major water damage or severe flooding, that can even include water damage on the ceiling and walls.”
A Step-by-Step Guide to Calculating Air Movers
Once you have all of the information on the space ready to go, you can calculate the number of air movers you need. You should install one air mover in each affected room. Then, add one air mover:
- Every 50-70 square feet of affected wet floor in each room
- Every 100-150 square feet of affected wet ceiling and wall areas above 2 feet
- With wall inset and offset greater than 18 inches
Let’s start with an easy example. Let’s say you were handling the average basement with some moderate water damage across the entire floor—in the U.S., that’s around 1000 square feet. With no offsets or other special considerations, you’d need:
- 25 L x 40 W = 1000 square feet basement / 50 square feet standard = 20 air movers (high range)
- 25 L x 45 W = 1000 square feet basement / 70 square feet standard = 14 air movers (low range)
That kind of scenario isn’t super common, though. More often than not, you’ll have to deal with tricky dimensions or random offsets in a room that can hinder the drying process. Let’s say you have the average basement, but instead of one room, it’s got a long hallway that’s 5 x 4, which connects two rooms, each that are 484 square feet (22 x 22). The water damage is isolated to one of the rooms. You'll need:
- 22 L x 22 W = 484 square feet in basement/ 50 square feet standard = 9.68, so 10 air movers (high range)
- 22 L x 22 W = 484 square feet in basement/ 50 square feet standard = 6.9, so 7 air movers (low range)
Many restoration professionals use software with IICRC standards built in, but if you’d like to do your calculations by hand, you can use this worksheet.
Calculate the optimal number of air movers needed for water damage restoration based on IICRC S500 standards
Enter your project details below to calculate a recommended range of air movers based on IICRC S500 standards. Use this as a reference point for planning and validating your drying setup.
Important Notes
- All fractional results are rounded up to the next whole number
- For small rooms under 25 sq ft, one air mover may be adequate
- Lower wall drying (up to 2 feet) is included in floor square footage
- Use professional judgment to adjust based on specific conditions
Why Proper Air Mover Calculation Is Critical
Using the correct number of air movers in a space is important not just because the sooner a space can dry out, the sooner you can start the real work. It’s because if a space takes too long to dry out, you’ll end up dealing with a lot of other headaches.
Van Cleve warns restorers to watch out for microbial growth in particular. “I’ve run into properties that clearly had a lot of microbial growth going on, and you can’t put air movers in until that’s sorted out, since you don’t want to blow spores into the air people are breathing, since most water damage projects are in occupied spaces,” he says. “This only adds to more delays as you’ll need a specialist to come take a look at it to create a protocol, and on it goes.”
With faster drying times, you can improve the quality of work for everyone involved. This in turn leads to fewer callbacks and project delays as the space takes time to dry out. The sooner you can get on the job, the sooner you can get paid.
Besides doing the job right, including the correct number of air movers is essential for meeting insurance and industry documentation requirements. Failure to do so puts your business at risk.
Common Mistakes to Avoid in Air Mover Calculation
While the calculations are fairly straightforward, restorers can run into several kinds of issues throughout the drying stage of the project. Watch out for:
Mistake #1: Inaccurate Measurements
Where Van Cleve sees restorers trip up is not in the calculations, but in the measurements.
“The most common mistake I see is treating every room like a box,” he says. “When someone’s measuring out a room, they’ll just take the length and width measurement and draw it as a square, but more commonly, you’ll have insets or offsets throughout the room. Think of a fireplace, for example, which is going to block air from traveling across that wall because it’s at a 90 degree angle. You have to account for these in your drying calculations.”
That’s the equivalent of eyeballing measurements and hoping for the best. Van Cleve recommends spending more time making sure your measurements are accurate before you do your calculations to prevent issues with offsets or unusual room shapes. DocuSketch makes it easy to do this, especially in rooms where water damage makes it hard to measure. Just place our camera in the middle of the affected area and DocuSketch will deliver accurate measurements and 360° documentation
Mistake #2: Forgetting Power Constraints
Certain types of buildings can only handle so much power. An older home may not be able to use 20 air movers at a time. Says Van Cleve, “One of the biggest problems you’ll run into is power constraints. If you don’t have enough power, you’ll need to find a way to get more onto the property.”
You can (and should) move air movers around as the space dries out, but without enough power, you’ll have to pay more attention. “If you can’t get enough power, then you’ll need to move them around the room more often, because you’ll be limited to how many you can put into the room based on the amount of power to run them,” he says. “You may also simply not have enough air movers to go around, if you’re in a catastrophe situation. You’ll need to make the best of it.”
Mistake #3: Failing to Consider All the Options
When that happens, Van Cleve recommends thinking outside the (boxed) air mover to get the space dry more quickly. “A lot of times we’re stuck in the mindset of, ‘We have to use the air movers,’” he says. “But there are other pieces of equipment you can use alongside them to speed things up, like floor drying mats.”
Van Cleve remembers a commercial restoration project at a restaurant where the owners wouldn’t close the business while they were working. “It had flooded from above the kitchen, and they had a prefabricated ceiling, which is not an easy thing to dry. In that case, we used a floor mat drying system that sucks air out rather than pushing air over the water for the ceiling, which sped up the process,” he says. “If you have other equipment, you can factor that into your calculations.”
GO FURTHER: A complete guide to tracking your restoration equipment
How to Use Air Movers on the Job
When you’re using air movers on the job, start with one air mover at a time, continuing the flow of air movers in the same direction. “I usually recommend starting on the entry of the room, where we’ll set up our first air mover blowing against the wall at about a 45 degree angle,” says Van Cleve. “Then, go every 10-15 feet, or every offset, to set up another air mover around that room.”
What this does is create a small vortex in the room where each air mover works together to move air across standing water, helping it evaporate faster. As parts of the space dry out, you can move the equipment to speed the process along.
As you add air movers to the space, think through special situations, like obstructions from furniture or cabinets. “Sometimes you have to get creative,” adds Van Cleve. “With cabinets, for example, you would put a hole in the toe kick and have the air mover blow into those holes, as opposed to straight across like drywall. You have to have air movement underneath that cabinet space or it won’t dry properly."
Calculate Air Movers Effortlessly with DocuSketch
With DocuSketch, you receive a true layout of any room—including offsets, insets, and obstructions—so you receive an accurate set of measurements before you jump in to hauling a bunch of air movers into a flooded space. Set your project up for success by using DocuSketch’s 360-degree camera takes less time and effort to measure a space, helping you get the job done faster. See how DocuSketch can help your water restoration project

Related Articles


%20(1).jpg)