Large Loss Estimating Pro Tip: Using Xactimate's Valuation Tool as Your Secret Weapon


When writing a large loss in Xactimate, you're likely coming across systems and trades that you don't estimate every day. How can you make sure you're capturing all the line items that accompany electrical systems, HVAC installations, or even something as simple as house numbers or a mailbox?
The answer: Xactimate's often-overlooked Valuation Tool.
This isn't just another feature—it's your comprehensive checklist and quality control measure rolled into one. Here's how to use it effectively without getting bogged down in perfectionism.
When to Use the Valuation Tool: Three Strategic Approaches
The beauty of the Valuation Tool is its flexibility. Depending on your situation and comfort level, you can deploy it at different points in your estimating process:
Option 1 - Start with Valuation: For unfamiliar property types or complex systems outside your daily expertise, create the valuation first. This gives you a comprehensive scope understanding before you begin your manual estimate, ensuring you don't miss entire building systems from the start.
Option 2 - Use as Quality Control: Complete your initial manual estimate, then create a valuation for comparison. This approach works well when you're confident in the primary scope but want to double-check for overlooked components—exactly how I use it for large loss estimates.
Both approaches are valid—choose based on your familiarity with the property type and your confidence level with the specific building systems involved.
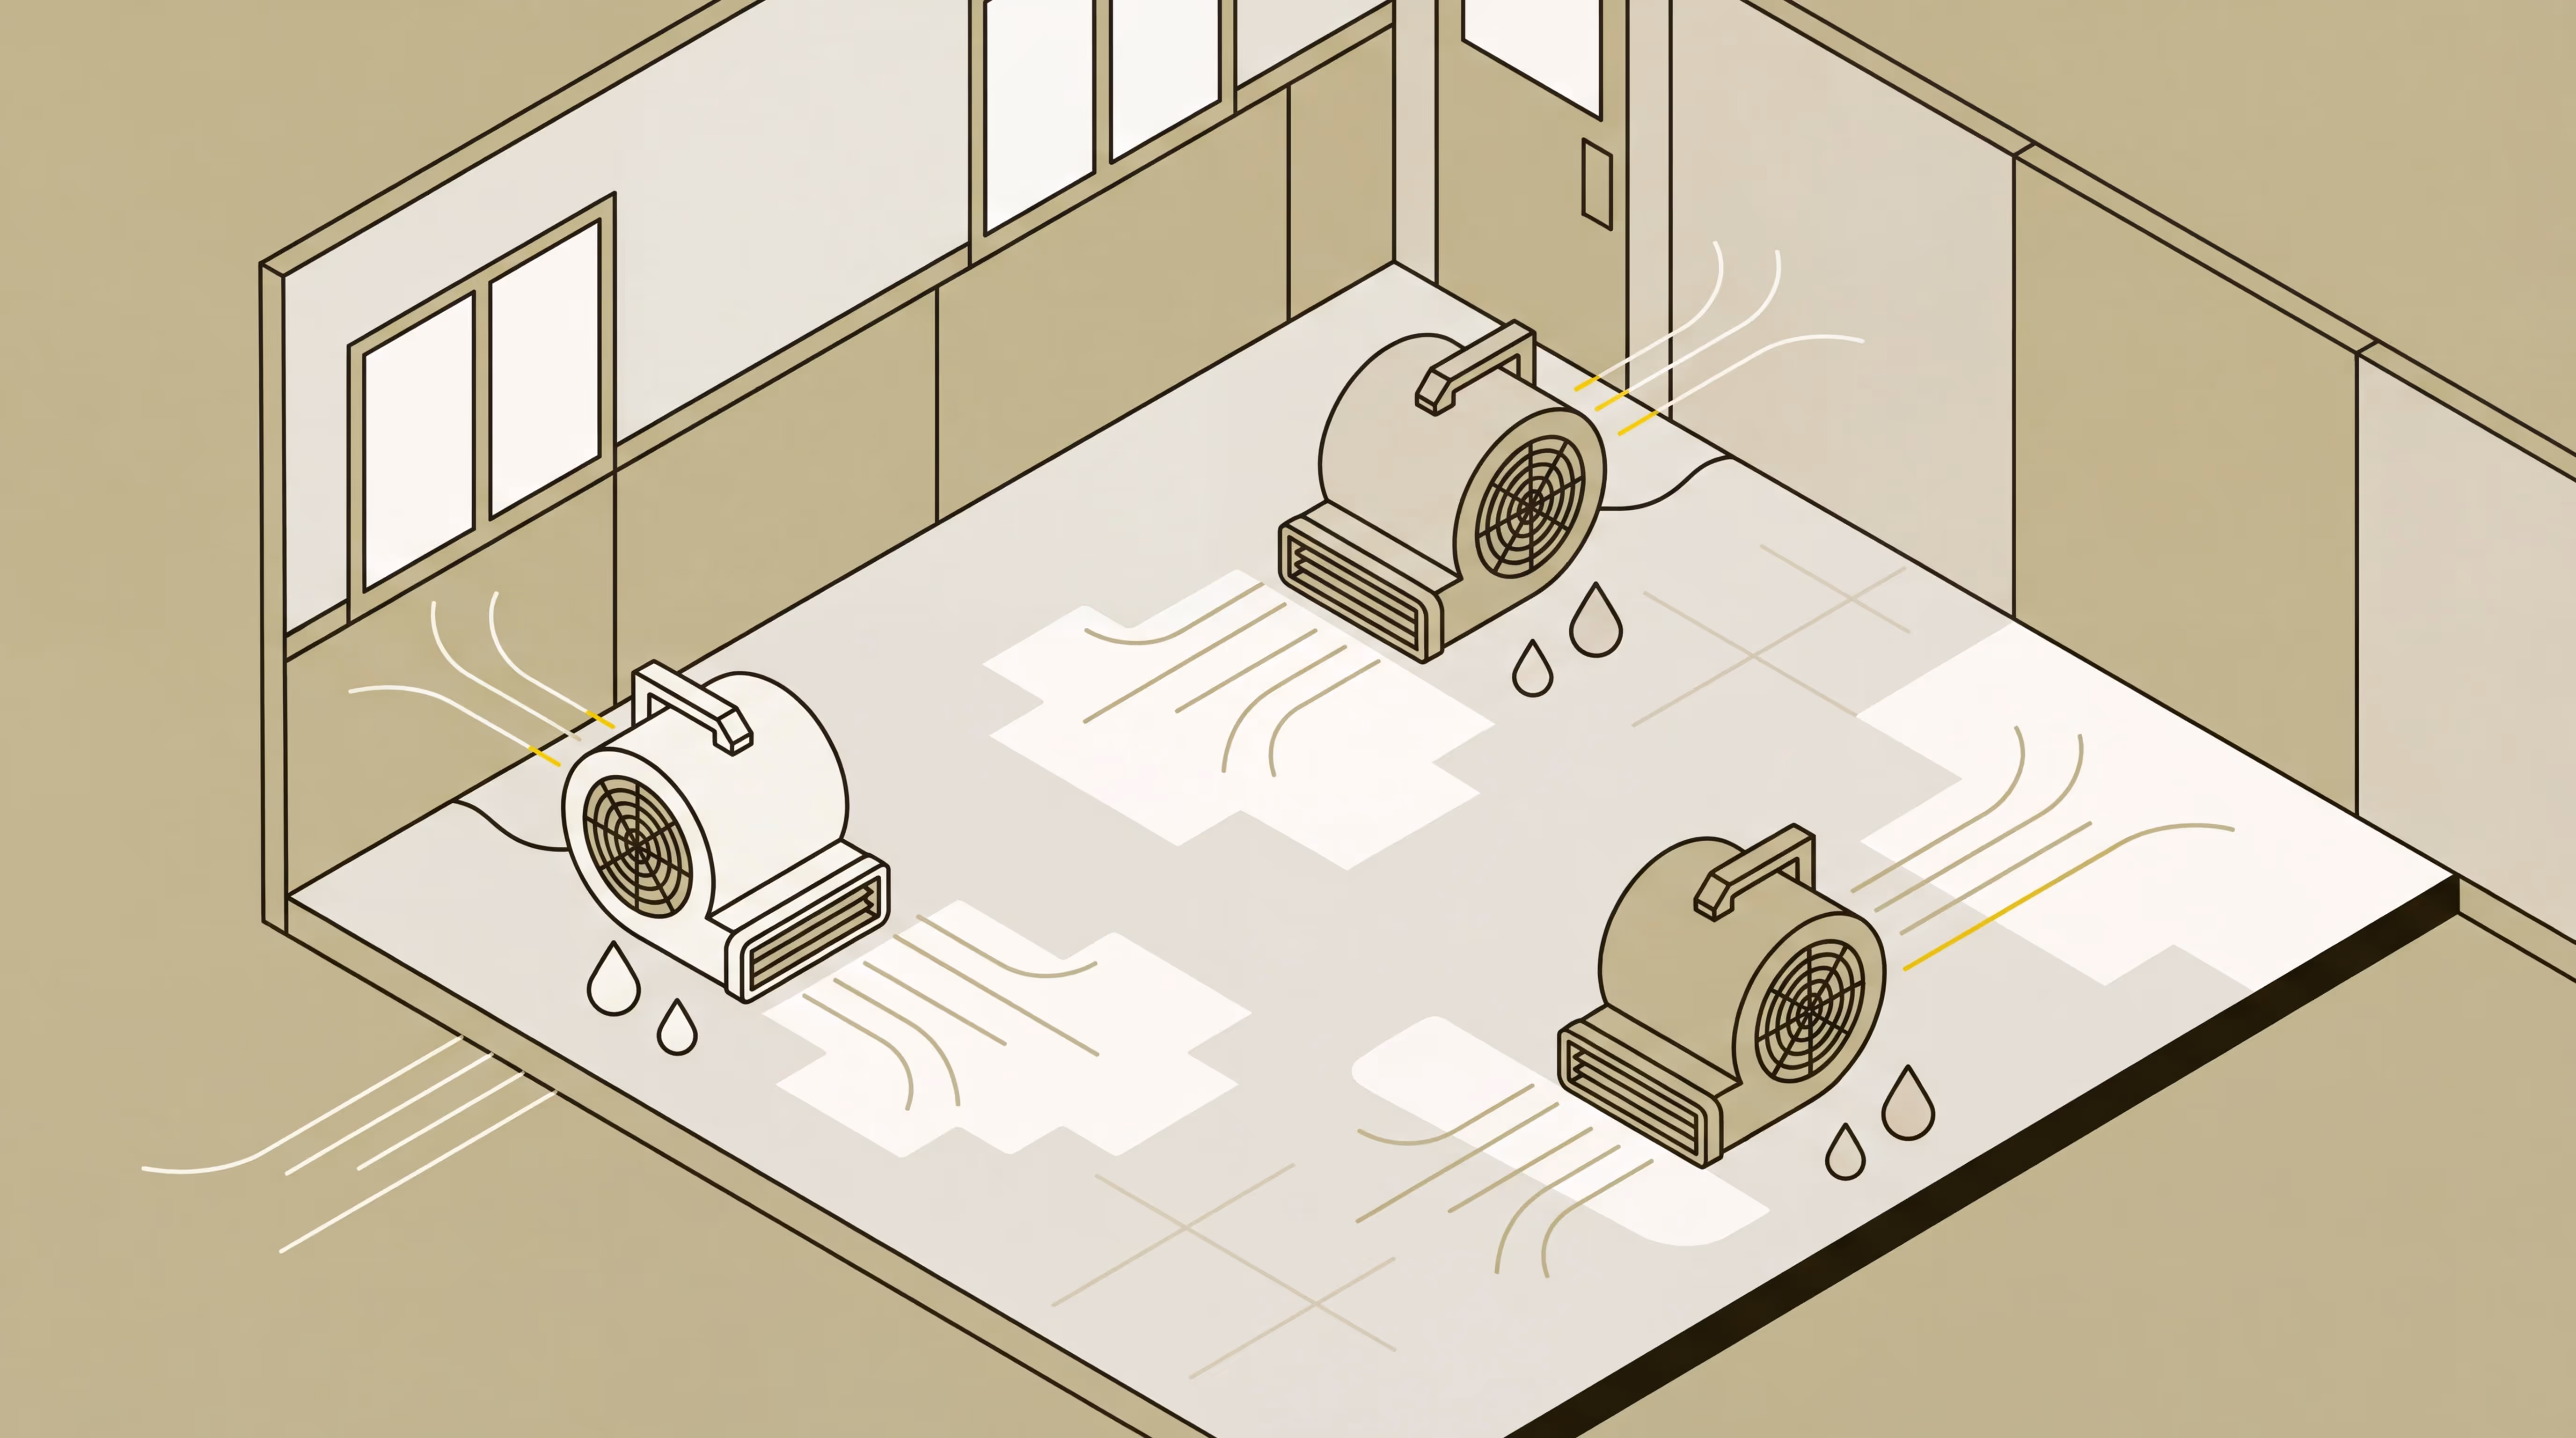
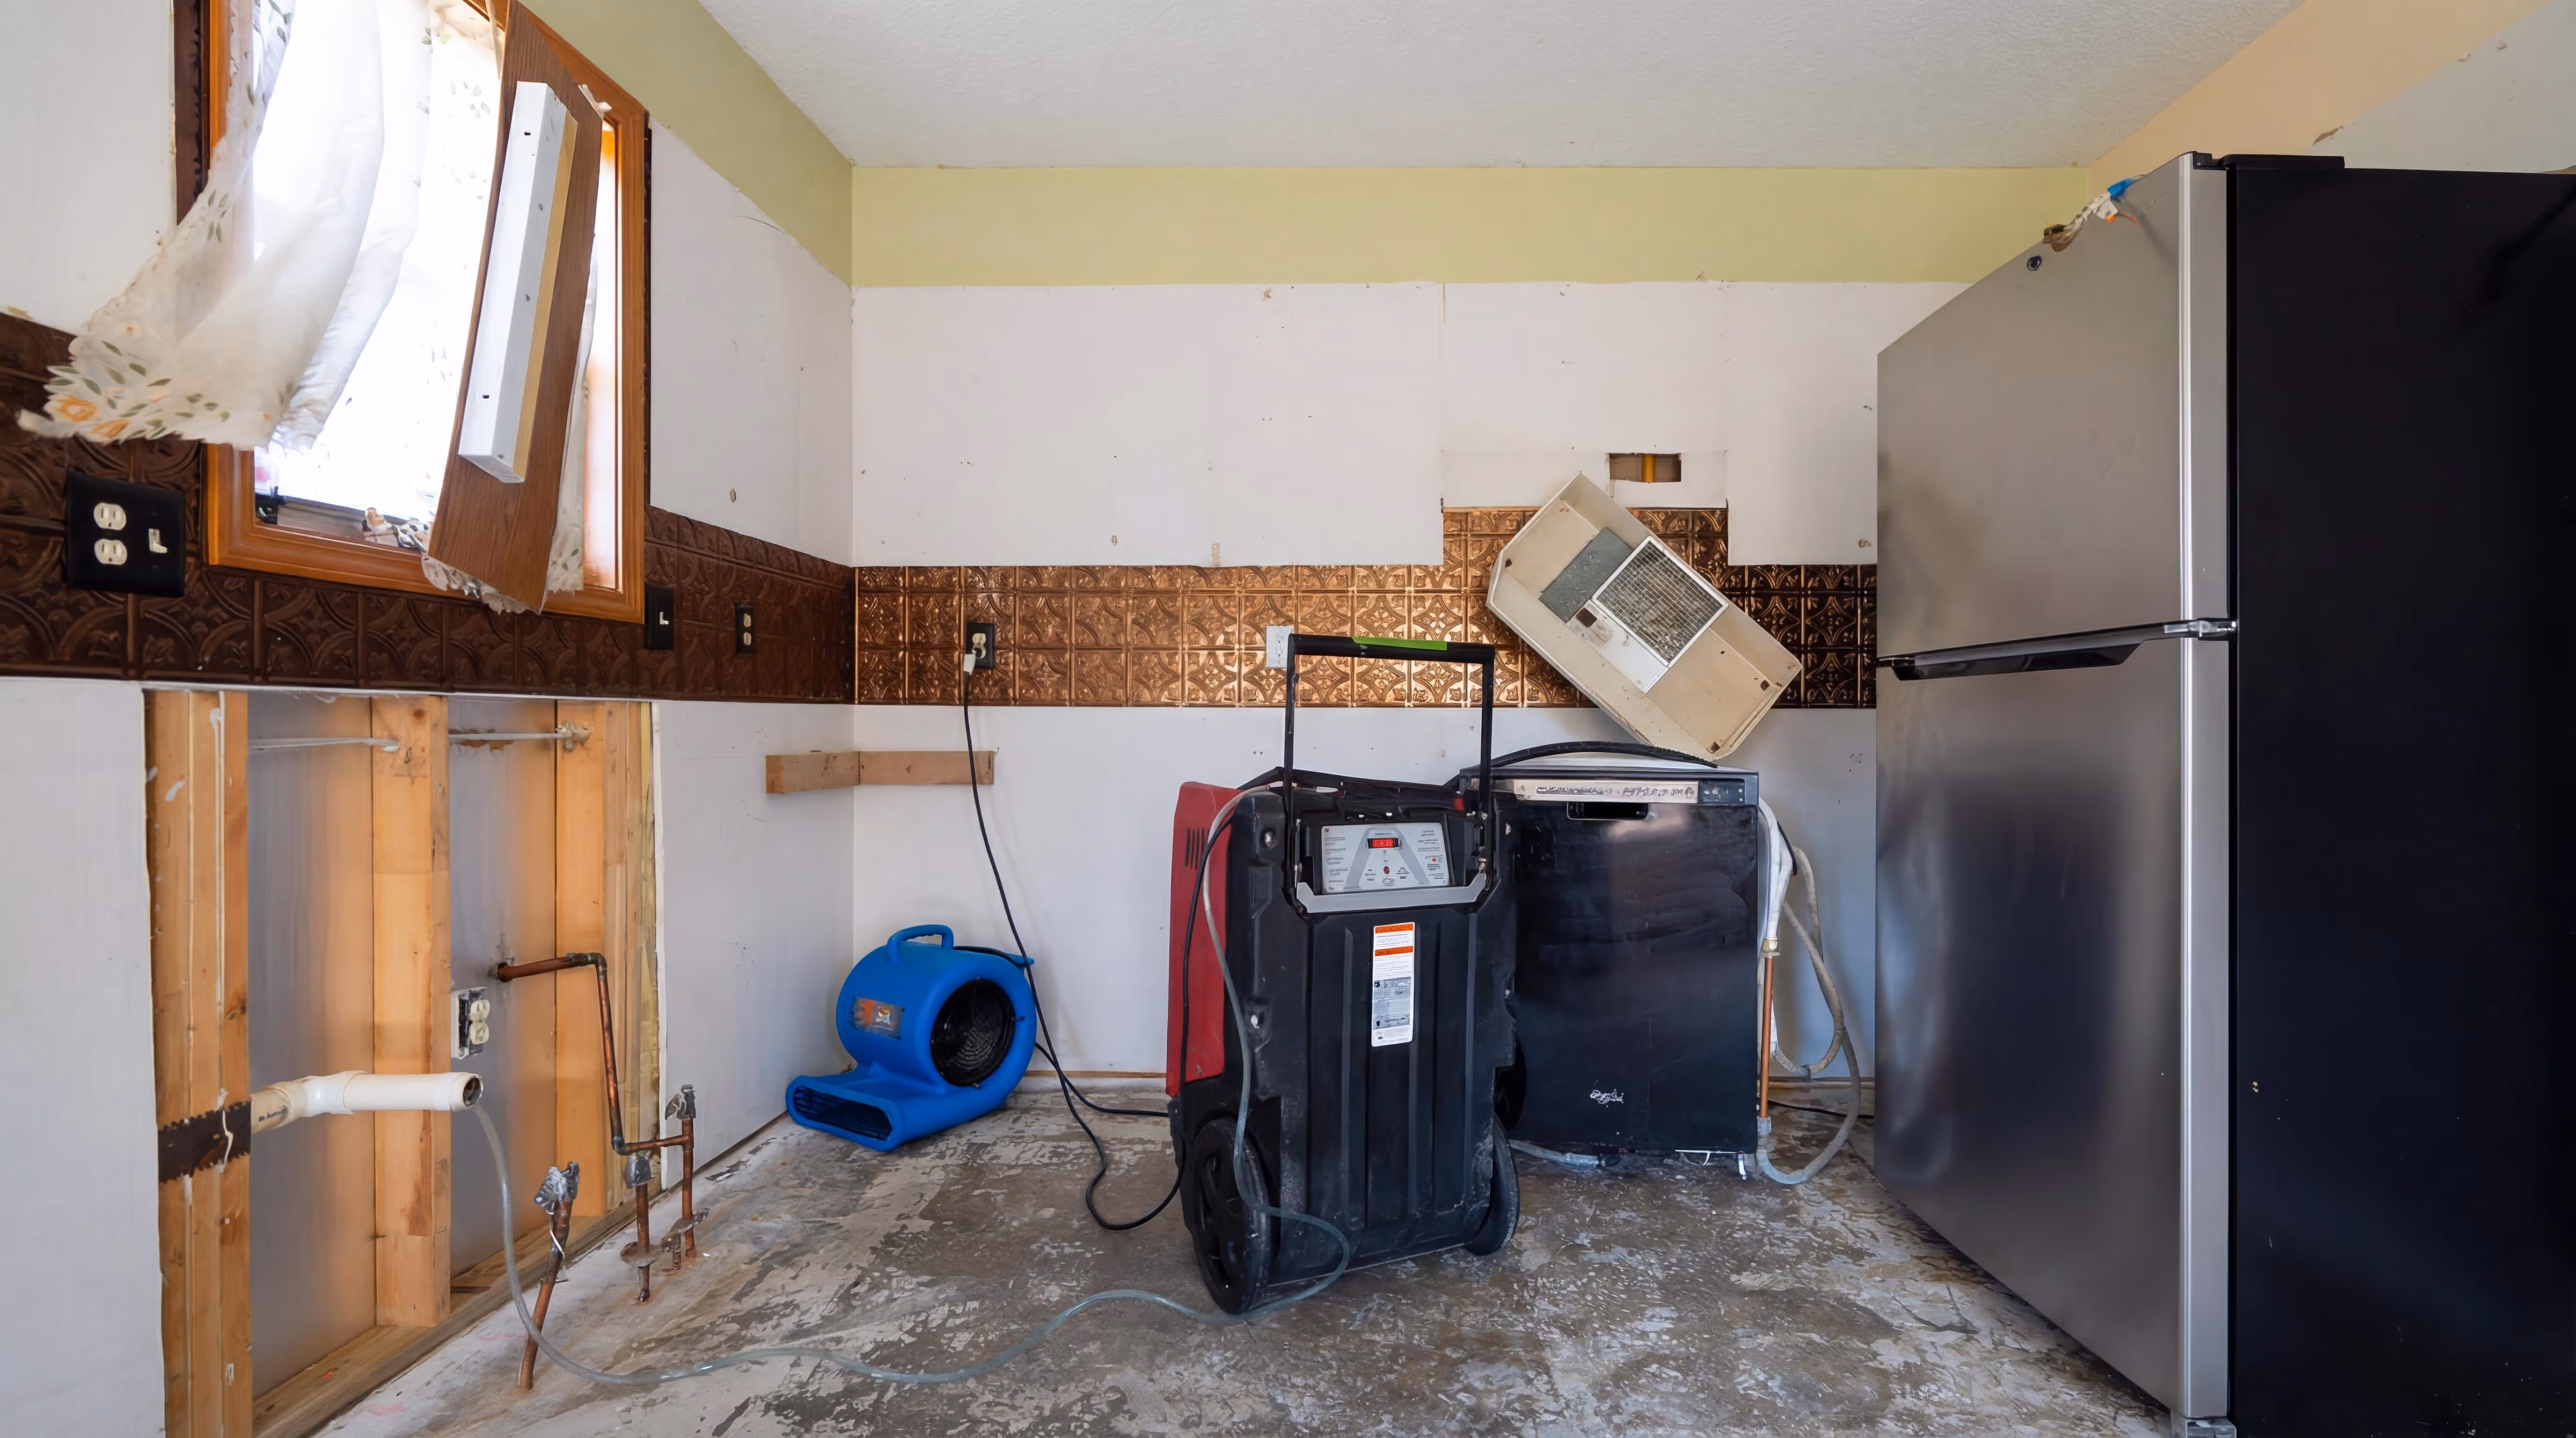
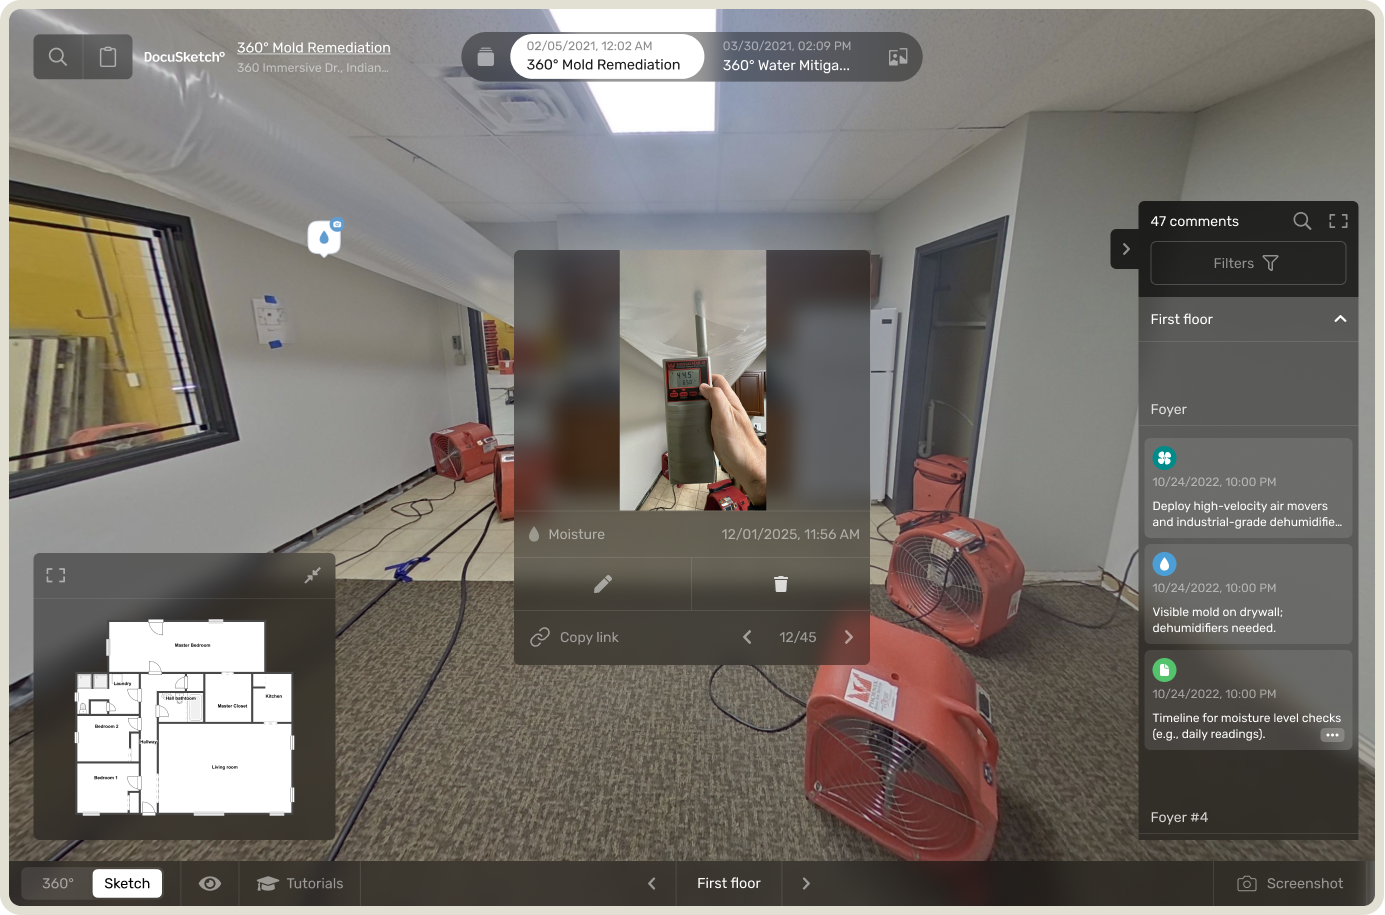
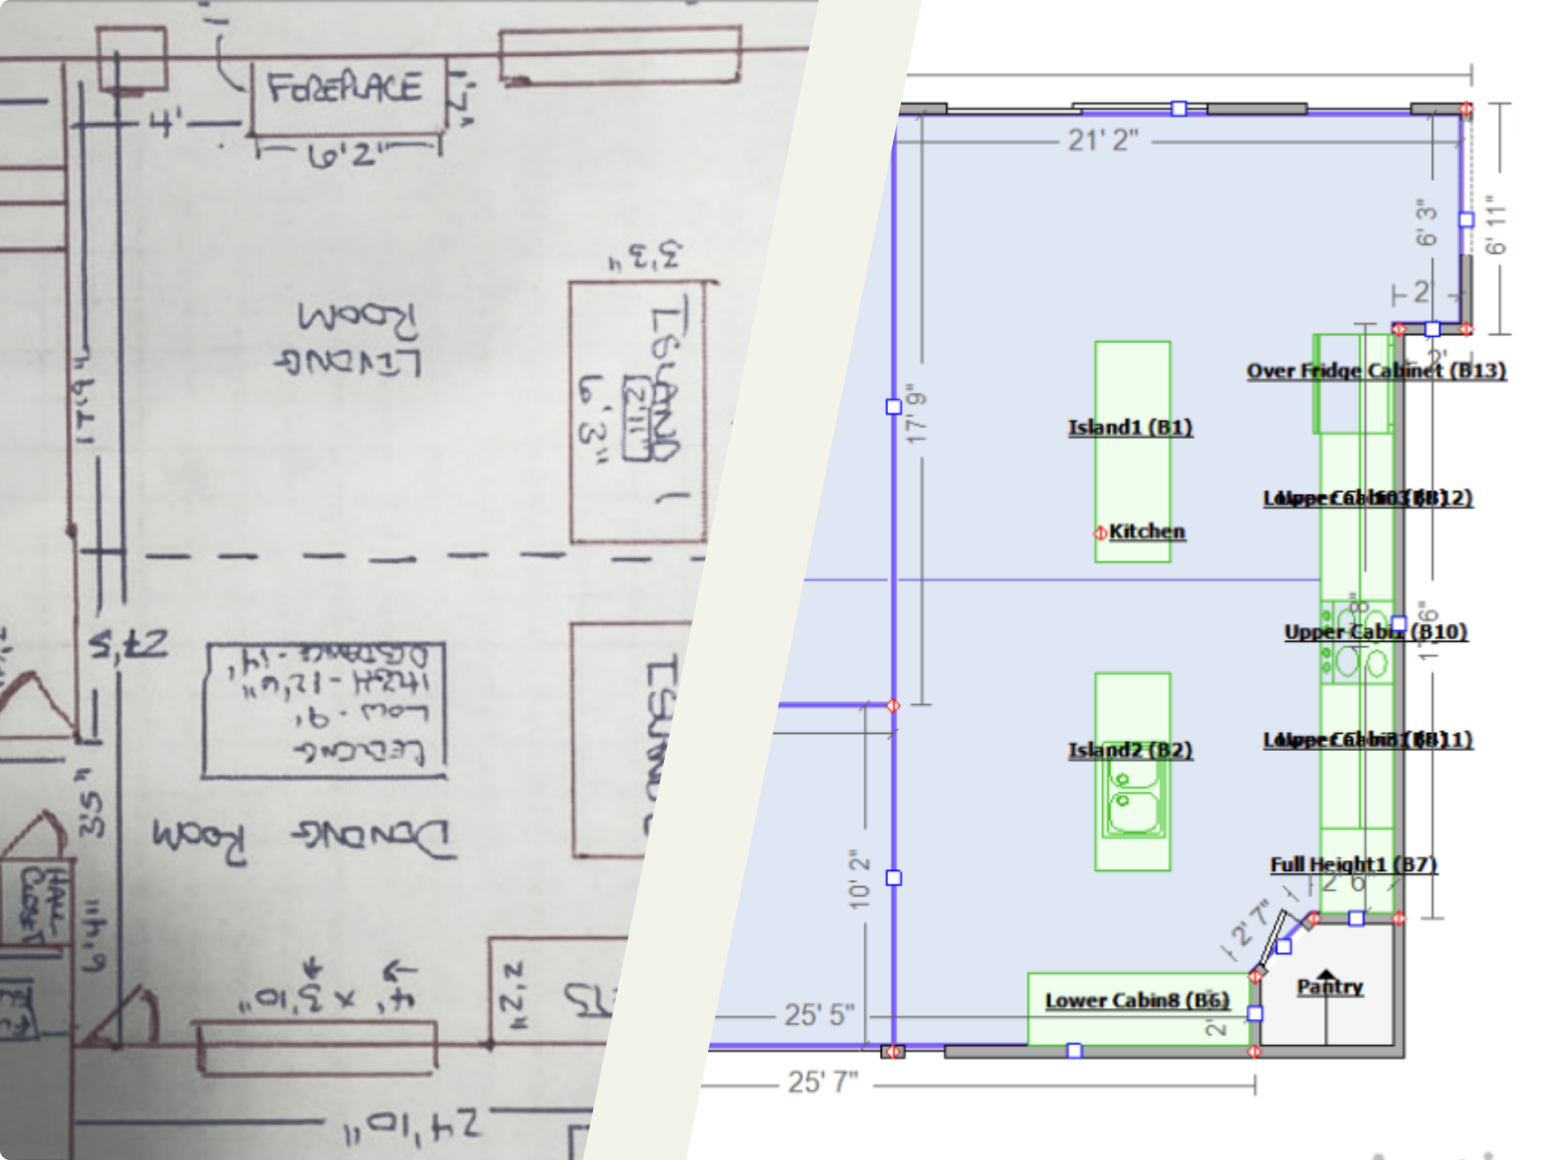
Remember: The most comprehensive estimate starts with thorough documentation. If you're looking to streamline your sketching and documentation process, DocuSketch can help you capture accurate property details efficiently—setting the foundation for both your manual estimates and valuation tool inputs.
How to Use the Valuation Tool: Getting Results Fast
When you go to create a new project, the default is "Estimate" but there's an option to select "Valuation." Choose it.

The Valuation Tool presents six organized tabs that guide you through every aspect of the property, from foundation to roof. This systematic approach ensures you don't accidentally skip entire building systems while you're focused on obvious damage areas.

Pro tip: I use the valuation tool to double-check my large loss estimates. Don't let perfect be the enemy of good here. Get the basic information in quickly, and start reviewing the results. The tool's primary value comes from its systematic approach to identifying all relevant building components—not perfection in every detail.
The Six-Tab System: Your Comprehensive Checklist
The tool organizes property information into six logical categories:
- Overview: Essential property details and basic characteristics
- Foundation: Formwork, aggregate, etc.
- Exterior: Structural elements, siding, windows, roofing
- Interior: Finishes, fixtures, and interior systems
- Systems: HVAC, electrical, plumbing (this is where it really shines)
- Specialty Systems: Unique or complex installations
The beauty lies in how these sections work together. When you specify an HVAC system, the tool automatically considers ductwork, electrical connections, and other required accessories—components that manual estimating often can miss.
Once you are finished entering information into the six tabs, view your results.
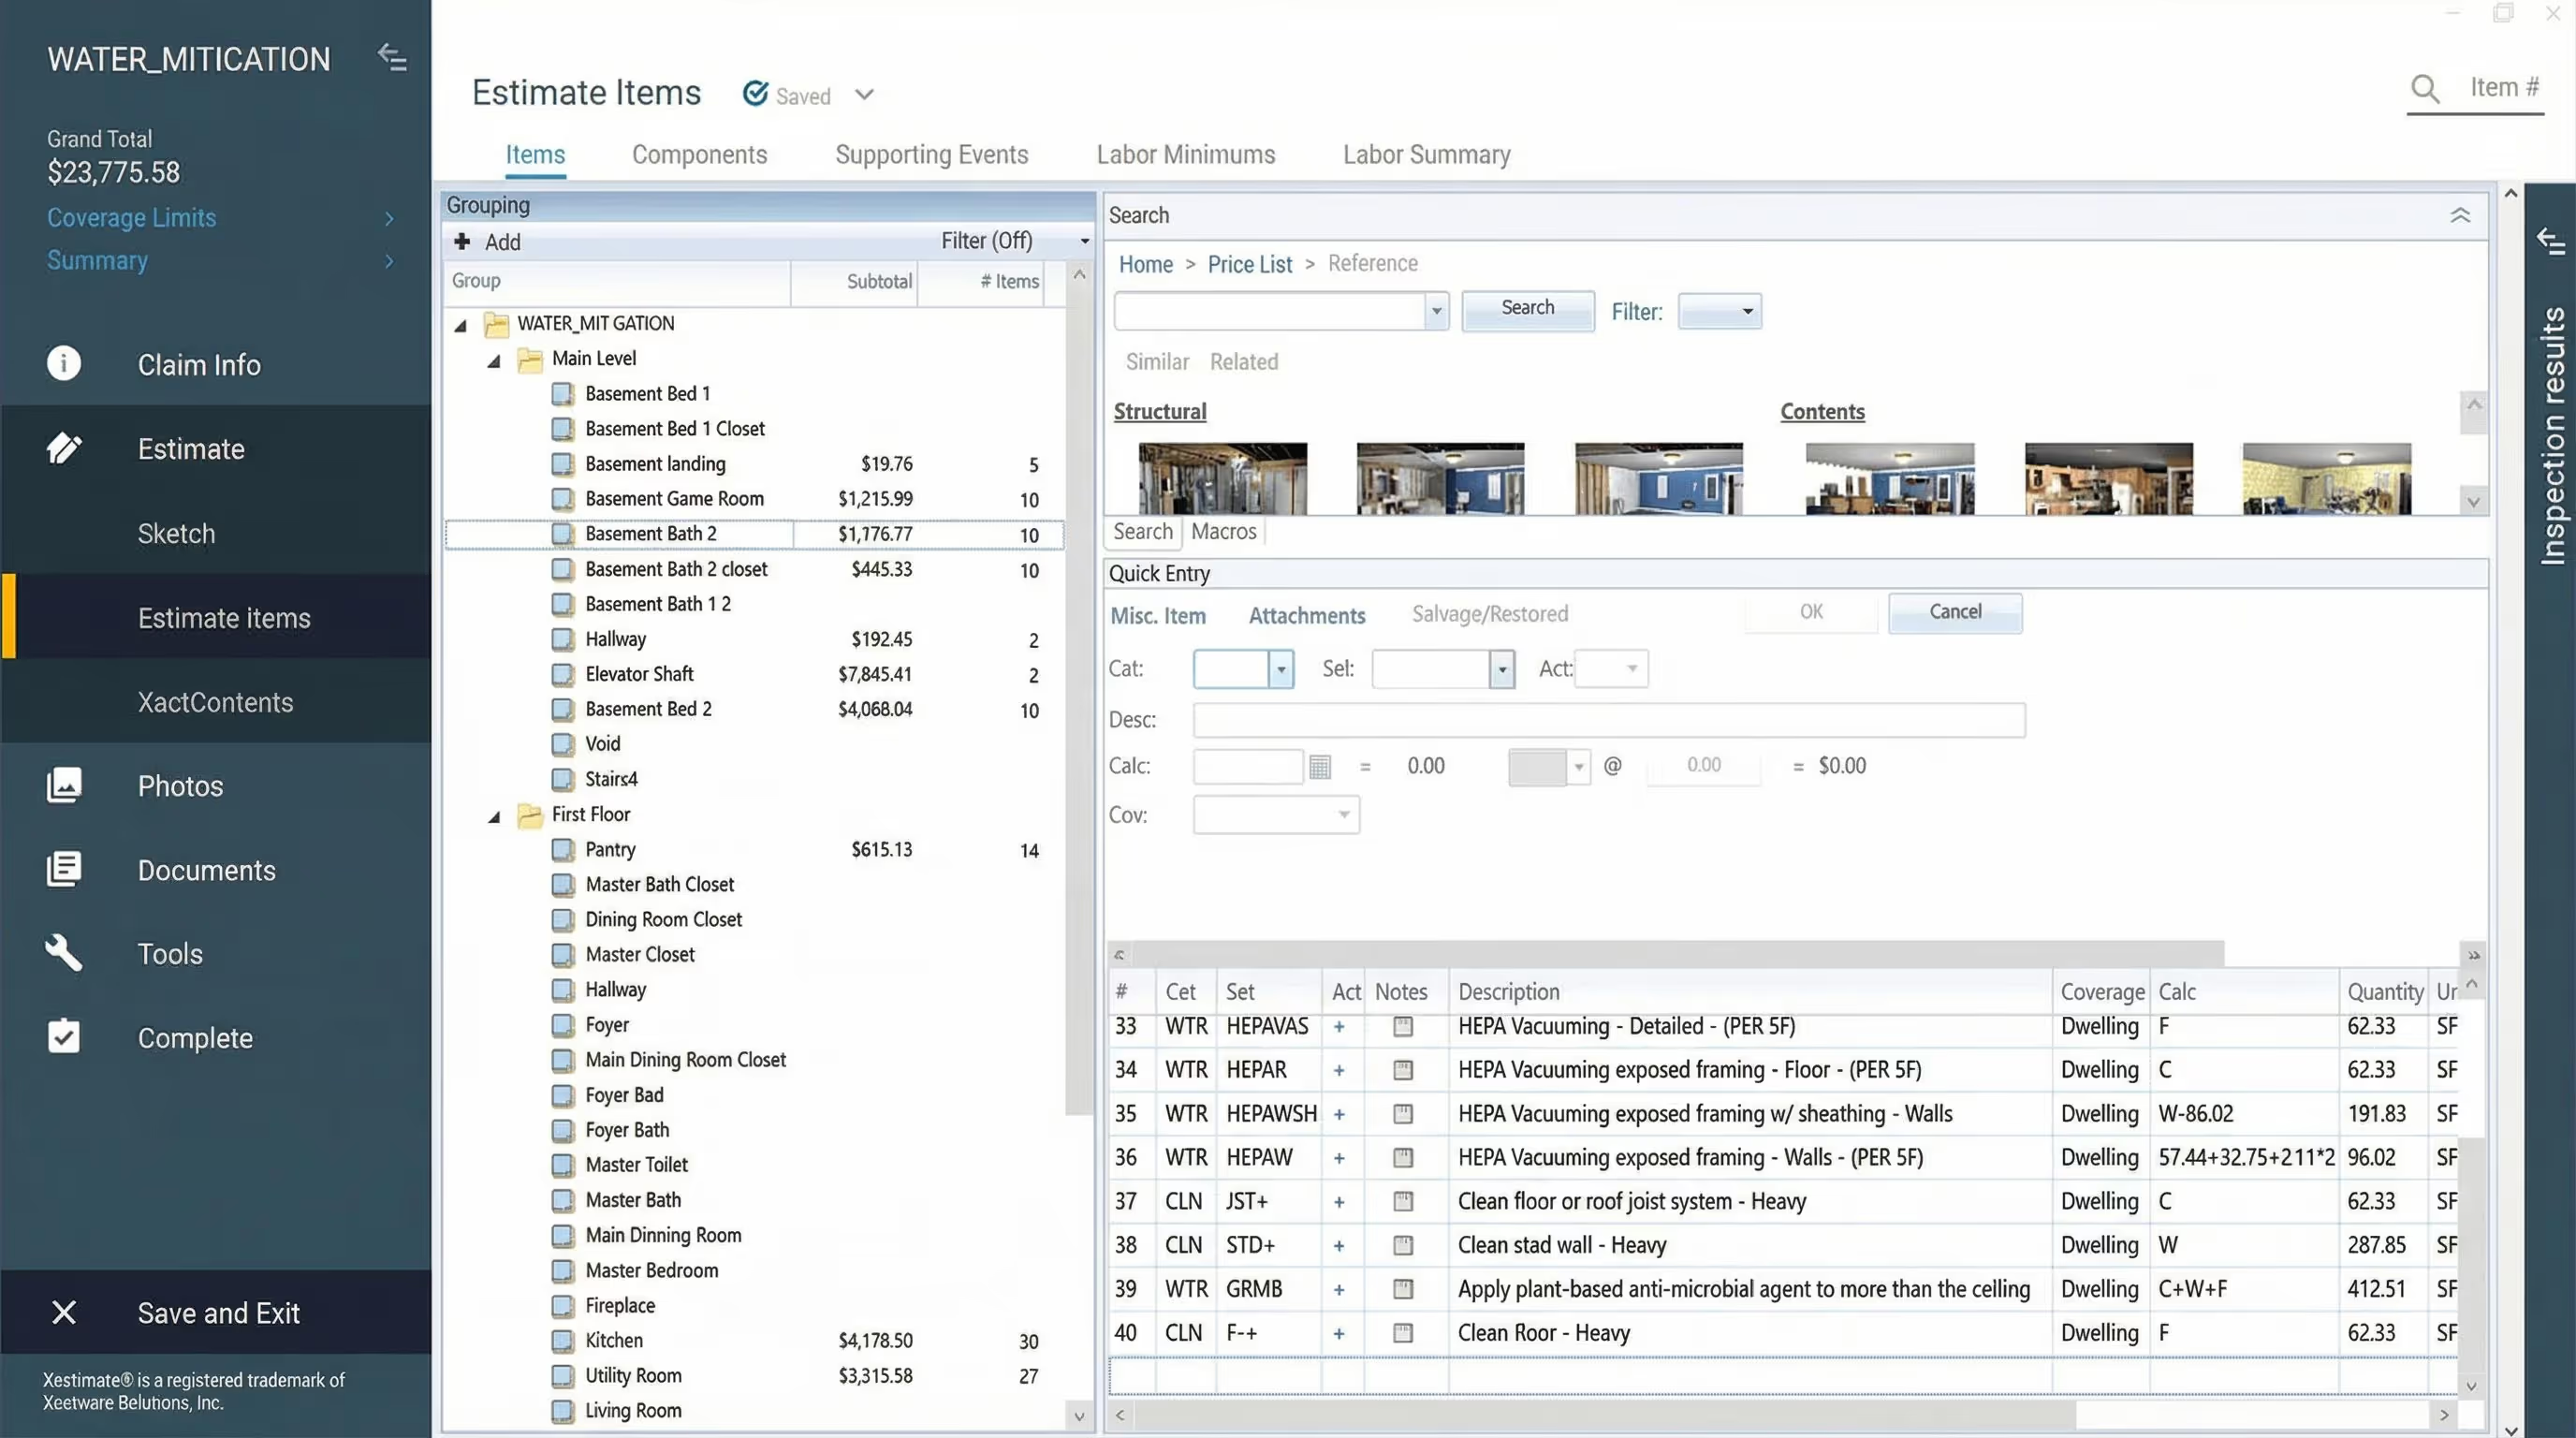
The Critical Final Step: Converting to a Working Estimate
Here's where many estimators get stuck, but it's actually straightforward:
- Complete and save your valuation, then exit the project
- Find the valuation in your projects screen and open it
- Go to the Valuation tab and select "Save As"
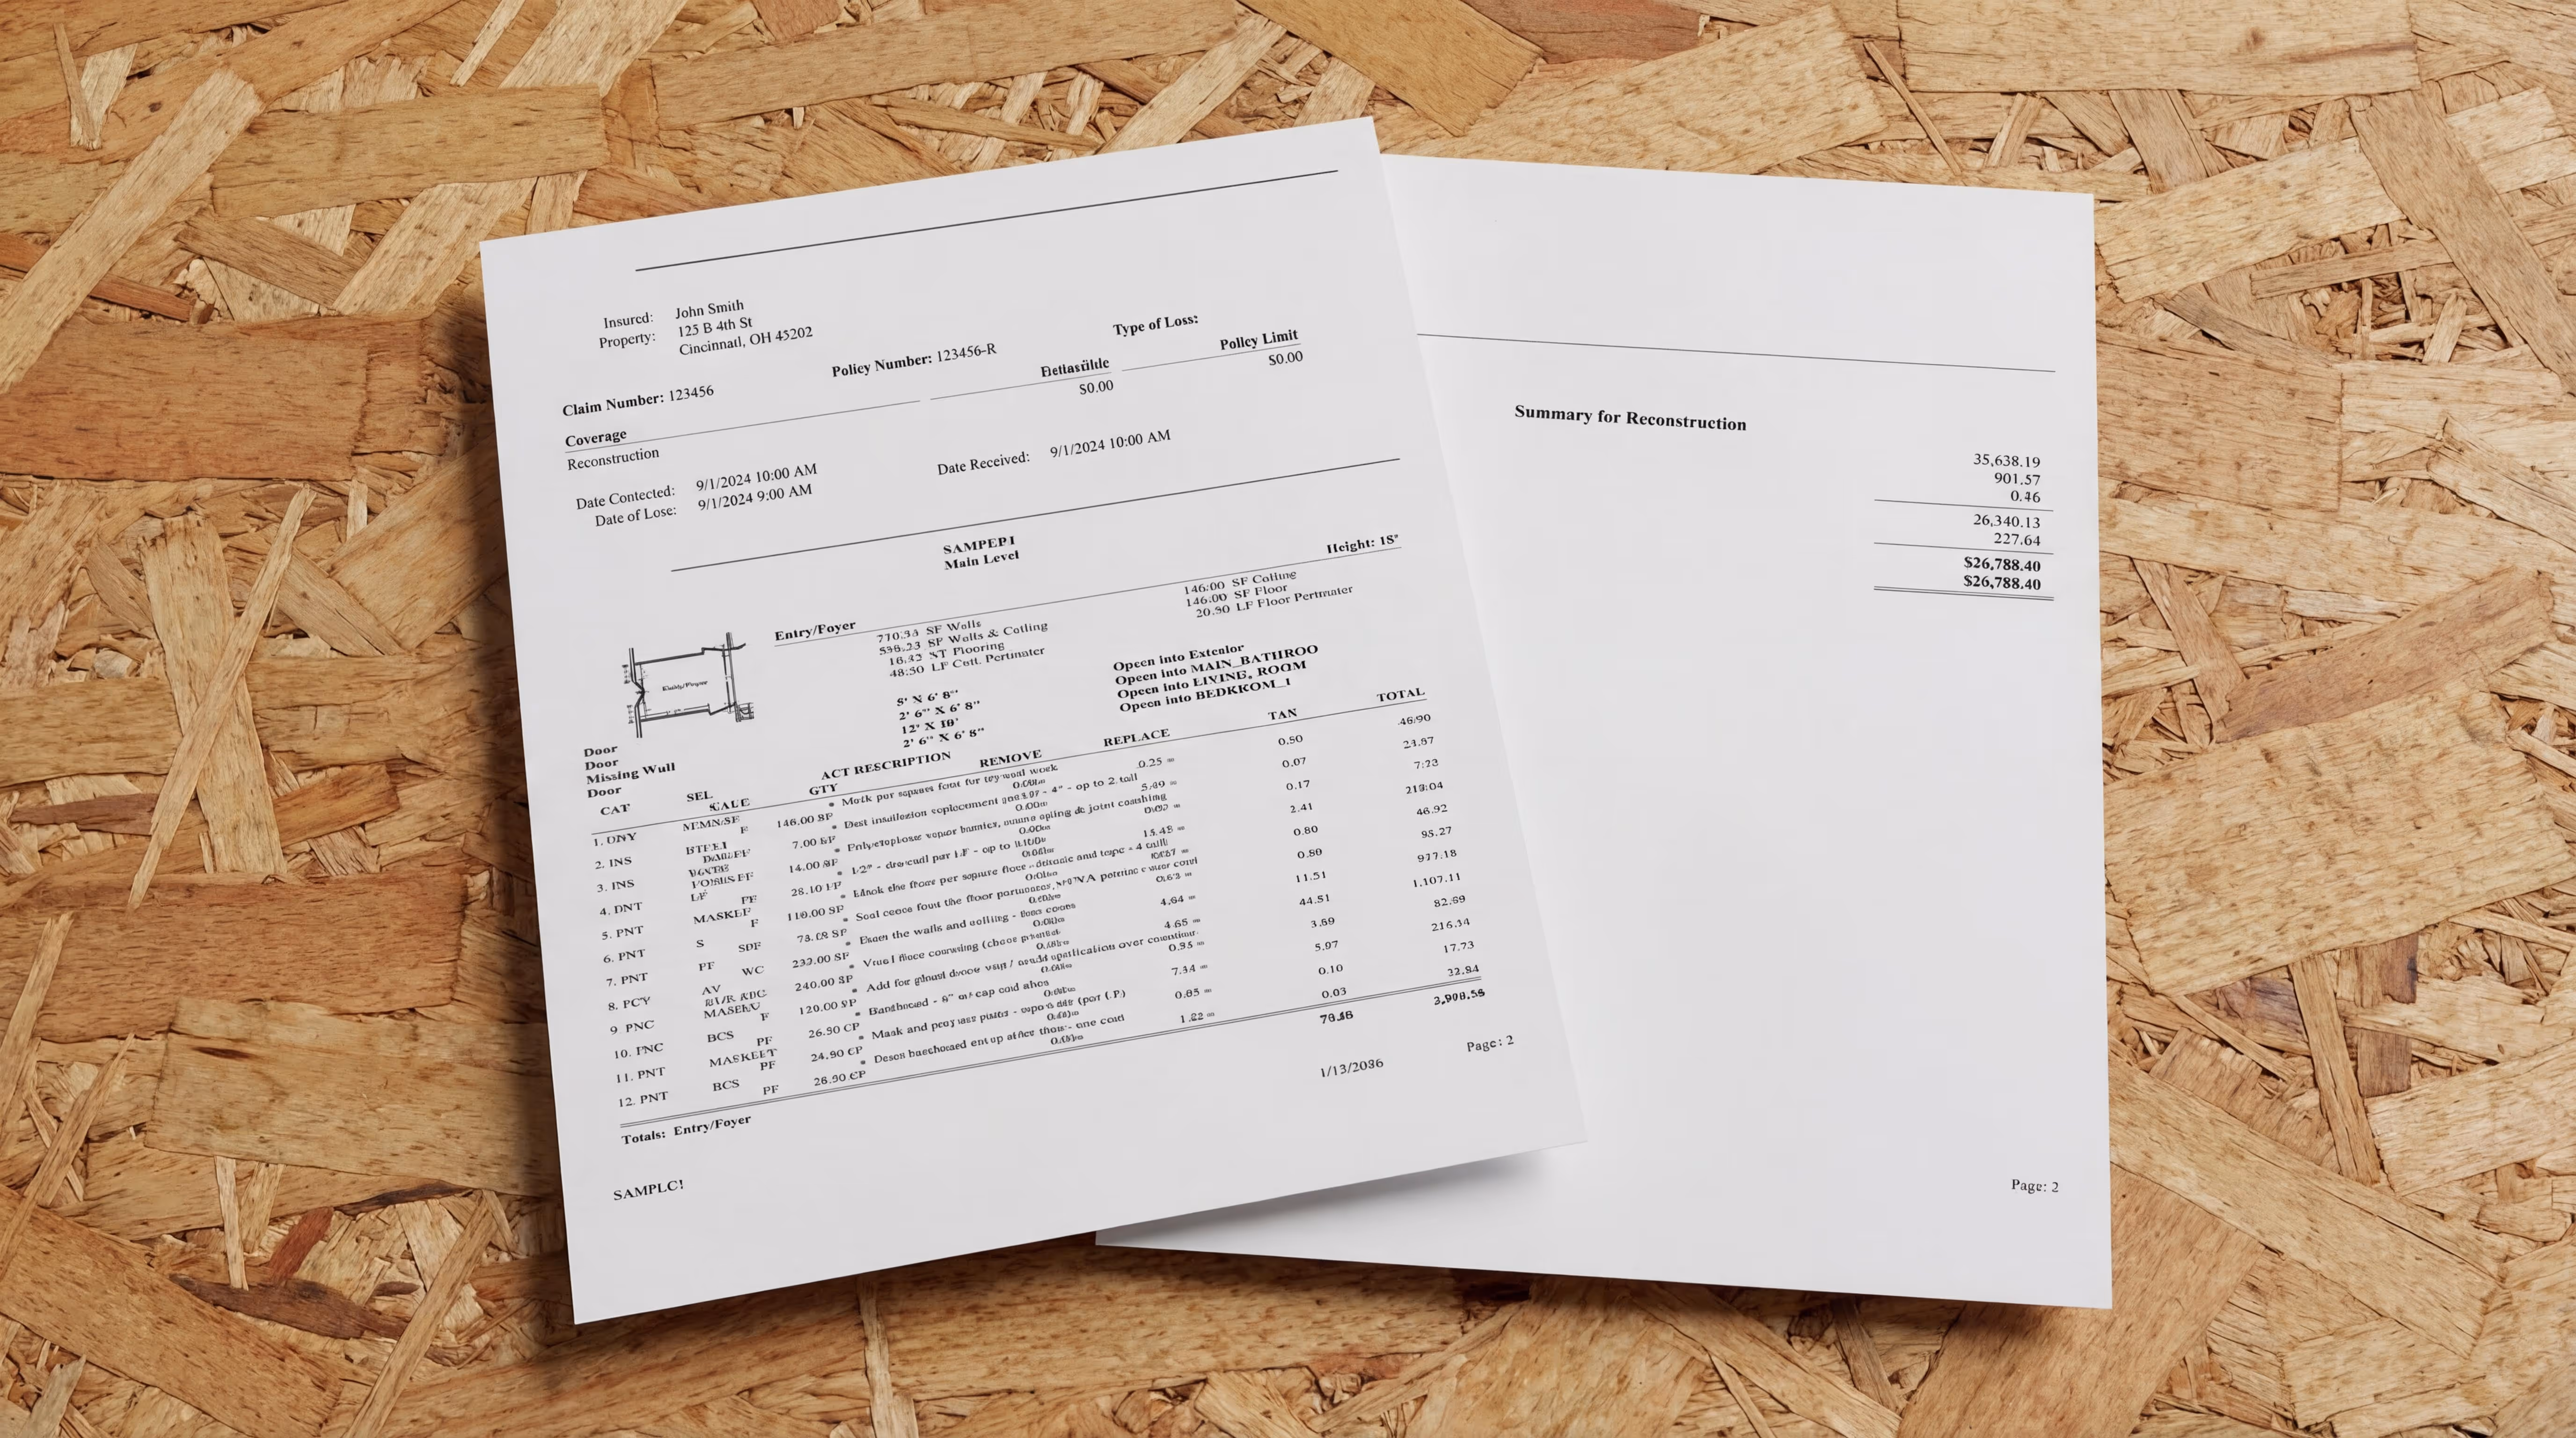
- Choose "Estimate" and the project saves as a traditional estimate (image below)
Find the new estimate on your projects list.
Now you have a detailed breakdown of every building component the tool determined should be included based on your property description. Think of this as your comprehensive starting point—containing items you might never have considered if building the estimate manually.
The Real Value: Quality Control and Missing Items
Once you have your converted estimate, you can leverage it based on your chosen approach. If you started with valuation, use this comprehensive list as your foundation and refine from there. If you're using it as quality control, compare it against your manually created estimate. Either way, you'll often discover:
- Electrical connections for appliances you missed
- HVAC connections for new equipment
- Temporary site requirements for complex projects
- Specialized fasteners or connectors
- And much, much more!
Those overlooked vents, electrical connections, or temporary site requirements can significantly impact your estimate's accuracy and your bottom line.
Advanced Applications: Making It Work for Your Workflow
For Training: New team members can create valuations for familiar properties, comparing the tool's output against their manual estimates to identify knowledge gaps.
For Quality Control: Keep notes about items the Valuation Tool consistently identifies that you tend to overlook, and consider creating Xactimate Macros that you and your team can quickly access. This becomes your personal checklist for future large loss estimates.
Why This Matters for Your Business
The Valuation Tool represents value already included in your Xactimate subscription, yet many estimators never explore it. Consider the cost of a single significant omission in a large loss estimate—missed electrical connections, overlooked HVAC components, or forgotten site requirements can easily cost more than the time investment needed to master this tool.
The systematic approach ensures comprehensive scope identification while maintaining compatibility with your existing workflows. You're not replacing your current methods—you're adding a powerful quality control layer.
Getting Started Today
Start by experimenting with the tool on a familiar large-loss property, comparing its output against an estimate you've already completed. This comparison helps you understand the tool's strengths and limitations while building confidence in its capabilities.
Remember: the goal isn't perfect estimates from the Valuation Tool alone, but comprehensive scope identification that improves your overall estimating accuracy and professionalism.
Want to take your estimate quality even further? Once you've created your comprehensive estimate, review it with the free DocuSketch° Estimate Grader that analyzes your Xactimate estimates for missing items, pricing inconsistencies, and quality improvements. It's like having a senior estimator review every estimate before it goes out the door.
When writing a large loss in Xactimate, you're likely coming across systems and trades that you don't estimate every day. How can you make sure you're capturing all the line items that accompany electrical systems, HVAC installations, or even something as simple as house numbers or a mailbox?
The answer: Xactimate's often-overlooked Valuation Tool.
This isn't just another feature—it's your comprehensive checklist and quality control measure rolled into one. Here's how to use it effectively without getting bogged down in perfectionism.
When to Use the Valuation Tool: Three Strategic Approaches
The beauty of the Valuation Tool is its flexibility. Depending on your situation and comfort level, you can deploy it at different points in your estimating process:
Option 1 - Start with Valuation: For unfamiliar property types or complex systems outside your daily expertise, create the valuation first. This gives you a comprehensive scope understanding before you begin your manual estimate, ensuring you don't miss entire building systems from the start.
Option 2 - Use as Quality Control: Complete your initial manual estimate, then create a valuation for comparison. This approach works well when you're confident in the primary scope but want to double-check for overlooked components—exactly how I use it for large loss estimates.
Both approaches are valid—choose based on your familiarity with the property type and your confidence level with the specific building systems involved.
Remember: The most comprehensive estimate starts with thorough documentation. If you're looking to streamline your sketching and documentation process, DocuSketch can help you capture accurate property details efficiently—setting the foundation for both your manual estimates and valuation tool inputs.
How to Use the Valuation Tool: Getting Results Fast
When you go to create a new project, the default is "Estimate" but there's an option to select "Valuation." Choose it.
The Valuation Tool presents six organized tabs that guide you through every aspect of the property, from foundation to roof. This systematic approach ensures you don't accidentally skip entire building systems while you're focused on obvious damage areas.
Pro tip: I use the valuation tool to double-check my large loss estimates. Don't let perfect be the enemy of good here. Get the basic information in quickly, and start reviewing the results. The tool's primary value comes from its systematic approach to identifying all relevant building components—not perfection in every detail.
The Six-Tab System: Your Comprehensive Checklist
The tool organizes property information into six logical categories:
- Overview: Essential property details and basic characteristics
- Foundation: Formwork, aggregate, etc.
- Exterior: Structural elements, siding, windows, roofing
- Interior: Finishes, fixtures, and interior systems
- Systems: HVAC, electrical, plumbing (this is where it really shines)
- Specialty Systems: Unique or complex installations
The beauty lies in how these sections work together. When you specify an HVAC system, the tool automatically considers ductwork, electrical connections, and other required accessories—components that manual estimating often can miss.
Once you are finished entering information into the six tabs, view your results.
The Critical Final Step: Converting to a Working Estimate
Here's where many estimators get stuck, but it's actually straightforward:
- Complete and save your valuation, then exit the project
- Find the valuation in your projects screen and open it
- Go to the Valuation tab and select "Save As"
- Choose "Estimate" and the project saves as a traditional estimate (image below)
Find the new estimate on your projects list.
Now you have a detailed breakdown of every building component the tool determined should be included based on your property description. Think of this as your comprehensive starting point—containing items you might never have considered if building the estimate manually.
The Real Value: Quality Control and Missing Items
Once you have your converted estimate, you can leverage it based on your chosen approach. If you started with valuation, use this comprehensive list as your foundation and refine from there. If you're using it as quality control, compare it against your manually created estimate. Either way, you'll often discover:
- Electrical connections for appliances you missed
- HVAC connections for new equipment
- Temporary site requirements for complex projects
- Specialized fasteners or connectors
- And much, much more!
Those overlooked vents, electrical connections, or temporary site requirements can significantly impact your estimate's accuracy and your bottom line.
Advanced Applications: Making It Work for Your Workflow
For Training: New team members can create valuations for familiar properties, comparing the tool's output against their manual estimates to identify knowledge gaps.
For Quality Control: Keep notes about items the Valuation Tool consistently identifies that you tend to overlook, and consider creating Xactimate Macros that you and your team can quickly access. This becomes your personal checklist for future large loss estimates.
Why This Matters for Your Business
The Valuation Tool represents value already included in your Xactimate subscription, yet many estimators never explore it. Consider the cost of a single significant omission in a large loss estimate—missed electrical connections, overlooked HVAC components, or forgotten site requirements can easily cost more than the time investment needed to master this tool.
The systematic approach ensures comprehensive scope identification while maintaining compatibility with your existing workflows. You're not replacing your current methods—you're adding a powerful quality control layer.
Getting Started Today
Start by experimenting with the tool on a familiar large-loss property, comparing its output against an estimate you've already completed. This comparison helps you understand the tool's strengths and limitations while building confidence in its capabilities.
Remember: the goal isn't perfect estimates from the Valuation Tool alone, but comprehensive scope identification that improves your overall estimating accuracy and professionalism.
Want to take your estimate quality even further? Once you've created your comprehensive estimate, review it with the free DocuSketch° Estimate Grader that analyzes your Xactimate estimates for missing items, pricing inconsistencies, and quality improvements. It's like having a senior estimator review every estimate before it goes out the door.

Related Articles


%20(1).jpg)