Water Damage Drying Log

5 min read
Incomplete drying log documentation creates problems for everyone: your team, the homeowner, and the adjuster reviewing the file. A properly completed water damage drying log template protects you from liability issues, supports insurance claims, and proves the work was done correctly.
Most restoration professionals treat drying logs as a checkbox exercise rather than understanding what they're documenting and why it matters. This guide walks through the essential elements of a complete drying log and shows you how to fill one out correctly to protect your business and support your claims.
Why Restoration Pros Need Drying Logs
Drying logs serve multiple critical functions beyond carrier requirements. When jobs face rework, payment delays, or liability questions, incomplete documentation is often part of the problem.
(we've also got a great resource on building water damage estimates if you need extra help with water remediation tasks)
The Role of Documentation in Liability, Compliance, and Insurance
A restoration water damage drying log template protects you in several ways:
Liability protection. Complete documentation establishes exactly what was treated and what conditions existed before your work began. When pre-existing mold or damage is discovered during a job, documenting it immediately protects you from future claims. Six months later, if new issues arise in areas you didn't treat, your moisture mapping and daily logs prove those areas weren't part of your scope.
Insurance claim support. Carriers verify work was necessary and completed properly through your documentation. Consistent moisture readings over time support your billing. Inconsistent or incomplete equipment documentation raises questions that delay payment.
Professional accountability. Drying logs create a shared record that keeps rotating technicians aligned. When Tech A sets up equipment Monday and Tech B checks the job Wednesday, the log ensures continuity. Without it, equipment gets pulled prematurely or areas get missed.
Required by Insurance Carriers and Restoration Industry Standards (IICRC S500)
The IICRC S500 standard requires documentation of the drying process. Carriers expect it. Insurance reviewers look for it. When it's missing or incomplete, payment gets delayed or denied.
The industry standards specify you must show:
- Initial moisture conditions
- Equipment used and placement
- Daily monitoring results
- Progress toward dry standard
- Final verification materials reached dry standard
Contractors lose legitimate equipment charges when they can't prove equipment was on-site. Even when the equipment was absolutely used, incomplete documentation means carriers won't pay for it.
READ MORE: How to Perform IICRC Air Mover Calculations Correctly
Prevents Rework and Ensures Project Accountability
When multiple technicians rotate through a job, the drying log maintains alignment. Tech A documents initial readings Monday. Tech B sees the log Wednesday and knows exactly where to measure for comparison. Tech C arrives Friday to pull equipment but checks the log first and realizes one area still isn't dry.
Without that documentation, equipment gets removed too early, requiring callbacks when materials weren't actually dry. A proper dry log template prevents this by creating a single source of truth everyone follows.
Key Elements of a Moisture Water Damage Drying Log
Every restoration water damage drying log template should include these core elements. Missing any creates documentation gaps that can affect payment or liability protection.
What Every Drying Log Should Include
Job Information
- Date and time of reading - Time matters because readings change throughout the day, especially in the first 24-48 hours
- Project address - Include this on every page for clear file identification
- Technician name - Know who took each reading in case questions arise
- Weather conditions - Exterior temperature and humidity affect drying times
Affected Areas and Materials
- Specific rooms or zones - "Living room - north wall and carpet" rather than just "living room"
- Types of materials affected - Drywall, carpet and pad, hardwood flooring, ceiling material
- Square footage or linear footage - Ties to equipment calculations
- Moisture mapping of entire affected area - Document where water actually went, not just obvious wet spots
Water can travel 15-20 feet from the source through subfloors or behind baseboards. If you don't check and document the full extent, you can't prove you treated it.
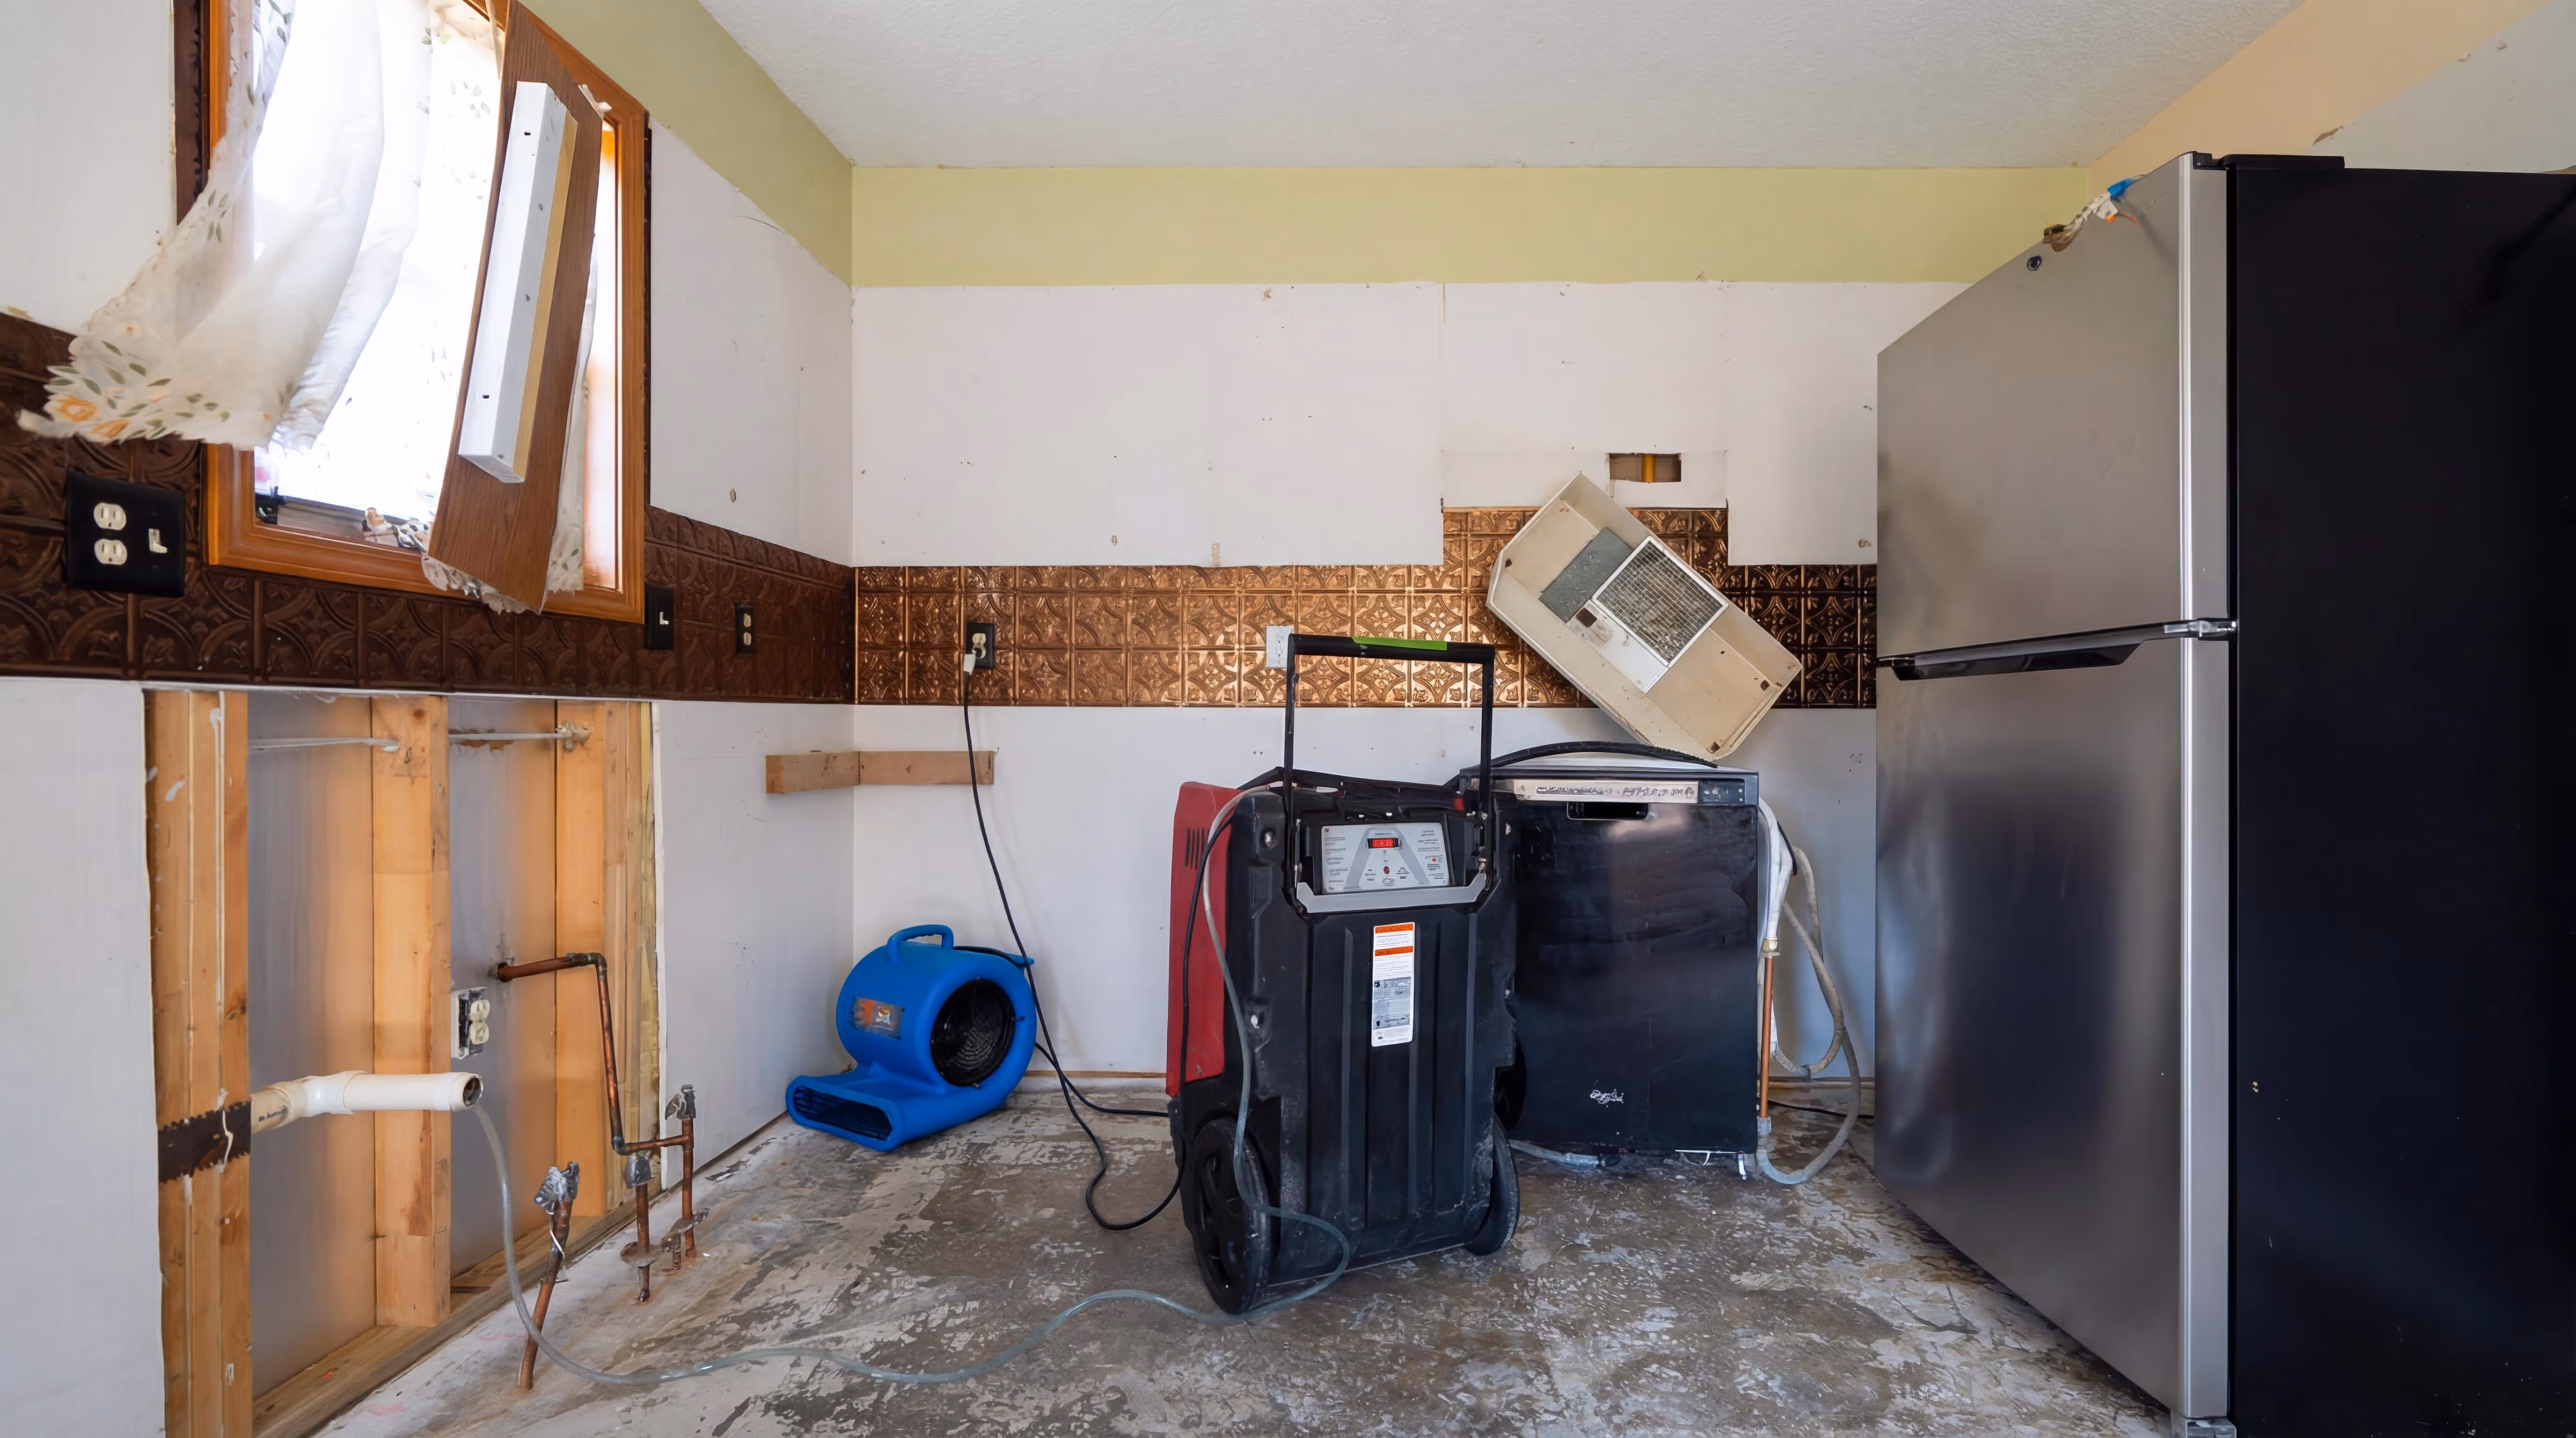
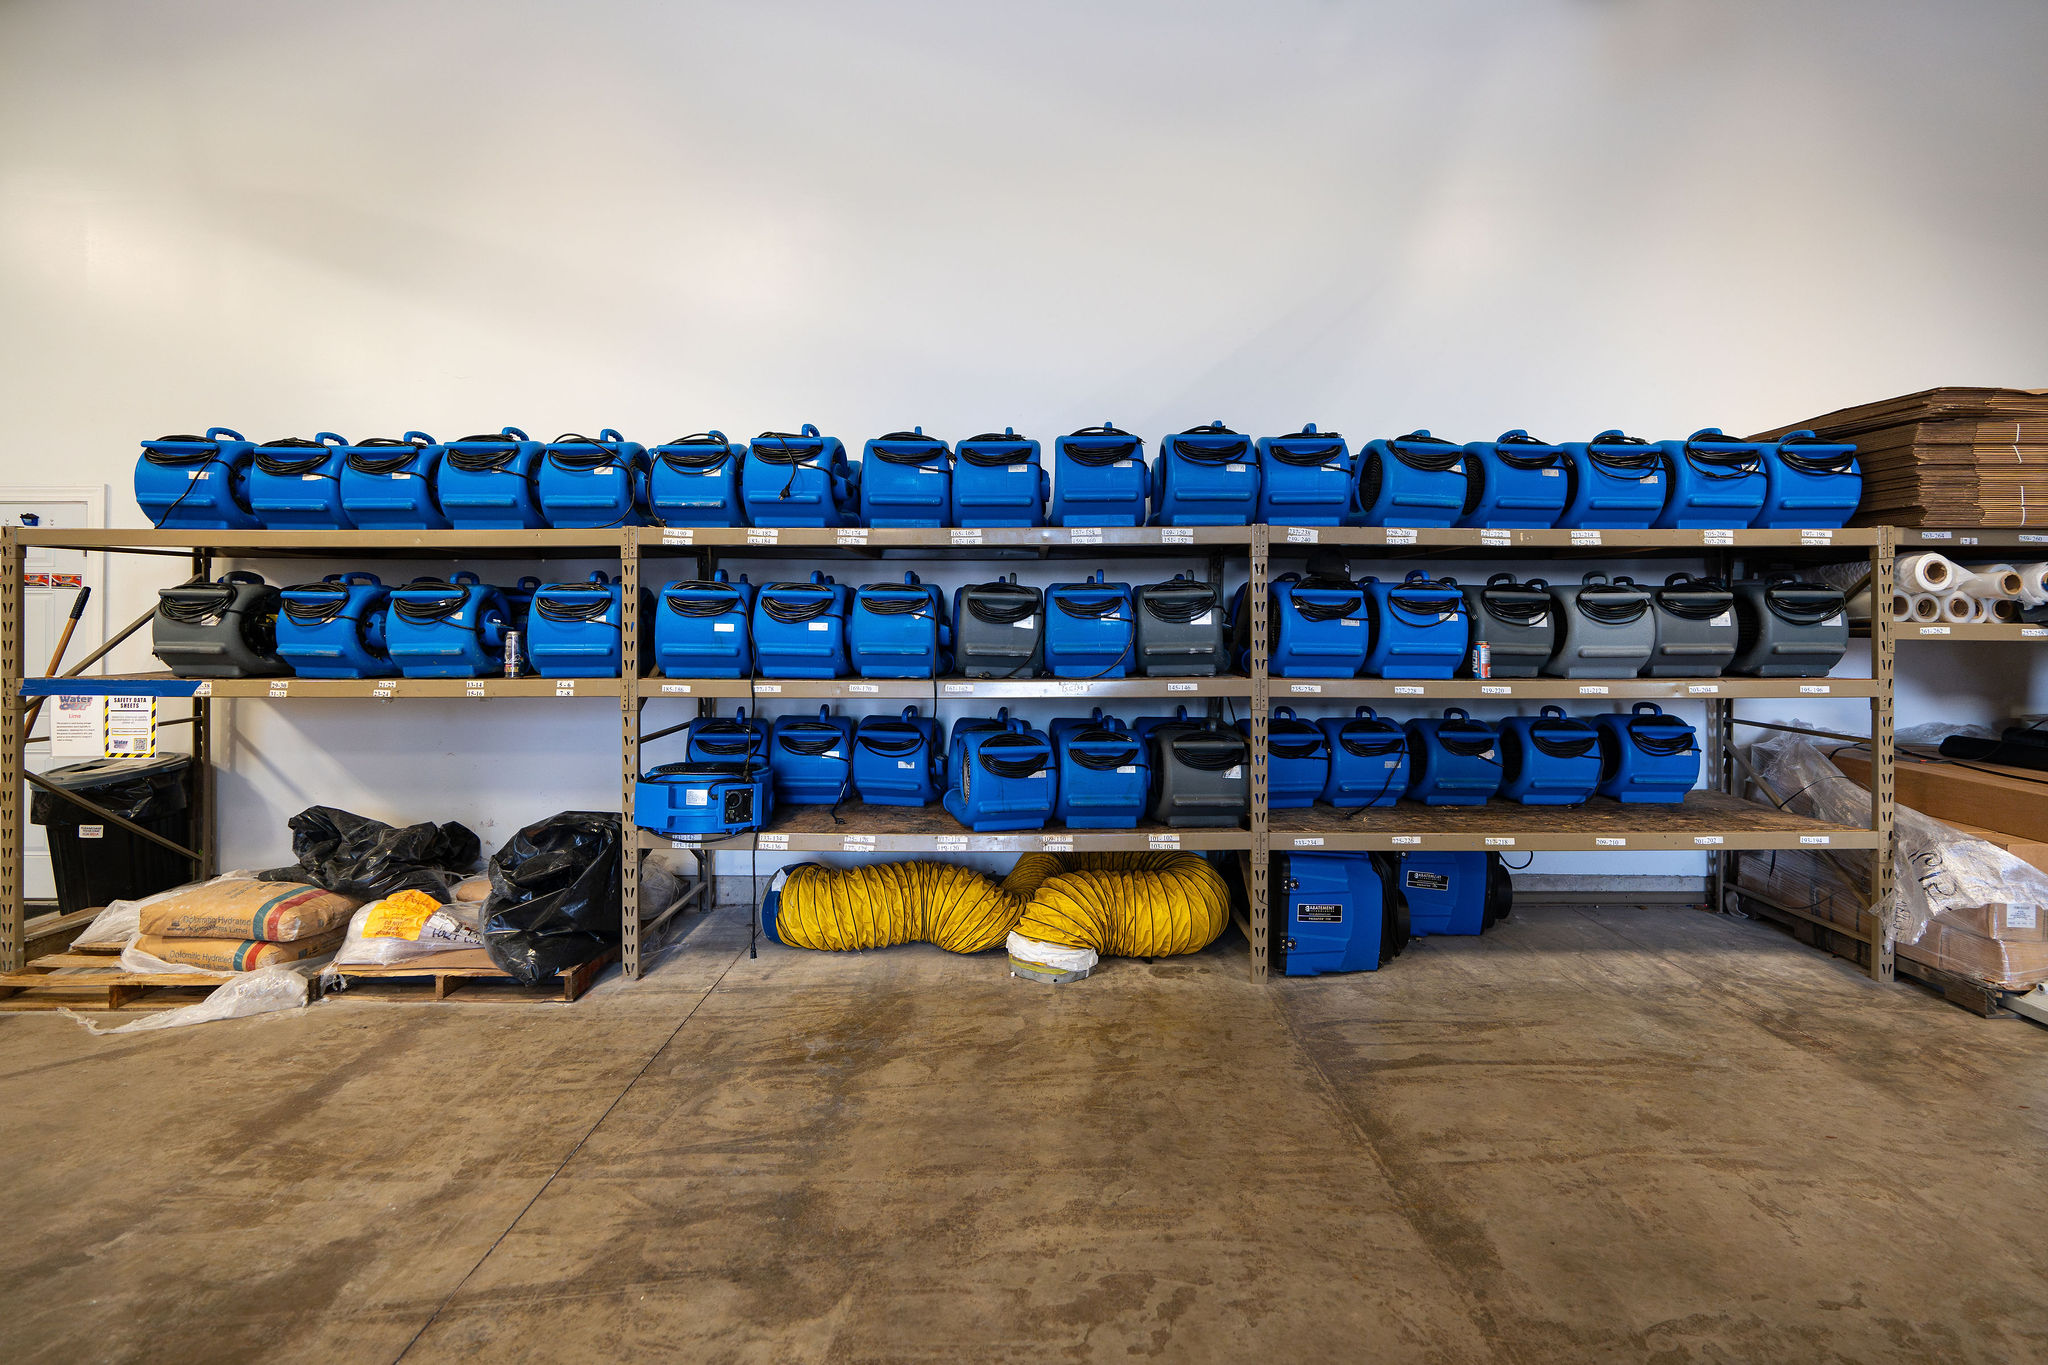
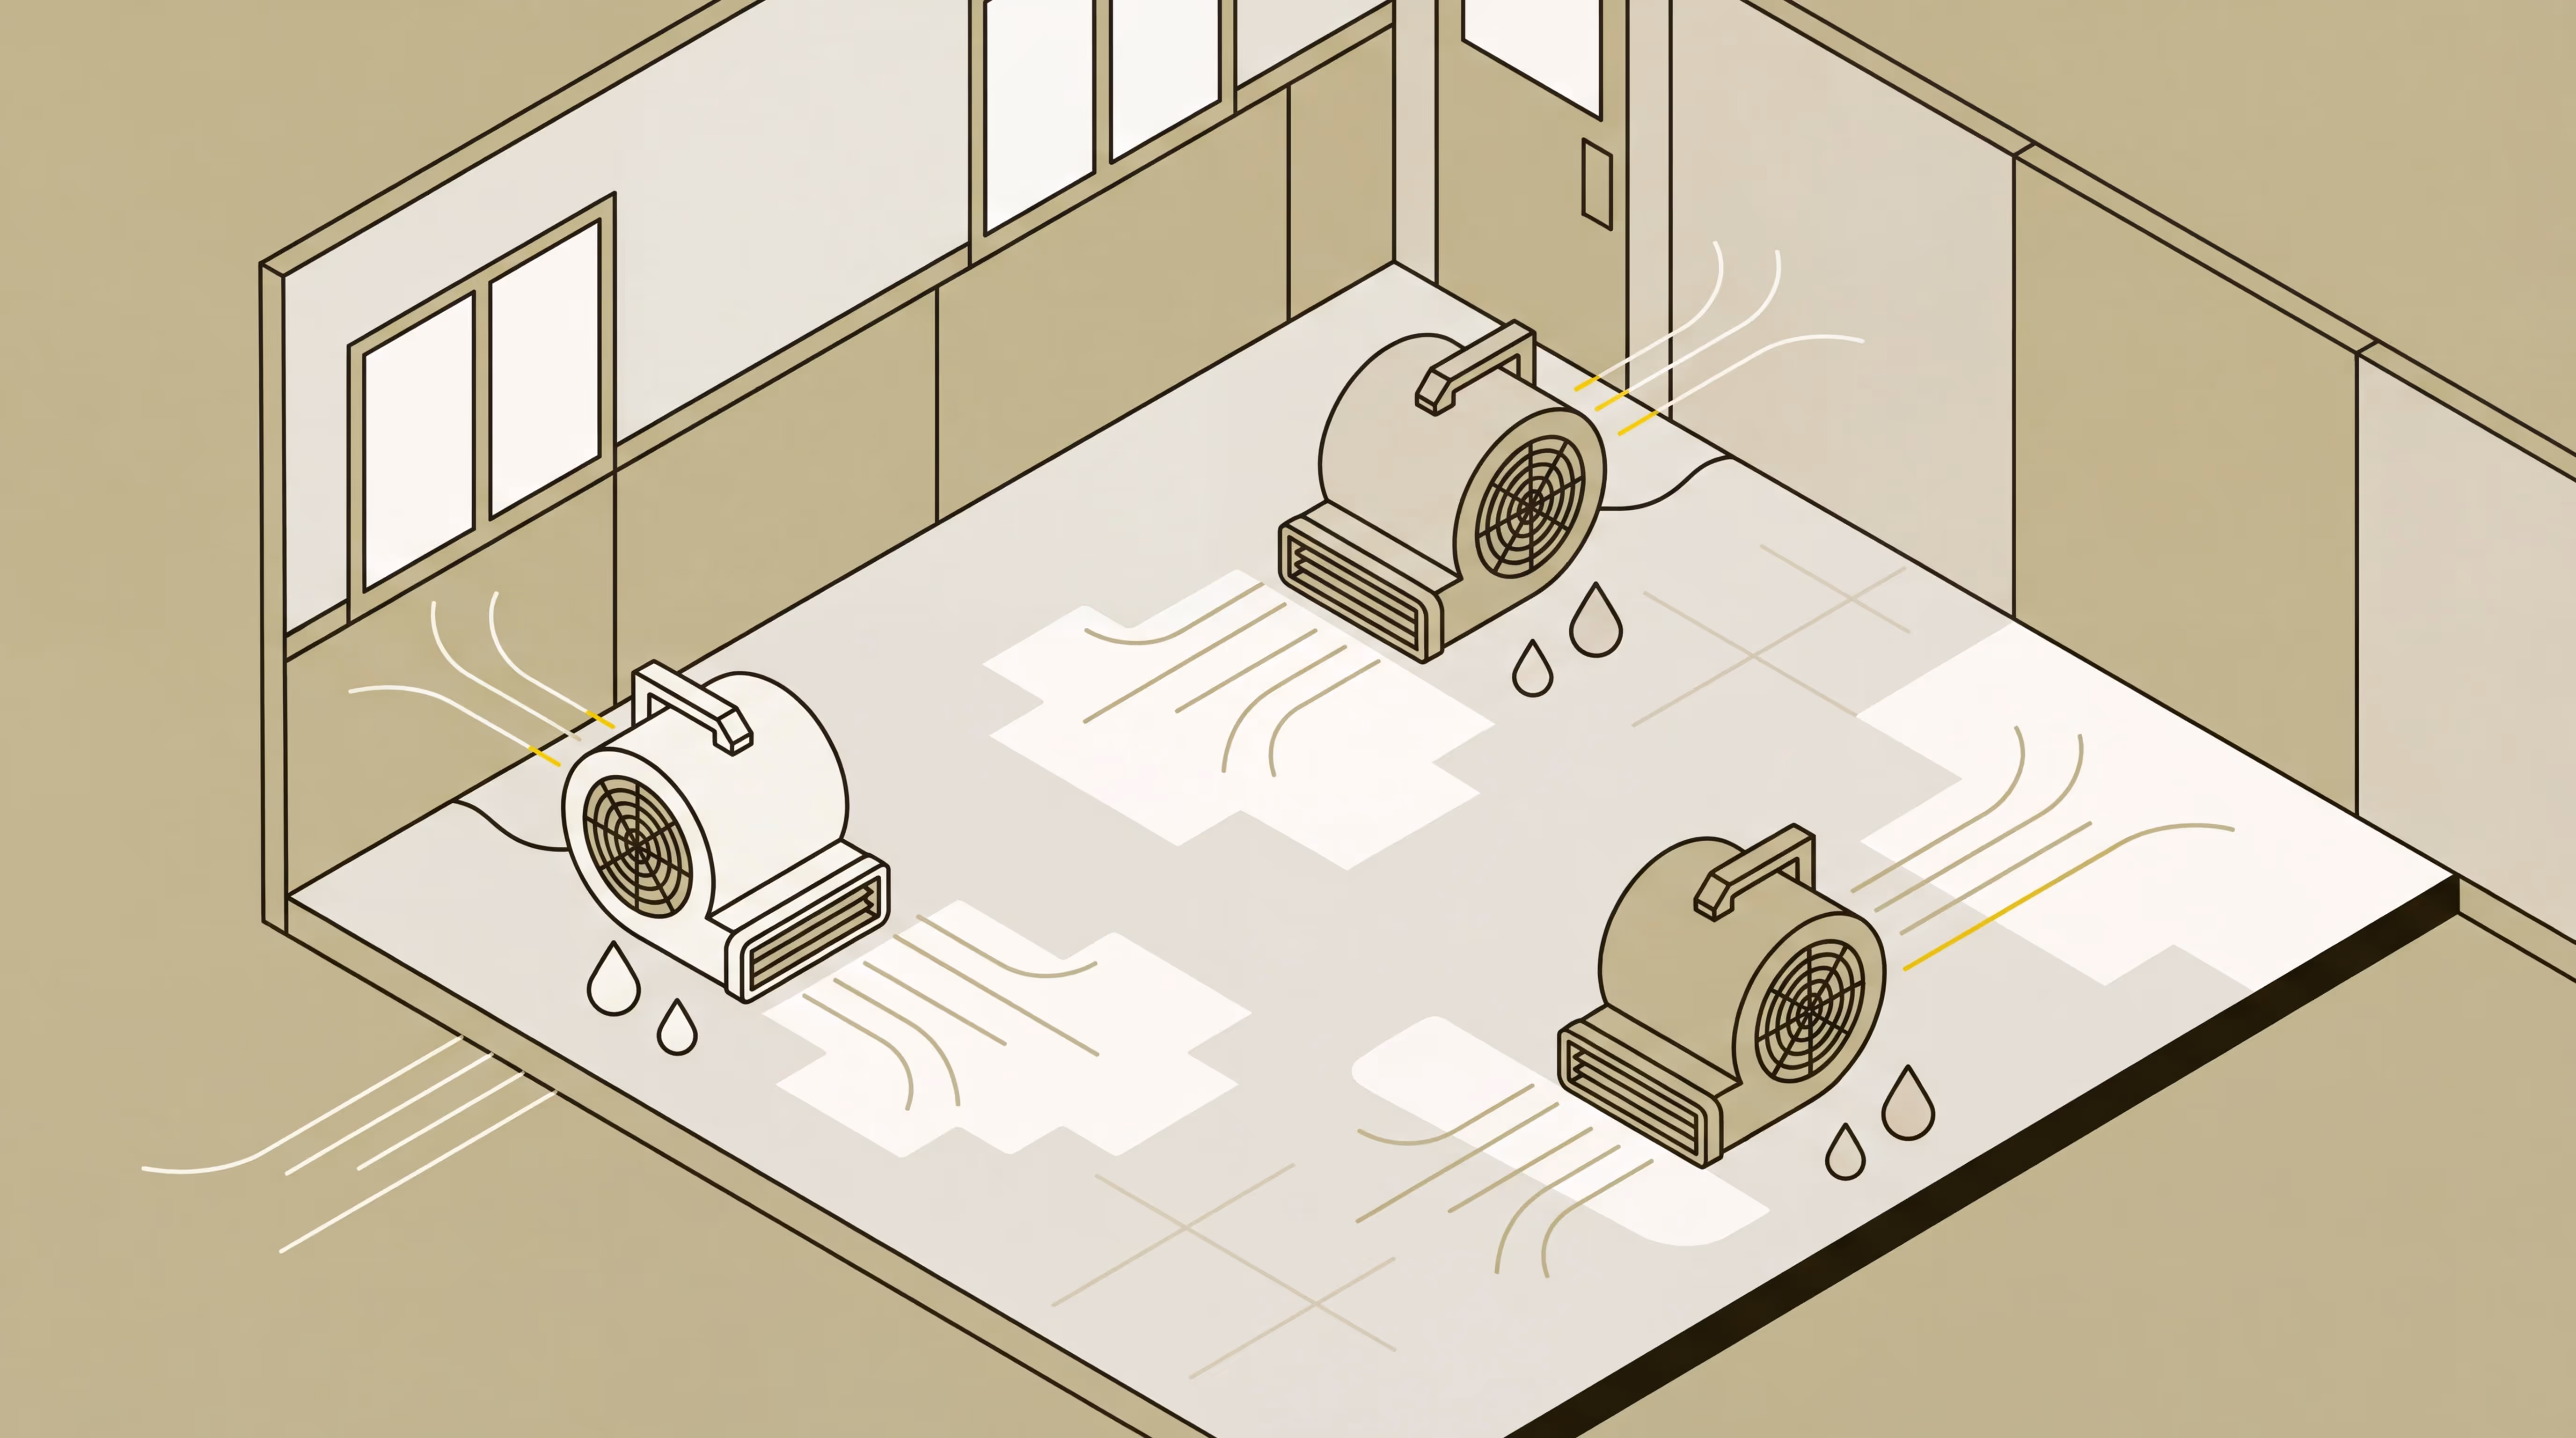
Equipment Used
- Type of equipment - Dehumidifier (refrigerant or desiccant), air mover, air scrubber, injectidry system
- Quantity of each type - Exact number of units
- Serial numbers - Carriers want specific unit documentation, not just "a dehumidifier was used"
- Placement locations - "Living room - southwest corner facing north wall" not just "living room"
- Hours of operation - Some carriers calculate billing on actual runtime
Missing equipment documentation creates billing problems. If equipment isn't in the log with serial numbers, carriers often won't pay for it even if it was used.
Moisture Readings
- Initial readings (baseline) - Establish scope of damage
- Daily readings from same locations - Must check identical spots for accurate comparison
- Final readings at dry standard - Document when job is complete
- Comparison readings from unaffected areas - Establishes your dry standard
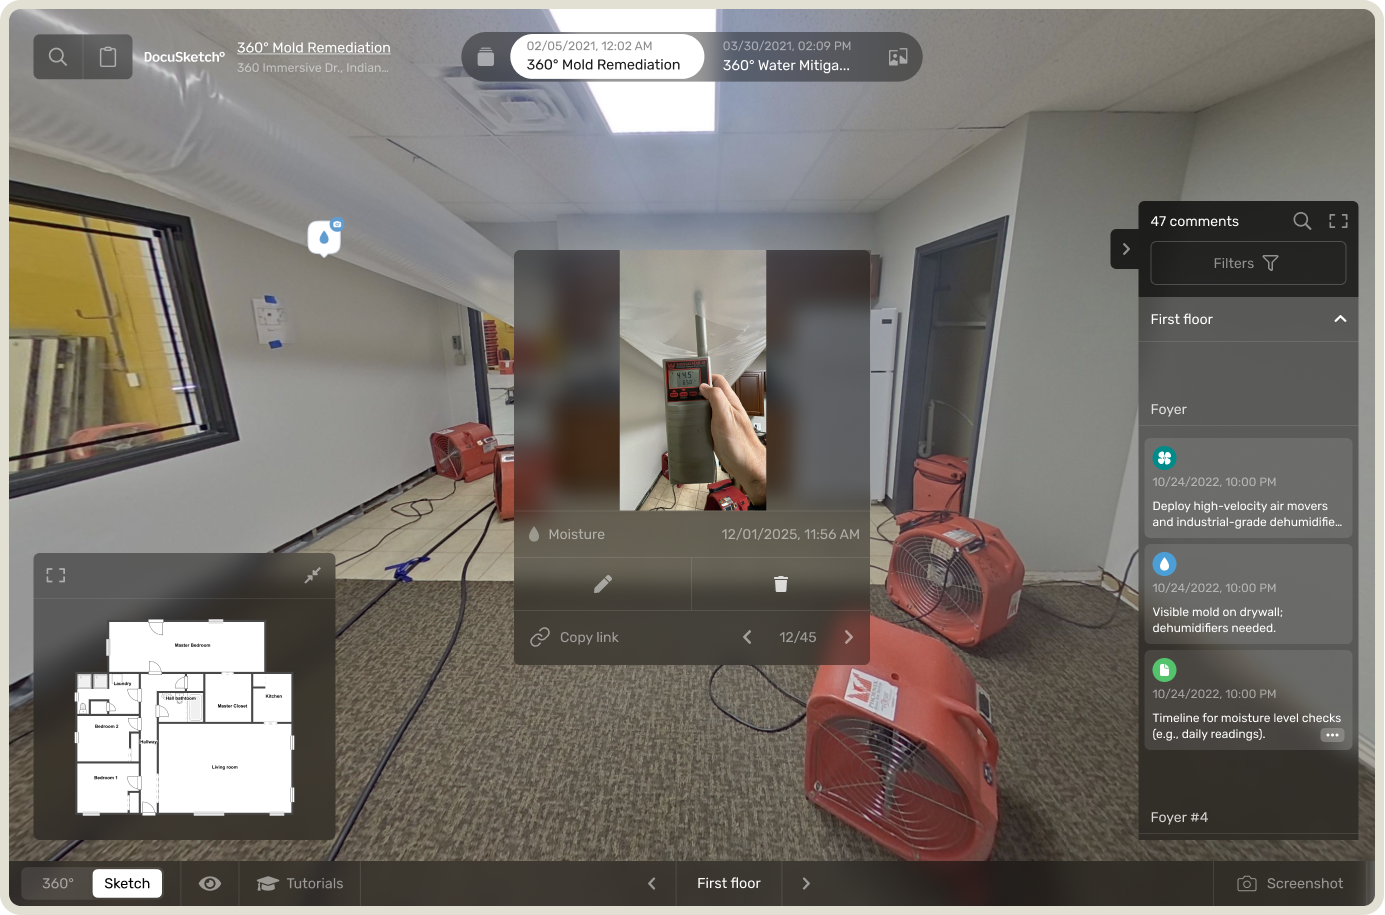
The most common mistake: techs taking readings from random spots each day. Readings bounce around, making it look like drying isn't progressing consistently. DocuSketch's 360° documentation helps prevent this by pinning moisture readings to specific locations in the visual record.
Temperature and Humidity Readings
- Ambient temperature - Inside the space
- Relative humidity - Moisture level in air
- Dew point - Temperature where moisture condenses
- Readings from affected areas - Conditions in wet zones
- Readings from unaffected areas - Normal conditions in dry areas
These readings show whether your drying setup creates the conditions needed to remove moisture effectively.
GO FURTHER: Learn all about getting water damage leads in 2026
How to Fill Out a Drying Log Correctly
Complete documentation follows a consistent process. Here's how to fill out your drying log properly from start to finish.
Step-by-Step Guide to Entering Data
Step 1: Establish Your Dry Standard
Take readings from unaffected areas of the same material before starting. This establishes your target. You're drying materials to match the moisture level of similar, unaffected materials in the same building, not to an arbitrary number.
If unaffected drywall reads 8-10% on your moisture meter, that's your target for affected drywall. Baseline moisture varies by climate and building, which is why you establish dry standards for each individual project.
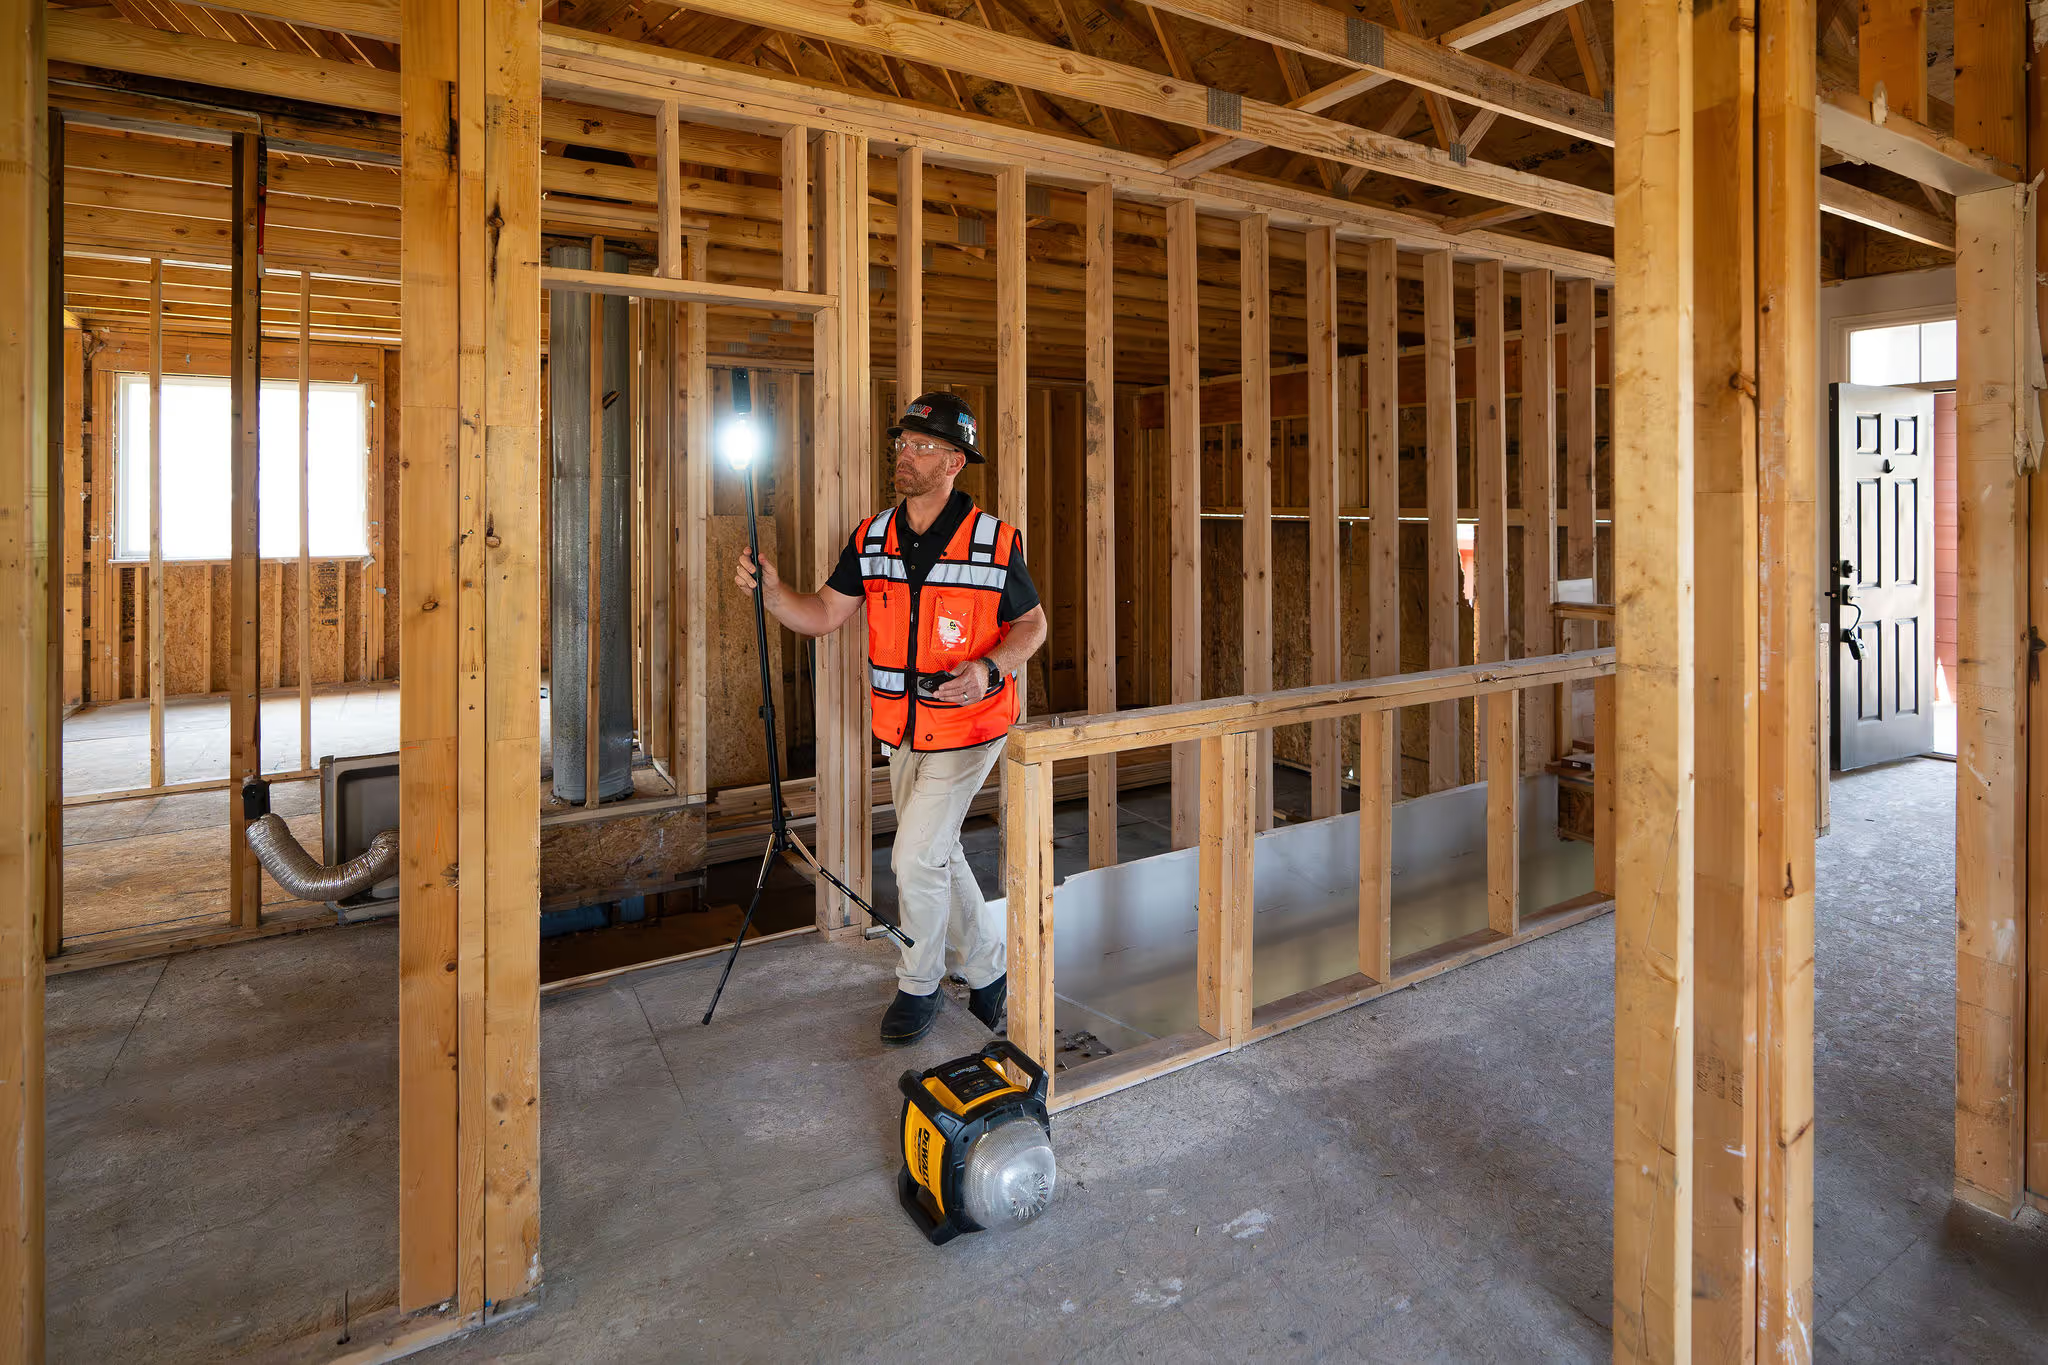
Step 2: Create a Moisture Map
Use your moisture meter to check the full extent—baseboards, walls, floors, ceilings. Check 10 feet beyond obvious wet areas because water travels through subfloors and wall cavities.
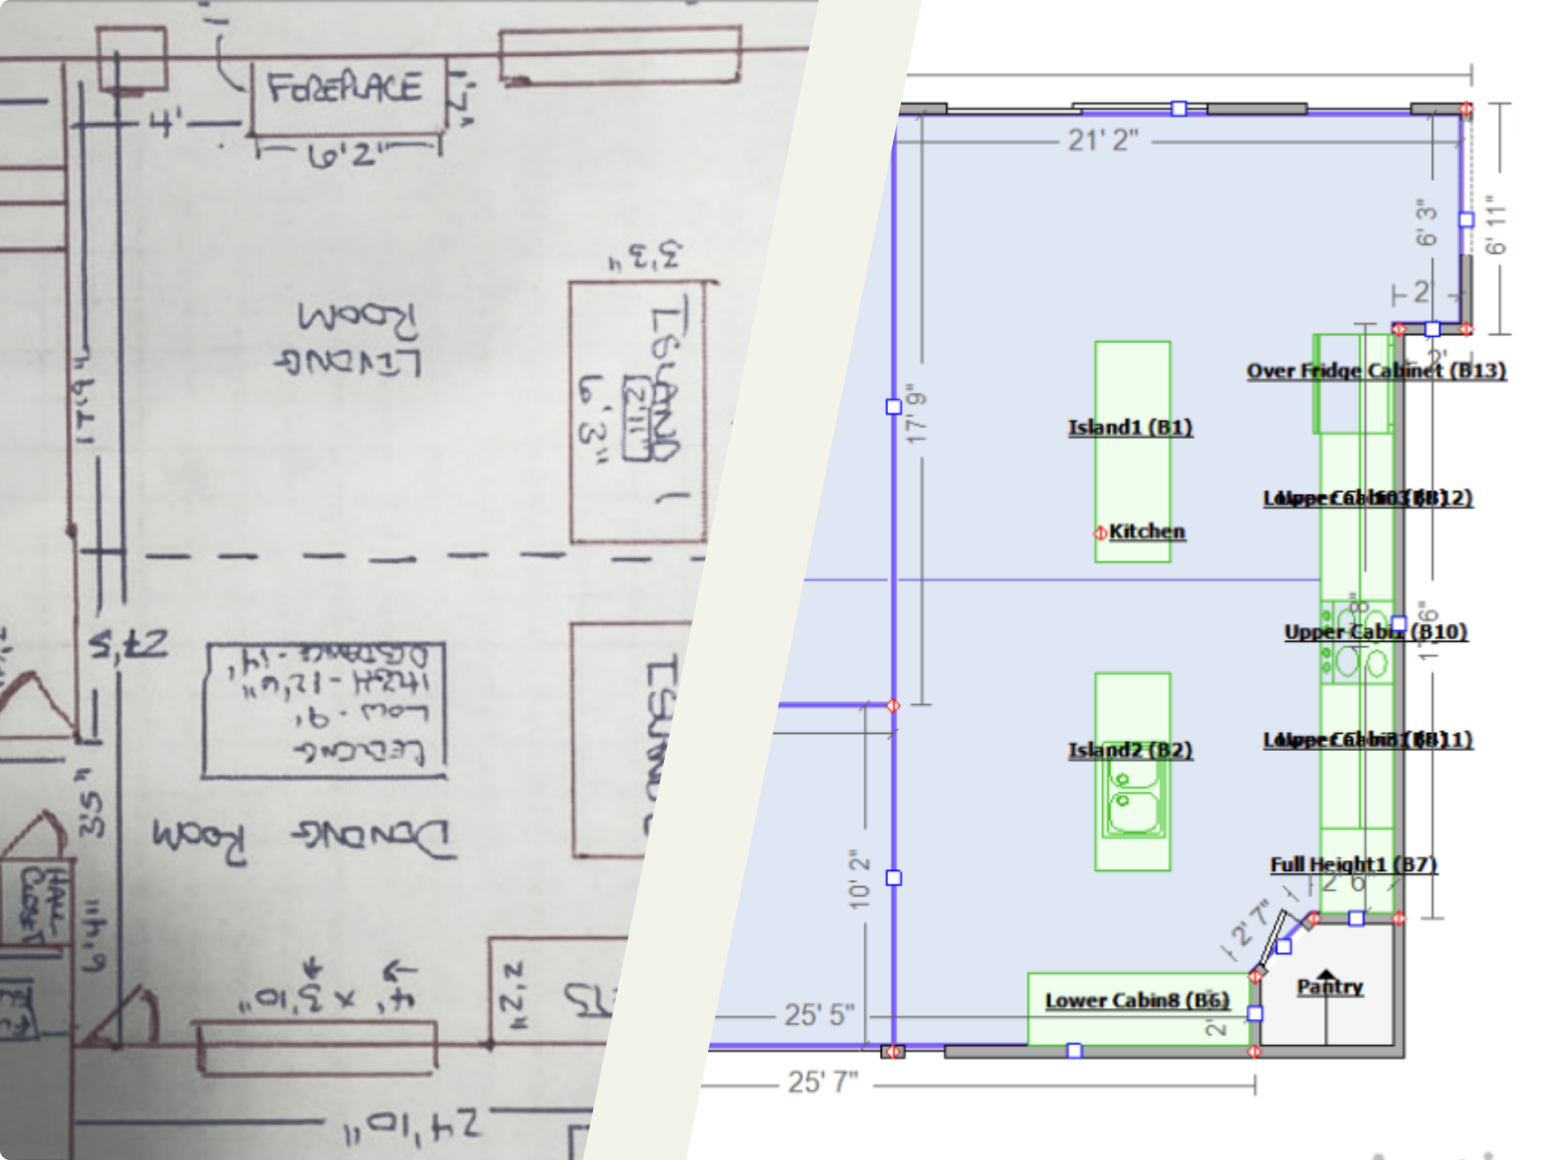
Number your testing locations on your floor plan. This visual record documents scope and ensures readings come from identical spots on subsequent visits. DocuSketch creates sketches and 360° documentation, making it easy to mark and track test locations throughout the drying process.
Step 3: Document All Equipment
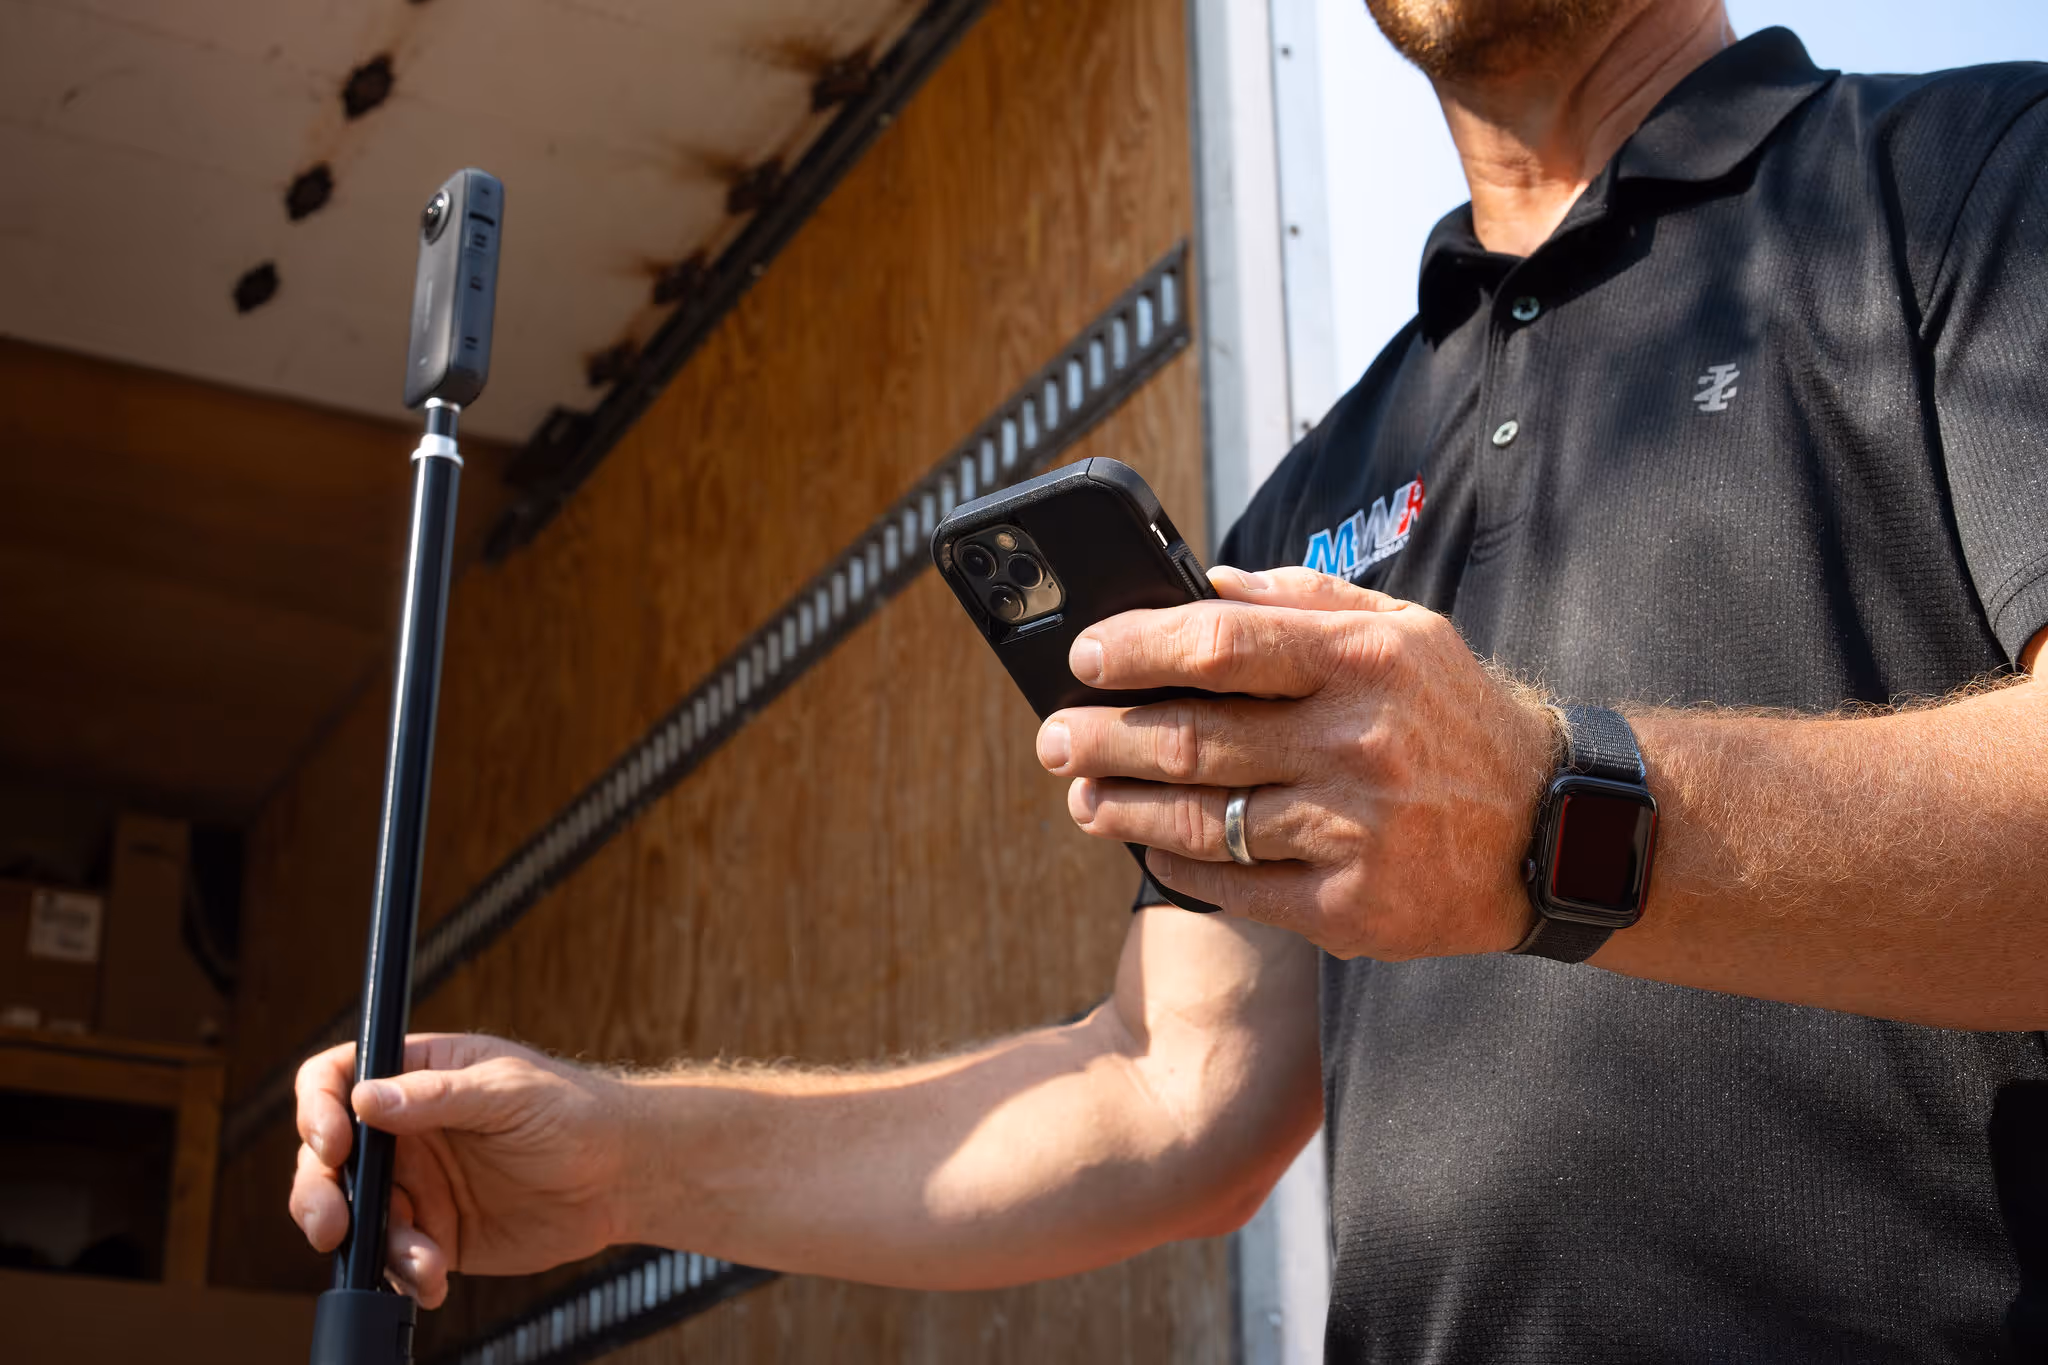
Record type, quantity, and serial number of each unit. Mark equipment locations on your floor plan. Take photos showing placement with DocuSketch's 360° camera to capture equipment in context. Note activation time. Update this section whenever equipment is added or removed.
Step 4: Take Initial Readings
On day one, take comprehensive baseline readings:
- Moisture from all affected areas (using numbered test locations)
- Moisture from unaffected areas (establishing dry standard)
- Temperature and humidity from affected and unaffected areas
- Exterior temperature and humidity
Step 5: Daily Monitoring
Check the same numbered test locations using the same meter if possible. Record temperature and humidity again. Verify equipment is running. Note changes like areas reaching dry standard, equipment adjustments, or customer concerns.
Consistency matters here. If different techs rotate through the job, they must check the exact same spots for the data to show actual progress.
Step 6: Document Issues and Changes
Record anything that affects drying:
- Equipment failures or power outages
- Customer turning off equipment
- Newly discovered affected areas
- Significant weather changes
These notes explain why drying took longer than expected or required adjustments.
Step 7: Final Verification
When materials appear to reach dry standard:
- Take final readings from all test locations
- Compare to unaffected area readings
- Verify readings are consistently at or below dry standard
- Document date and time equipment was removed
- Get customer sign-off
Don't pull equipment too early. One or two good readings don't mean the entire area is dry.
Best Practices
Mark test locations clearly. Use tape, chalk, or markers on your floor plan so the next technician knows exactly where to check.
Wait for meters to stabilize. Hygrometers need 30-60 seconds to adjust when moving between areas with different conditions. Rushing creates bad data.
Photograph readings. With the DocuSketch 360° camera, capture photos of moisture meter readings in context. This creates visual proof supporting your written log.
Check at consistent times. Taking readings around the same time each day gives more accurate trend data, especially in the first 48 hours when moisture levels fluctuate.
Common Mistakes to Avoid
Surface readings only. Standard moisture meters read 5/8 inch deep. If you're drying thick materials like gym floors with multiple layers, surface readings miss moisture trapped underneath. This leads to callbacks when materials show damage a week later.
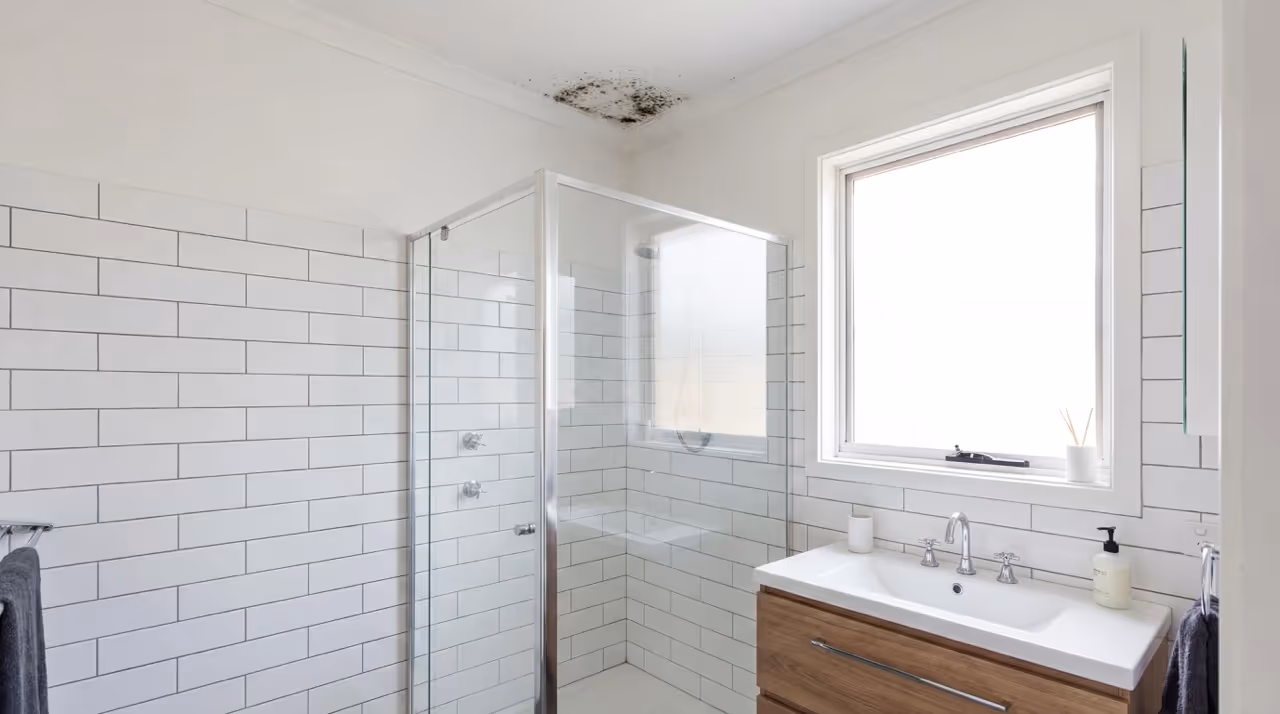
Not documenting pre-existing conditions. When you find old damage, mold, or previous water stains, photograph and note it immediately. Mark it clearly as pre-existing. Otherwise you might be held responsible for conditions you didn't create.
Incomplete equipment documentation. Missing serial numbers is the most common gap. These omissions create billing problems even when equipment was absolutely used.
Skipping comparison readings. Without readings from unaffected areas, you have no baseline. A 15% reading might be normal in one climate and concerning in another.
Inconsistent test locations. When readings bounce around wildly day to day, it usually means techs aren't checking the same spots. This makes it look like drying isn't progressing when it might be fine.
Rushing hygrometer readings. Hygrometers measure relative humidity, dew point, and temperature. These readings show whether drying conditions are effective. But the meter needs time to calibrate when moving between areas. If you don't wait for stabilization, your numbers won't be accurate.
Not noting false positives. Moisture meters measure conductivity. Certain things trigger false positives even when materials are dry:
- Urine salts around toilets
- Chemicals in plywood or subfloors
- Metal fasteners in concrete
- Some paints or sealers
When you get a reading that doesn't make sense, note it as a likely false positive and explain why. This shows you understand your equipment.
Water activity testing can verify materials in these situations. It measures whether moisture levels will support mold growth (0.6 water activity is the threshold). Testing takes 30+ minutes per reading, so most contractors don't use it regularly. But it's valuable when moisture meters give questionable readings.
Automating Your Documentation With DocuSketch
The friction between field teams and office staff around documentation is common. Field techs work long hours on emergency jobs, then face requests for missing serial numbers or inconsistent readings. Office staff can't submit files without complete documentation. Both sides have valid concerns.
Documentation systems should make the process faster, not create additional burden.
How DocuSketch Simplifies the Drying Log Process
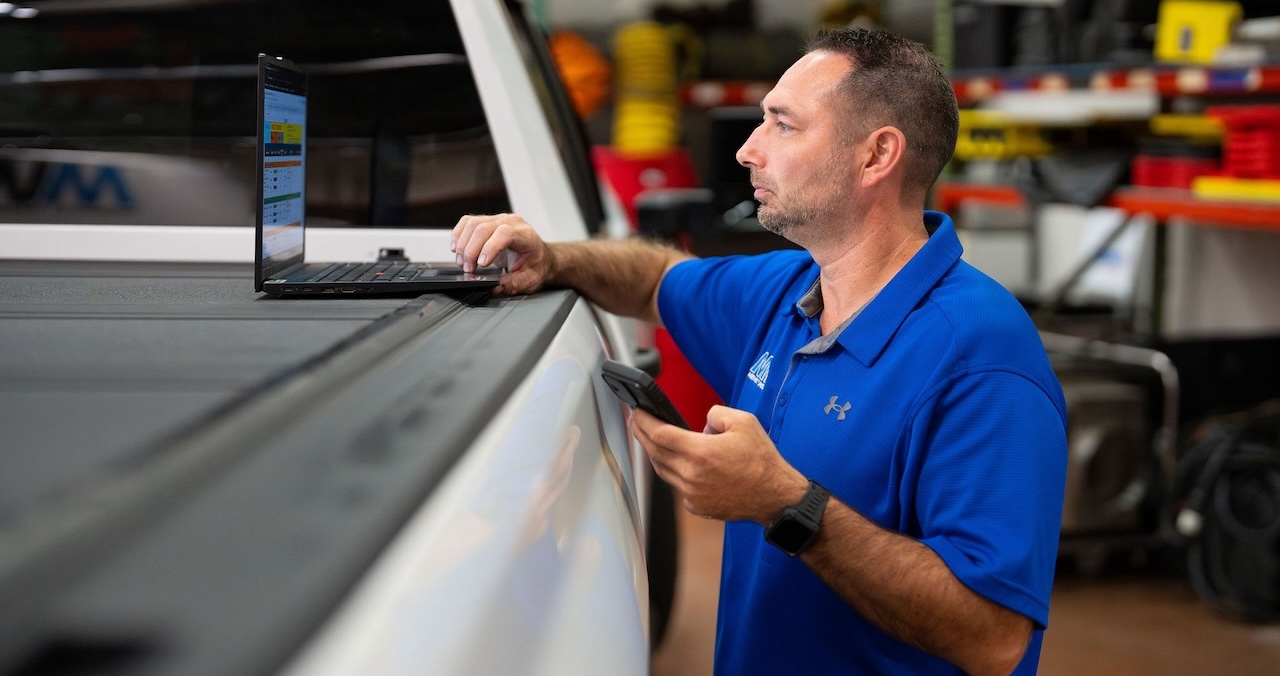
The DocuSketch DS1 camera automatically captures and labels every room. Moisture readings can be photographed and tied directly to the 360° tour, showing exactly where each reading was taken.
Your tech walks through once on day one, establishing the baseline. Each subsequent visit, they capture updated 360° images and snap photos of moisture meter readings. The system automatically organizes everything by room and date, creating a visual timeline of the drying process.
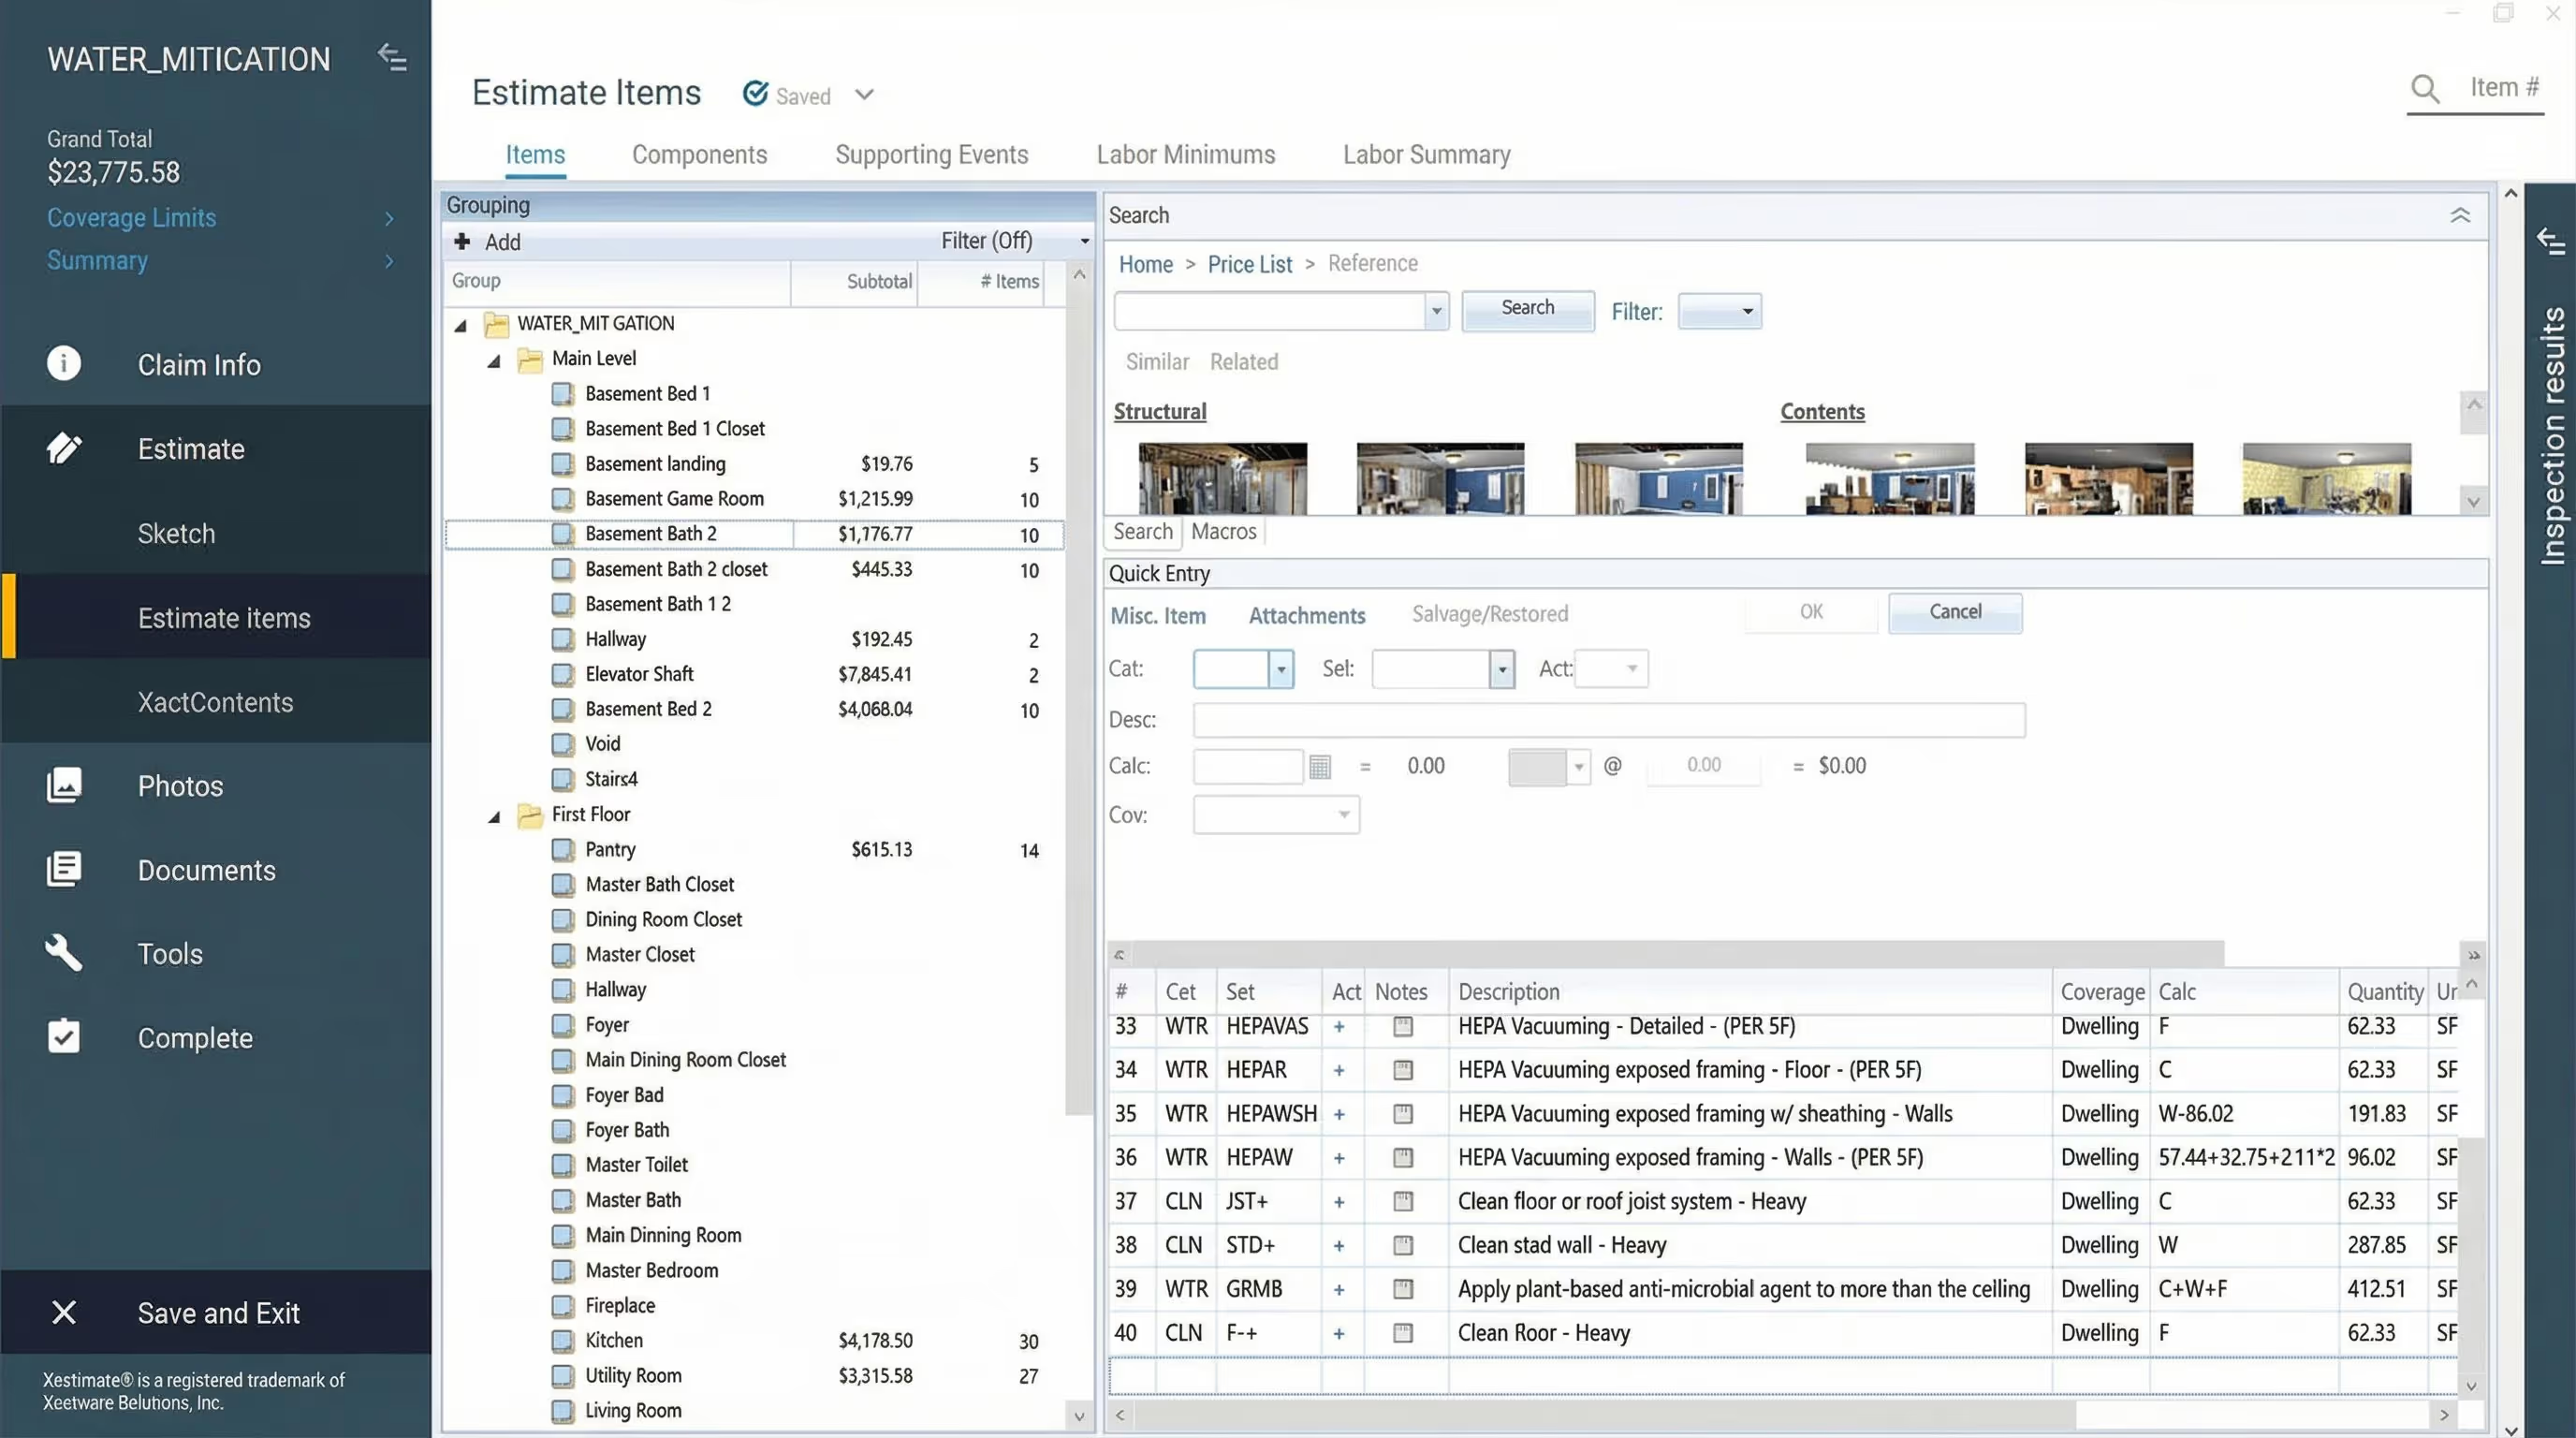
The Generate Report Feature
The Generate Report feature produces a PDF with room labels, all photos (including moisture meter readings), and optional floor plans. This supports your written drying log with visual documentation adjusters can review even without access to the full 360° tour.
For jobs requiring justification of extended drying times, equipment placement verification, or defense against scope questions, visual documentation provides clear evidence.
Learn more about how to use DocuSketch for water damage restoration, check out our guide on how to get water damage leads, or see how to perform IICRC air mover calculations for more efficient drying setups.
Incomplete drying log documentation creates problems for everyone: your team, the homeowner, and the adjuster reviewing the file. A properly completed water damage drying log template protects you from liability issues, supports insurance claims, and proves the work was done correctly.
Most restoration professionals treat drying logs as a checkbox exercise rather than understanding what they're documenting and why it matters. This guide walks through the essential elements of a complete drying log and shows you how to fill one out correctly to protect your business and support your claims.
Why Restoration Pros Need Drying Logs
Drying logs serve multiple critical functions beyond carrier requirements. When jobs face rework, payment delays, or liability questions, incomplete documentation is often part of the problem.
(we've also got a great resource on building water damage estimates if you need extra help with water remediation tasks)
The Role of Documentation in Liability, Compliance, and Insurance
A restoration water damage drying log template protects you in several ways:
Liability protection. Complete documentation establishes exactly what was treated and what conditions existed before your work began. When pre-existing mold or damage is discovered during a job, documenting it immediately protects you from future claims. Six months later, if new issues arise in areas you didn't treat, your moisture mapping and daily logs prove those areas weren't part of your scope.
Insurance claim support. Carriers verify work was necessary and completed properly through your documentation. Consistent moisture readings over time support your billing. Inconsistent or incomplete equipment documentation raises questions that delay payment.
Professional accountability. Drying logs create a shared record that keeps rotating technicians aligned. When Tech A sets up equipment Monday and Tech B checks the job Wednesday, the log ensures continuity. Without it, equipment gets pulled prematurely or areas get missed.
Required by Insurance Carriers and Restoration Industry Standards (IICRC S500)
The IICRC S500 standard requires documentation of the drying process. Carriers expect it. Insurance reviewers look for it. When it's missing or incomplete, payment gets delayed or denied.
The industry standards specify you must show:
- Initial moisture conditions
- Equipment used and placement
- Daily monitoring results
- Progress toward dry standard
- Final verification materials reached dry standard
Contractors lose legitimate equipment charges when they can't prove equipment was on-site. Even when the equipment was absolutely used, incomplete documentation means carriers won't pay for it.
READ MORE: How to Perform IICRC Air Mover Calculations Correctly
Prevents Rework and Ensures Project Accountability
When multiple technicians rotate through a job, the drying log maintains alignment. Tech A documents initial readings Monday. Tech B sees the log Wednesday and knows exactly where to measure for comparison. Tech C arrives Friday to pull equipment but checks the log first and realizes one area still isn't dry.
Without that documentation, equipment gets removed too early, requiring callbacks when materials weren't actually dry. A proper dry log template prevents this by creating a single source of truth everyone follows.
Key Elements of a Moisture Water Damage Drying Log
Every restoration water damage drying log template should include these core elements. Missing any creates documentation gaps that can affect payment or liability protection.
What Every Drying Log Should Include
Job Information
- Date and time of reading - Time matters because readings change throughout the day, especially in the first 24-48 hours
- Project address - Include this on every page for clear file identification
- Technician name - Know who took each reading in case questions arise
- Weather conditions - Exterior temperature and humidity affect drying times
Affected Areas and Materials
- Specific rooms or zones - "Living room - north wall and carpet" rather than just "living room"
- Types of materials affected - Drywall, carpet and pad, hardwood flooring, ceiling material
- Square footage or linear footage - Ties to equipment calculations
- Moisture mapping of entire affected area - Document where water actually went, not just obvious wet spots
Water can travel 15-20 feet from the source through subfloors or behind baseboards. If you don't check and document the full extent, you can't prove you treated it.
Equipment Used
- Type of equipment - Dehumidifier (refrigerant or desiccant), air mover, air scrubber, injectidry system
- Quantity of each type - Exact number of units
- Serial numbers - Carriers want specific unit documentation, not just "a dehumidifier was used"
- Placement locations - "Living room - southwest corner facing north wall" not just "living room"
- Hours of operation - Some carriers calculate billing on actual runtime
Missing equipment documentation creates billing problems. If equipment isn't in the log with serial numbers, carriers often won't pay for it even if it was used.
Moisture Readings
- Initial readings (baseline) - Establish scope of damage
- Daily readings from same locations - Must check identical spots for accurate comparison
- Final readings at dry standard - Document when job is complete
- Comparison readings from unaffected areas - Establishes your dry standard
The most common mistake: techs taking readings from random spots each day. Readings bounce around, making it look like drying isn't progressing consistently. DocuSketch's 360° documentation helps prevent this by pinning moisture readings to specific locations in the visual record.
Temperature and Humidity Readings
- Ambient temperature - Inside the space
- Relative humidity - Moisture level in air
- Dew point - Temperature where moisture condenses
- Readings from affected areas - Conditions in wet zones
- Readings from unaffected areas - Normal conditions in dry areas
These readings show whether your drying setup creates the conditions needed to remove moisture effectively.
GO FURTHER: Learn all about getting water damage leads in 2026
How to Fill Out a Drying Log Correctly
Complete documentation follows a consistent process. Here's how to fill out your drying log properly from start to finish.
Step-by-Step Guide to Entering Data
Step 1: Establish Your Dry Standard
Take readings from unaffected areas of the same material before starting. This establishes your target. You're drying materials to match the moisture level of similar, unaffected materials in the same building, not to an arbitrary number.
If unaffected drywall reads 8-10% on your moisture meter, that's your target for affected drywall. Baseline moisture varies by climate and building, which is why you establish dry standards for each individual project.
Step 2: Create a Moisture Map
Use your moisture meter to check the full extent—baseboards, walls, floors, ceilings. Check 10 feet beyond obvious wet areas because water travels through subfloors and wall cavities.
Number your testing locations on your floor plan. This visual record documents scope and ensures readings come from identical spots on subsequent visits. DocuSketch creates sketches and 360° documentation, making it easy to mark and track test locations throughout the drying process.
Step 3: Document All Equipment
Record type, quantity, and serial number of each unit. Mark equipment locations on your floor plan. Take photos showing placement with DocuSketch's 360° camera to capture equipment in context. Note activation time. Update this section whenever equipment is added or removed.
Step 4: Take Initial Readings
On day one, take comprehensive baseline readings:
- Moisture from all affected areas (using numbered test locations)
- Moisture from unaffected areas (establishing dry standard)
- Temperature and humidity from affected and unaffected areas
- Exterior temperature and humidity
Step 5: Daily Monitoring
Check the same numbered test locations using the same meter if possible. Record temperature and humidity again. Verify equipment is running. Note changes like areas reaching dry standard, equipment adjustments, or customer concerns.
Consistency matters here. If different techs rotate through the job, they must check the exact same spots for the data to show actual progress.
Step 6: Document Issues and Changes
Record anything that affects drying:
- Equipment failures or power outages
- Customer turning off equipment
- Newly discovered affected areas
- Significant weather changes
These notes explain why drying took longer than expected or required adjustments.
Step 7: Final Verification
When materials appear to reach dry standard:
- Take final readings from all test locations
- Compare to unaffected area readings
- Verify readings are consistently at or below dry standard
- Document date and time equipment was removed
- Get customer sign-off
Don't pull equipment too early. One or two good readings don't mean the entire area is dry.
Best Practices
Mark test locations clearly. Use tape, chalk, or markers on your floor plan so the next technician knows exactly where to check.
Wait for meters to stabilize. Hygrometers need 30-60 seconds to adjust when moving between areas with different conditions. Rushing creates bad data.
Photograph readings. With the DocuSketch 360° camera, capture photos of moisture meter readings in context. This creates visual proof supporting your written log.
Check at consistent times. Taking readings around the same time each day gives more accurate trend data, especially in the first 48 hours when moisture levels fluctuate.
Common Mistakes to Avoid
Surface readings only. Standard moisture meters read 5/8 inch deep. If you're drying thick materials like gym floors with multiple layers, surface readings miss moisture trapped underneath. This leads to callbacks when materials show damage a week later.
Not documenting pre-existing conditions. When you find old damage, mold, or previous water stains, photograph and note it immediately. Mark it clearly as pre-existing. Otherwise you might be held responsible for conditions you didn't create.
Incomplete equipment documentation. Missing serial numbers is the most common gap. These omissions create billing problems even when equipment was absolutely used.
Skipping comparison readings. Without readings from unaffected areas, you have no baseline. A 15% reading might be normal in one climate and concerning in another.
Inconsistent test locations. When readings bounce around wildly day to day, it usually means techs aren't checking the same spots. This makes it look like drying isn't progressing when it might be fine.
Rushing hygrometer readings. Hygrometers measure relative humidity, dew point, and temperature. These readings show whether drying conditions are effective. But the meter needs time to calibrate when moving between areas. If you don't wait for stabilization, your numbers won't be accurate.
Not noting false positives. Moisture meters measure conductivity. Certain things trigger false positives even when materials are dry:
- Urine salts around toilets
- Chemicals in plywood or subfloors
- Metal fasteners in concrete
- Some paints or sealers
When you get a reading that doesn't make sense, note it as a likely false positive and explain why. This shows you understand your equipment.
Water activity testing can verify materials in these situations. It measures whether moisture levels will support mold growth (0.6 water activity is the threshold). Testing takes 30+ minutes per reading, so most contractors don't use it regularly. But it's valuable when moisture meters give questionable readings.
Automating Your Documentation With DocuSketch
The friction between field teams and office staff around documentation is common. Field techs work long hours on emergency jobs, then face requests for missing serial numbers or inconsistent readings. Office staff can't submit files without complete documentation. Both sides have valid concerns.
Documentation systems should make the process faster, not create additional burden.
How DocuSketch Simplifies the Drying Log Process
The DocuSketch DS1 camera automatically captures and labels every room. Moisture readings can be photographed and tied directly to the 360° tour, showing exactly where each reading was taken.
Your tech walks through once on day one, establishing the baseline. Each subsequent visit, they capture updated 360° images and snap photos of moisture meter readings. The system automatically organizes everything by room and date, creating a visual timeline of the drying process.
The Generate Report Feature
The Generate Report feature produces a PDF with room labels, all photos (including moisture meter readings), and optional floor plans. This supports your written drying log with visual documentation adjusters can review even without access to the full 360° tour.
For jobs requiring justification of extended drying times, equipment placement verification, or defense against scope questions, visual documentation provides clear evidence.
Learn more about how to use DocuSketch for water damage restoration, check out our guide on how to get water damage leads, or see how to perform IICRC air mover calculations for more efficient drying setups.

Related Articles


%20(1).jpg)